


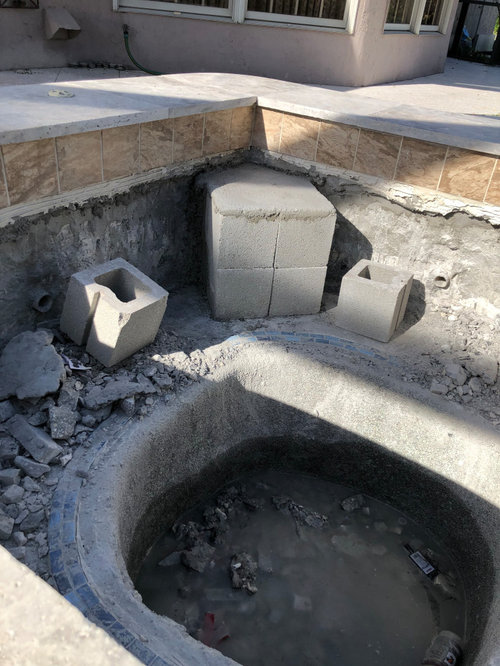
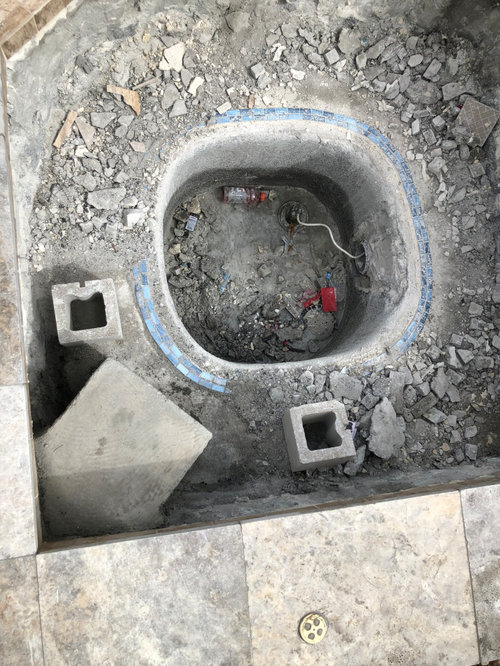
Reality Check on How to Build a Rounded Spa Step
sile411
2 years ago
Sort by:Oldest
Comments (3)
Related Stories
REMODELING GUIDESSo You Want to Build: 7 Steps to Creating a New Home
Get the house you envision — and even enjoy the process — by following this architect's guide to building a new home
Full Story
REMODELING GUIDES6 Steps to Planning a Successful Building Project
Put in time on the front end to ensure that your home will match your vision in the end
Full Story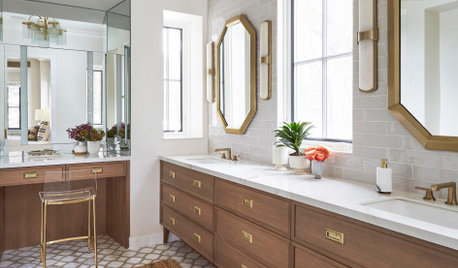
BATHROOM WORKBOOKA Step-by-Step Guide to Designing Your Bathroom Vanity
Here are six decisions to make with your pro to get the best vanity layout, look and features for your needs
Full Story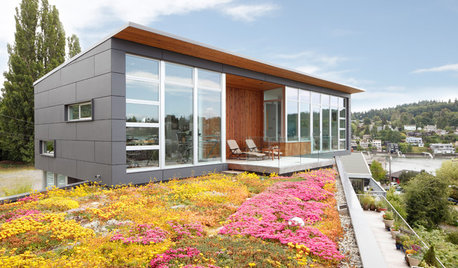
CONTRACTOR TIPSBuilding Permits: What to Know About Green Building and Energy Codes
In Part 4 of our series examining the residential permit process, we review typical green building and energy code requirements
Full Story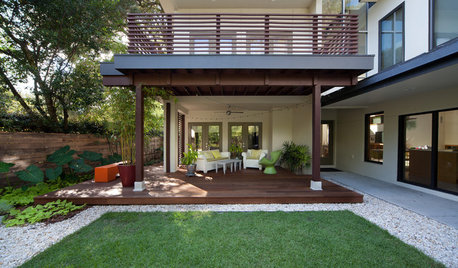
DECKS6 Steps to Prepare Your Wood Deck for Fall
Check out these key tips for maintaining your wood deck as summer ends and fall begins
Full Story
TINY HOUSESHouzz TV: Step Inside One Woman’s 140-Square-Foot Dream Home
You may have seen the story on Houzz — now check out the video tour of Vina Lustado’s warm and welcoming tiny house
Full Story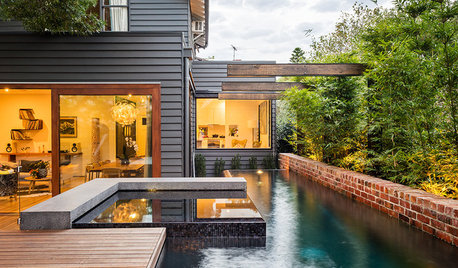
POOLSWe Can Dream: 7 Things to Consider Before Investing in an Outdoor Spa
Check out these tips and tricks for adding a luxurious outdoor spa to your landscape
Full Story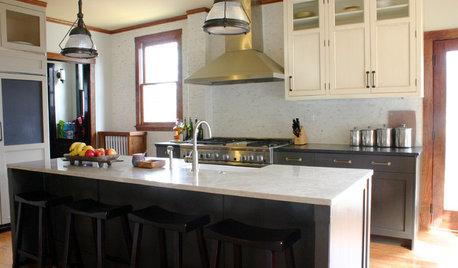
LIFEHow to Build Your Housekeeping Muscle
Train yourself to clean and organize until the routine becomes second nature with this step-by-step approach
Full Story
MOST POPULAR10 Steps to a Happier Weekend
Savor your precious days off while still checking off to-do’s by following this simple plan
Full Story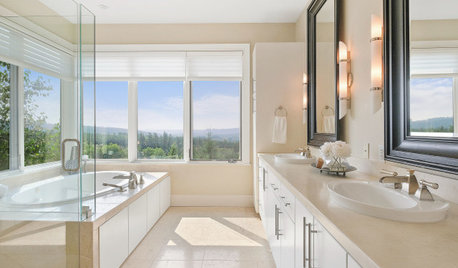
BATHROOM STORAGEHow to Declutter Your Bathroom to Get a Spa Look
Getting rid of extra supplies and toiletries is the first step in making your bath a more relaxing space
Full Story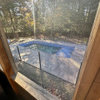

Mystic Pools, LLC
sile411Original Author
Related Discussions
Reality check for winter, lol
Q
New Pool Build in Round Rock
Q
Reality check--cabinet prices per linear foot?
Q
Radon reality check
Q
Mystic Pools, LLC