


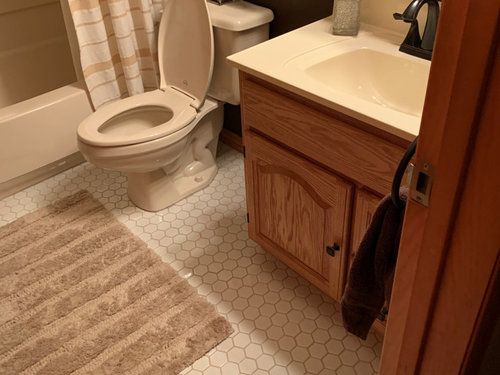
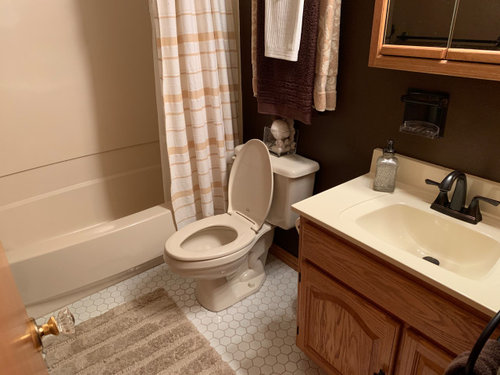
main bathroom redo
Susan
3 years ago
last modified: 3 years ago
Featured Answer
Sort by:Oldest
Comments (25)

Architectural Notice
3 years ago
Susan
3 years agoRelated Discussions
1885 Shingle style bathroom redo
Comments (6)Generally speaking, the houses that I have seen that have bathrooms of the period of your house tended to be pretty spartan, with a cast iron clawfoot tub, an undermount sink in a marble counter and and 11 gal per flush toilet (or something like that).The floors were wood or linoleum. The oldest bathroom I've seen actually had a zinc bathtub, a toilet in a box seat almost like an outhouse seat, and taps that were brass, and the whole think was dark shellacked beadboard. I think you would probably want to go for a more Edwardian Style bath which would be a couple decades later, and this is the era I associate with ceramic and porcelain surfaces and nickel fittings. Like Casey says, $40K seems generous, but if you wanted the full on historical materials of field and decorative tiles, and hex, rectified mosaic or encaustic tile floors, you be at that budget or above. The link has some really nice, period appropriate tile Here is a link that might be useful: Tile Source...See MoreI think I am in over my head with tiling bathroom
Comments (10)I did tiling for the first time when I tiled my backsplash and I can give you some advice from one beginner to another (not meant to replace the advice of a pro, but just might be some things that a pro takes for granted since they are good at what they do). IMO the way to get a professional looking job is to: 1) take your time. It's not going to go quick, that comes with practice. It took me a week to do my backsplash, a pro would have done it in a day, but I got a professional look. 2) use spacers. If there are no lugs on your tile to give the proper spacing, use spacers. I will never forget watching some DIY show, maybe weekend warriors, where the guy was like "I don't need to use spacers, I have a good eye." Oh what a crappy install THAT turned out to be. Again this is a practice thing, someone who does this all the time might be able to do it without spacers but you don't have that much practice so use them. 3) never work with someone who doesn't have the same standards you do. Tiling is not necessarily a 2 person job. 4) Try out one of those cheapie tiling kits at home depot - the one that comes with a cheap, half circle shaped piece of tin for spreading thinset. I have kind of small hands (definitely smaller than the average man) and found that this tool was MUCH easier for me to control than the larger trowel. Sure, you can't spread as much at one time but see #1. Even with the trowel, the thing is notched to make sure you get the right amount of thinset on the walls. Use the right size notches (maybe bill can help you with that and also some tips for applying). 4) Buy more extra than you'd need for a pro and don't be afraid to use it... to re-cut anything that needs to be re-cut etcetc....See MoreBathroom redo- suggestions for sconces/paint color?
Comments (8)Sea Salt is the color we had up first in our master bath. It's gorgeous as well, however it is a very light gray and with the lighting (or lack there of) we have in our master bath it was difficult to see. We ended up repainting in Comfort Gray which is the same color only darker. Comfort Gray and Sea Salt both have a slight tint of green in them, however in some lighting, they do look blue. I love both of these grays you can't go wrong with either of them even in a larger sized space....See MorePorcelain hexagon tile that has a marble look?
Comments (5)I am using a porcelain marble-look tile from Italy called I Marmi. I have the larger format 12x24 and basket weave, but they make a hexagon pattern in Calacatta, Carrara, and Statuary. I bought it locally, but here's a link so you can see the product: I Marmi Hex tile - it was quite reasonable and I am really pleased with the look......See MoreHU-187528210
3 years agoSusan
3 years agoSusan
3 years agoSusan
3 years agoSusan
3 years agoSusan
3 years ago
acm
3 years agoSusan
3 years agoSusan
3 years agoSusan
3 years agoSusan
3 years ago


Related Stories
HOUZZ TOURSHouzz Tour: 1960s Ranch Redo in Denver
This sibling team balanced their renovation budget by spending where it counts, and turned their Colorado childhood home into a showplace
Full Story
MODERN HOMESHouzz Tour: ’50s Ranch Redo Could Be a Keeper
An experienced house flipper puts his creative talents to work on an L.A. remodel designed for his own family
Full Story
DECORATING GUIDESHouzz Tour: Parisian Flat’s Redo Revolves Around a Terrace View
A Parisian apartment is transformed from a dark and closed space into an open, airy and colorful home
Full Story
BASEMENTSRoom of the Day: Swank Basement Redo for a 100-Year-Old Row House
A downtown Knoxville basement goes from low-ceilinged cave to welcoming guest retreat
Full Story
HOUZZ TOURSMy Houzz: Elegant Redo of a Hollywood Spanish Colonial
A film producer takes a cue from his Scottish roots to bring comfort and familiarity to his home in the Hollywood Hills
Full Story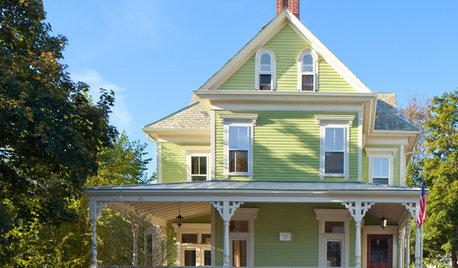
TRADITIONAL HOMESHouzz Tour: Redo Shines Light on 19th-Century Newport Beauty
The renovated Rhode Island home boasts gorgeous woodwork, an appealing wraparound porch and a newly spacious kitchen
Full Story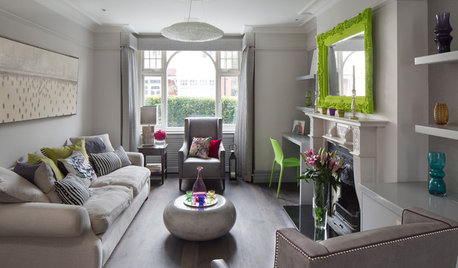
HOMES AROUND THE WORLDHouzz Tour: Fresh, Sophisticated Redo Wakes Up a Tired London Flat
Bold color punctuates the contemporary gray and white interior in this redesigned apartment
Full Story
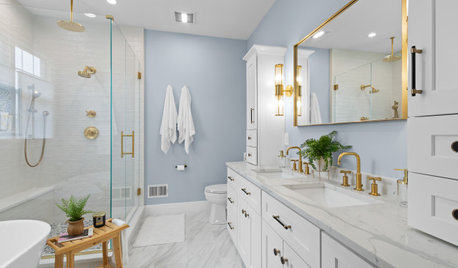
BATHROOM DESIGNHow to Choose the Right Bathroom Sink
Learn the differences among eight styles of bathroom sinks, and find the perfect one for your space
Full Story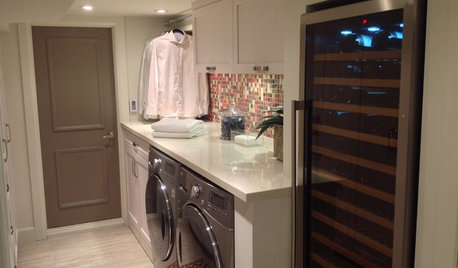
LAUNDRY ROOMSLaundry Room Redo Adds Function, Looks and Storage
After demolishing their old laundry room, this couple felt stuck. A design pro helped them get on track — and even find room to store wine
Full Story

Peke