


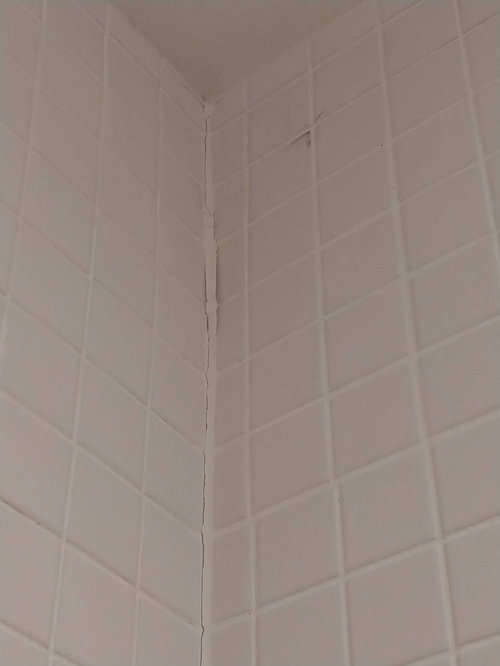
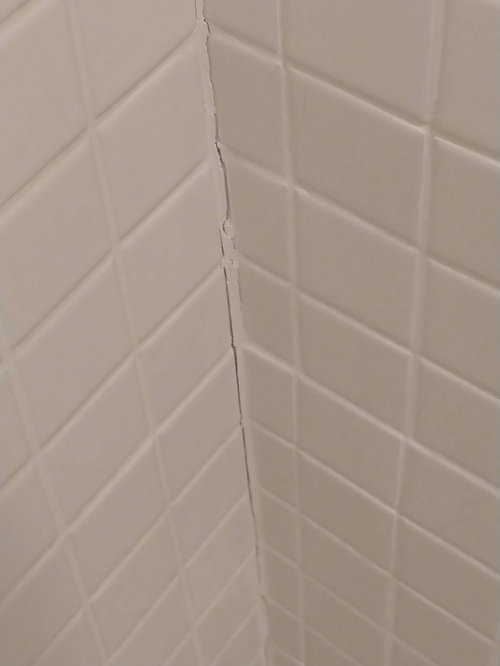
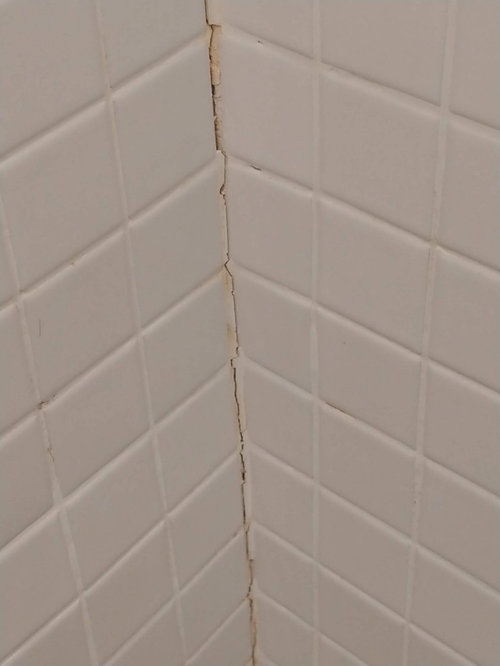
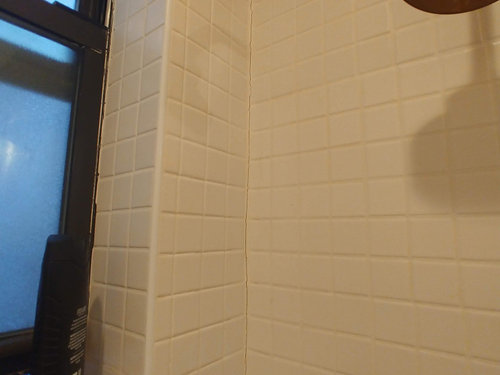
Grout cracking in bathroom corner walls on 7 month old bathroom
Chris Ng
4 years ago

Featured Answer
Comments (11)
Related Discussions
Bathroom Reveal, Thanks to the Bathroom and Remodel Forums! (pic
Comments (56)This old thread got revisited. @dani_m08 to answer the question about extra probe, I believe I ordered an extra one when I bought the set up. The probe wire is just setting in the junction box I think but honestly I cant remember. When I laid out the underfloor heating and the probe, I just ran another probe near the first probe, and it was then sealed into the floor self leveling compound as per instructions. then the end was just threaded into the wall like the one that would be live, and not connected, but just laying there in the box. Regarding the tile layout. I just decided to run it this way, after getting instructions on the 90Degree way, IIRC. The herringbone that I love is from my childhood and the side walks in my neighborhood that all ran at 45Degree. so that to me is herringbone. I know you posted on @sochi thread about her amazing bathroom and a wall mounted faucet. I would totally do it if I had the right sink for it. In my case I had made my sink out of soapstone and an integrated backsplash. The pictures of this bathroom reveal are no longer available because of the use of photo bucket, when it was Gardenweb. I did not keep my account with photo bucket. I'll add some of the reveal pictures so you can see the sink and floor. Regarding the sink there is no ledge for water to drip from my hands when using the faucet. The water drips right into the sink. In my other bathroom with a deck mounted faucet I am always wiping up drips and it is a nuisance. I much prefer the setup for this sink. Below: I love the flush finish from the faucet to the bottom of the sink. nothing drips on a counter or edge of a sink. Below: looking in from the doorway. Below: Here I am finishing up the sink. the backsplash was epoxied on as a separate piece. The whole soapstone install in the room took next to nothing to buy as they were all small pieces that I epoxied together with a 3 part stone epoxy. Below: this is the counter at the tub, and is in 2 long pieces but I was able to epoxy them together at there edges to make a wide slab for the top. All the soapstone was finished with a 60 grit sandpaper to be rough and this lovely soft tone of blue/green/gray/white. I did not oil it so this color tone would remain light. Below: If I recall correctly @sochi helped me decide on this Hubberton Forge Mirror. I have 3 different metals in this room, but they are all a cool silver to black color. Below: the center of this tower shares space with the kitchen on the other side of the wall. there is also some extra space that houses some electrical wiring. this is an old simple house. this bathroom was an add on when it got move to the farm in the 30s IIRC. The plumbing was all rearrange and some of the details that were orignially there I kept but updated it, such as this tower feature. The old one went and the carpenter did a wonderful job with this one. Below: This feature was another thing I kept from the old bathroom but flipped it from the other end and had the carpenter put drawers in it. Before it was a hell hole. things got lost and the build was soooo old and creapy I didn't like using it for storage. Now it is perfect for storage....See MoreBathroom mitered tiled corners opening up! Please help
Comments (34)"...I don't know what is 8+9. ...." I see you used a liquid waterproofing from Laticrete now. Was the reinforcing mesh used? Was the concrete board all first taped with mesh and thin-set and allowed to dry prior to waterproofing? Was the waterproofing given seven days to cure prior to flood test? Did you flood test? "....Attaching some more pics to give an idea of original framing as well as waterproofing layers…....." I don't like any of the framing you show in that first picture. The walls appeared to be framed with "Hat Track" which we use for boarding ceilings here in Vancouver. You would expect to see 2"x4" wall studs metal with 2"x4" Metal Track top and bottom. Seeing these I fear your wall assembly was not rigid enough and the failed grout the result of the wall flexing when pushed on. At the very top you see the Metal Track. There is one up and one down. Both pinned to the concrete floor and ceiling with wedge pins. I raised the ceiling to make room for the rain head and am adding a boarder inside the shower to continue the old ceiling height. Even these studs are pretty light weight. I believe the proper stud by the book is the heavier gauge stud. The kind not stocked in Home Depots but rather the drywall metal speciality stores. Local inspectors let this fly but crack down hard on wood framing and no firestopping. The spray foam I used in stead of throwing away. I find it adds one more level of strength to a new dropped in stud. Once dry it gets screwed off from the back side. Why does it appear you used two layers of 1/4" backer board. Looks like first 1/4" Wonderboard then 1/4" Hardie? The poly behind the backer board would be I think designed to lap over a rubber liner or something like Noble Company's Chloral. Link URL: http://noblecompany.com/products/chloraloy/...See MoreTemporary fix for leaking, cracked bathroom tile floor
Comments (16)Because it seemed important to know how bad the situation is, I removed the tiles and mudboard in the problem area. Underneath is just the sheathing. You can see that most of the wood is still in tact, but it's definitely rotted in the corner by the tub. That spot is still very wet, smells earthy, and I can dig into it with my finger. In a 4" x 4" area, I could make a little 1/2 inch hole easily. Now I'm wondering if the best solution might be to: 1) wait for wood sheathing to dry; 2) put down some kind of underlayer or mortar, and then 3) just put on some of that Flex Seal - as a temporary solution. Or, should I put down some kind of PVC board, or something like that over the sheathing - and then put mortar on that - just in case there's reason to worry about the sheathing in that corner giving in. and the PVC board would keep us from falling through the ceiling (until we do the full renovation)! Thanks everyone for your help!...See MoreAdvice needed for 12' x 7.5' bathroom floor tile and shower wall tile
Comments (25)Home Depot is the only place within two hours that sells the pre-fab, and the colors are horrible. I need three bathroom countertops, and the largest is 52". I should be able to find remnants, but I can't even find fabricators who have remnants. Nobody has a website and the fabricators don't advertise, at all. I found six places in Tulsa, but none of them have quartzite remnants. I can only find stone suppliers. I will make a list of suppliers this weekend, and call them on Monday. Maybe they have a list of fabricators near me. Even Google maps didn't have anyone listed near me. They didn't have the two fabricators that are a half hour away from me. What is your opinion on glossy vs honed in a bathroom. My kitchen has leathered Sea Pearl quartzite, and I love it. I prefer matte colors usually, but I doubt I would like leathered bathroom countertops....See More
Chris Ng
4 years agoChris Ng
4 years ago
Related Stories
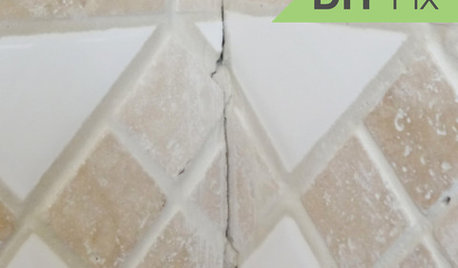
BATHROOM TILEQuick Fix: Repair Cracked Bathroom Grout
Banish an eyesore and safeguard your bathroom from water damage in 30 minutes or less with this DIY repair
Full Story
REMODELING GUIDESBathroom Workbook: How Much Does a Bathroom Remodel Cost?
Learn what features to expect for $3,000 to $100,000-plus, to help you plan your bathroom remodel
Full Story
BATHROOM DESIGNBathroom Workbook: 7 Natural Stones With Enduring Beauty
Not everyone wants a marble bath. Bring organic warmth to counters, walls or floors with these hard-wearing alternatives
Full Story
BATHROOM DESIGN10 Bathroom Trends From the Kitchen and Bathroom Industry Show
A designer and his team hit the industry’s biggest show to spot bathroom ideas with lasting appeal
Full Story
MOST POPULARBefore and After: 7 Master Bathroom Transformations
Thinking about remodeling your main bathroom? Get inspired by looking at these before-and-after bathroom photos
Full Story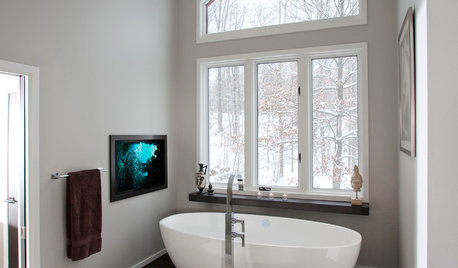
BEFORE AND AFTERS7 Dramatic Bathroom Makeovers Across All Styles
You'll be amazed at these bathroom transformations, spanning different design tastes, budgets and remodeling approaches
Full Story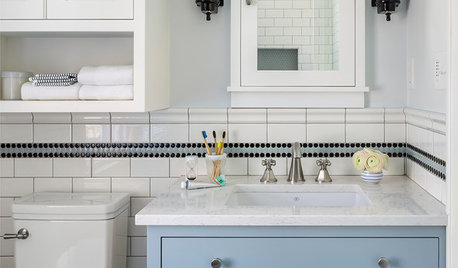
NEW THIS WEEK7 Inspiring Small Bathrooms
See how these designers saved space and still delivered style and function with minimal square footage
Full Story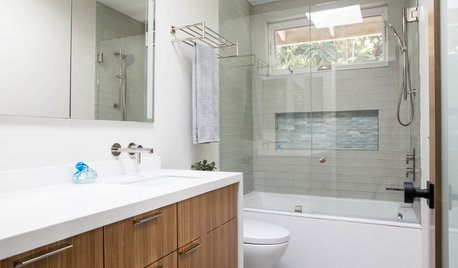
BATHROOM MAKEOVERSBefore and After: 7 Bathroom Makeovers That Keep the Same Layout
See how designers transform bathrooms without the expense of relocating the plumbing
Full Story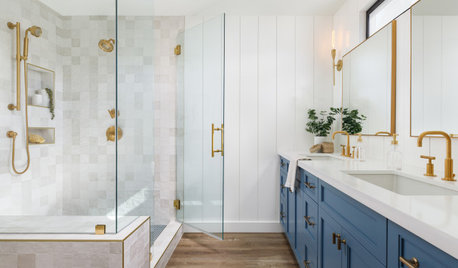
BATHROOM DESIGN7-Day Plan: Get a Spotless, Beautifully Organized Bathroom
We’ve broken down cleaning and decluttering the bath into daily, manageable tasks
Full StoryBATHROOM TILE7 Terrific New Tile Ideas for Bathrooms
Designers play with pattern, color, material and size to deliver bathroom tile designs that steal the show
Full Story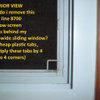
live_wire_oak