


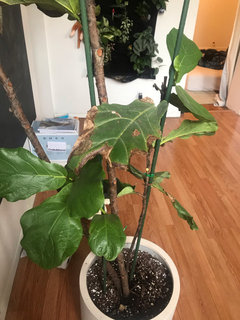
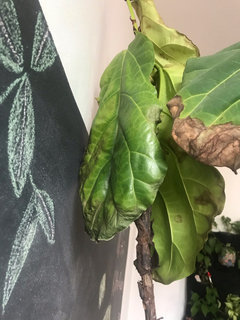
Fiddle leaf fig repotting & notching
Siqi Zhou Thorp
4 years ago
Featured Answer
Comments (28)

christine 5b
4 years ago
Siqi Zhou Thorp
4 years agoRelated Discussions
Ficus Lyrata (Fiddle Leaf Fig) Notching Question
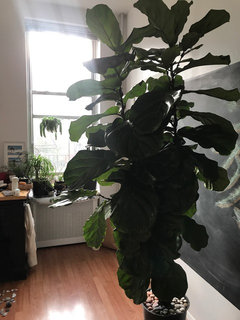
Comments (1)What it looks like is that your knife wasn't sharp enough. Also I'd never use a knife to prune. It is hard to get a clean cut (if it's not a clean cut it can take longer for the plant to heal) and can easily introduce disease and infection if the tools are not sterilized beforehand. For such thick stems use a pruner, you can buy them at home depot or lowes. To sterilize your tools, get a blow torch and heat up the blade until it gets red and then let it cool off. It goes without saying that you should choose a pruner with a blade that is pure metal, not the kind of hybrid plastic ones they have nowadays. I wouldn't necessarily prune any more off. The problem is that your ficus began branching too late and now whatever you do the tree is still going to look top heavy indoors since it can't get any taller than that....See MoreNotching a fiddle leaf fig
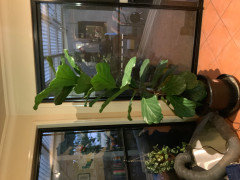
Comments (4)Let's see how you're notching ............ an image? On small trees up to 3/4" diameter, the notch should be centered above the node where you want the branch, and the width of the notch should take up 1/3-1/2 of the circumference. You should remove all the bark to make a slit 1/8-3/16 in ht, and you should remove all tissue at the deepest part of the notch - all the way down to bare sapwood. So, after you carve this 1/8-3/16 high groove, use the sharp edge of the knife to remove all cambial tissues from the surface of the sapwood. Auxin acts to keep lateral/axillary buds inactive. If you leave part the cambium, the wound closes very quickly, restoring the pathway for auxin's polar flow past axillary buds to roots, when what you want is the flow of auxin to be stopped or diverted around the latent bud you're trying to awaken from quiescence (rest). Al...See MoreTo repot and separate or not: fiddle leaf fig
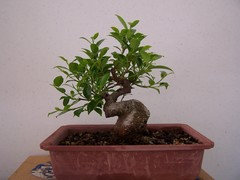
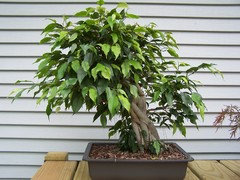
Comments (4)If, when you repot them, you find that they are separate trees, (it looks like they are) I would separate them from each other. Not required, but then they wouldn't be competing. Each could be pruned specifically to be fuller/bushier....See MoreFiddle leaf fig: did I notch deeply enough?
Comments (4)Thanks Al, if I understand you correctly, you are saying the current notches are too far from the leaf axils to effectively limit the polar flow of IAA to the lateral buds of interest. How far from the leaf axil do you usually notch for greater success? I can certainly create a second notch closer to the leaf axil. I looked into the question of apical dominance in plants (very briefly) while waiting for shuttle this morning. It seems the precise physiologic and molecular mechanisms that regulate lateral bud release and growth are still being characterized. The literature suggests multiple regulatory hormones besides IAA play critical roles in lateral bud release, and I wonder if any of these have found their way to commercial use for everyday consumers (either as hormones, hormone inhibitors, or synthetic agonists/antagonists in the signaling pathways of these regulatory hormones)? You have a lot of practical experience on container gardening and best positioned to know how growers are incorporating scientific advances to the cultivation of FLF....See MoreSiqi Zhou Thorp
4 years agoSiqi Zhou Thorp
4 years agoSiqi Zhou Thorp
4 years ago
tapla (mid-Michigan, USDA z5b-6a)
4 years agoSiqi Zhou Thorp
4 years agoSiqi Zhou Thorp
4 years agotapla (mid-Michigan, USDA z5b-6a)
4 years agolast modified: 4 years agoSiqi Zhou Thorp
4 years agospjin
4 years agotapla (mid-Michigan, USDA z5b-6a)
4 years agolast modified: 4 years agospjin
4 years agotapla (mid-Michigan, USDA z5b-6a)
4 years ago
lasweet92
4 years agoSiqi Zhou Thorp
4 years agoSiqi Zhou Thorp
4 years agotapla (mid-Michigan, USDA z5b-6a)
4 years agoSiqi Zhou Thorp thanked tapla (mid-Michigan, USDA z5b-6a)Stephen Babcock
4 years agolast modified: 4 years agotapla (mid-Michigan, USDA z5b-6a)
4 years agolast modified: 4 years agoSiqi Zhou Thorp
4 years agoStephen Babcock
4 years agotapla (mid-Michigan, USDA z5b-6a)
4 years agolast modified: 4 years agoStephen Babcock
4 years agotapla (mid-Michigan, USDA z5b-6a)
4 years agoStephen Babcock
4 years agolast modified: 4 years agoSiqi Zhou Thorp
4 years ago


Related Stories
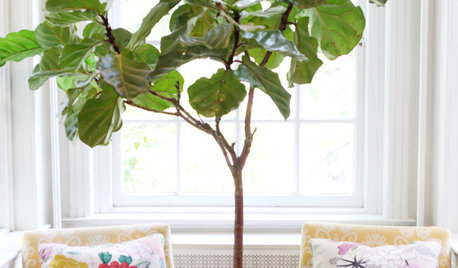
HOUSEPLANTSPlay Up Some Fiddleleaf Figs for a Lively Indoor Tune
Strike a dramatic chord in a minimalist scene or a country note in a rustic setting — fiddleleaf fig plants harmonize with any style
Full Story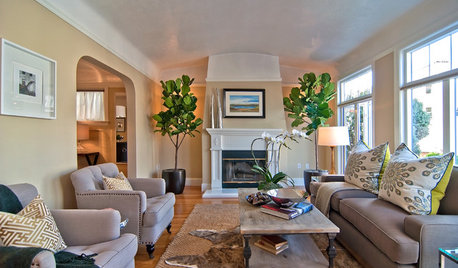
HOUSEPLANTSSee How Fiddleleaf Fig Trees Can Liven Up Your Decor
The tropical houseplant with big green leaves adds a cheerful and striking design element to rooms
Full Story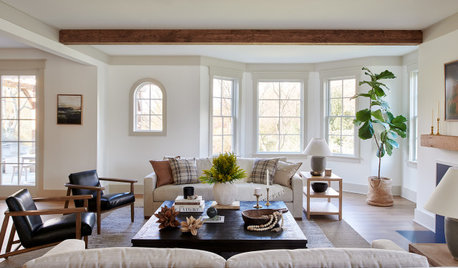
HOUSEPLANTS8 Essentials for Healthy Indoor Plants
Houseplants add so much to our homes — and can thrive when grown in the right conditions. Keep these tips in mind
Full Story
HOUSEPLANTS10 Top Plants to Grow Indoors
Brighten a room and clean the air with a houseplant that cascades artfully, stretches toward the ceiling or looks great on a wall
Full Story
CONTAINER GARDENSHappy Houseplants, Happy People
Potted plants add life and beauty to a room. Learn easy ways to keep them healthy
Full Story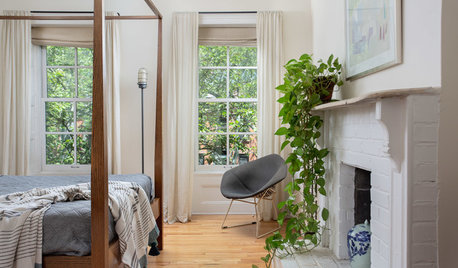
HOUSEPLANTSHigh-Impact Houseplants for First-Timers
These easygoing houseplants will forgive and forget if you skip a weekly watering
Full Story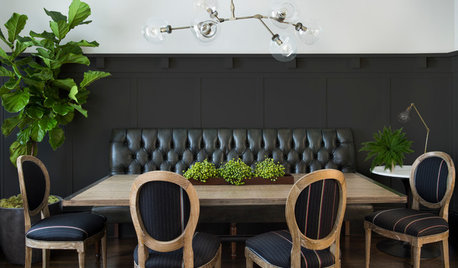
DECORATING GUIDES10 Ways to Spice Up Your Dining Room
Get this gathering spot ready for guests with a few ambience-enhancing tweaks
Full Story
LIVING ROOMSRoom of the Day: Glam Sitting Room Packed With Personality
Whimsical details meet functional furniture in this family’s spec home
Full Story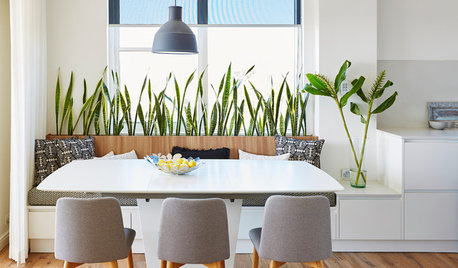
GARDENING 101How to Tell if Your Houseplant Needs Water
Keep your houseplants healthy by giving them the right amount of water
Full Story
HOUZZ TOURSMy Houzz: A Legacy of Art Lives On in a Texas Home
Family artwork, midcentury furnishings and eclectic style shine in this family’s home
Full Story


tapla (mid-Michigan, USDA z5b-6a)