


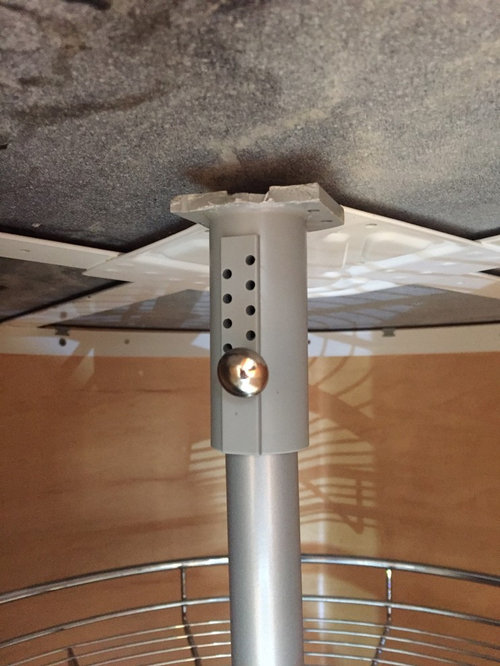
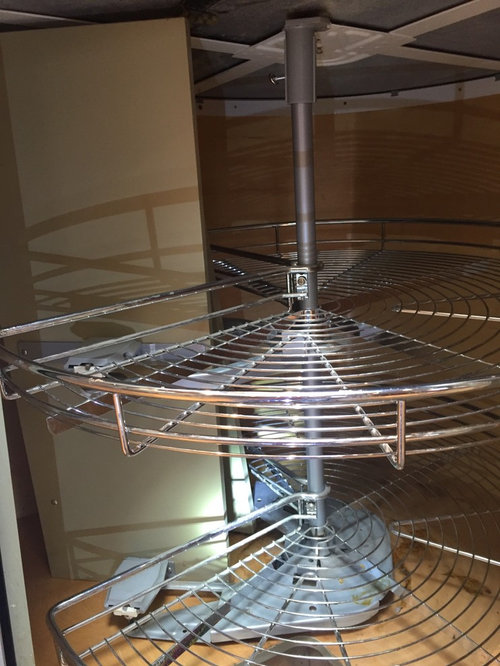
trying to replace part on kitchen lazy Susan.
marnieanne
6 years ago

Featured Answer
Comments (7)

DavidR
6 years agoRelated Discussions
How do I replace my Lazy Susan
Comments (1)This is one reason I really dislike lazy susans....especially the ones that revolve on a center pole. These have been the thorn in the side of KD's worldwide for many years. The hardware changes over the years and it's not an easy task to replace for the average homeowner. I tried to help one of my best friends replace hers. I was doing her a favor, ended up buy two replacements that wouldn't work for her 20 year old cabinets and I was out the $. My business partner eventually was able to fix it. I know she was frustrated but not even a thank you from her, she just complained that the kitchen business needs to have more service in fixing things when they break. Even though there might be some truth in that....what you need is a good carpenter or someone good with tools and a lot of patience. First off, try to find out who the maker of your cabinets are. If you can find out....call them or dealer who has them to get help. Here are a few online guides on how to replace. It also depends to: Is it a regular pole type lazy susan? A super susan? What is the diameter of the trays? Do your trays spin on a shelf? Or Are the trays secured to the revolving door? Or do the trays spin without the door? While I've never fixed one (I am NOT qualified to do that!), here are a few online instructions I found: Good luck. http://homeguides.sfgate.com/replace-lazy-susan-cabinet-29166.html this is kinda cool https://www.youtube.com/watch?v=VNP0xa3OrZk This is cool if you have shelves in your corner cabinets http://www.retrolazysusy.com/ This is cool for an upper diagonal cabinet https://www.youtube.com/watch?v=D8ejlXcGjPU Ps. Do you know where your cabinets came from? If you do, see if they will help you. With parts and labor, a fix could cost $130 to $400 depending on the parts and time involved. If you don't know, then contact a local kitchen dealership to see if they will help you. Some will, some won't. If they won't, then a cabinet installer is your next best bet. Maybe Lowes could give you a list. Don't be surprised if people want to blow you off. There's no money to be made in this and a huge PITA factor. Unless you do all the legwork and finding out what will work best with your cabinets....See MoreLazy Susan vs. Super Susan??
Comments (25)One thing not mentioned here: The super susan's require you to have one of those annoying, hinged, bifold doors. You get significantly more storage in a super susan but the trade-off is that awkward door. I just had a regular lazy susan installed because the doors are attached directly to the pie cut-out and spin with the unit. Decide what is most important to you, storage or a rotating door. In my case I knew that hinged door would make me psychologically unstable. The pictures from my cabinet company showed the regular lazy susan with the same awkward hinged door as the super susan, but I asked and it turned out that the revolving door was a no-cost option. I know this thread is old, but the door difference wasn't mentioned here and people do look for info in these old threads....See MoreHELP!!!! any ideas on how to line lazy susan shelves
Comments (8)I assume your desired end product will be a large circle with a hole in the center to go around the shaft. I've done this successfully in about 4 kitchens now. The key is making an exact pattern. It's kind of difficult to explain without sketches, so my explanation may not be the most efficient, but you should be able to get a perfect result anyway. 1. First, you need to buy 24" wide liner. I love the quality of LifeLiner that you can buy at Linens 'n Things or Bed, Bath & Beyond. 2. Next, get a couple of sheets of newspaper and cut a circle in the middle just a little bit bigger than the shaft. You do not need to be precise yet. 3. Slit the newspaper from the hole to an outside edge. Place this around the shaft and tack it lightly with scotch tape. Cut off excess paper, but leave about 1 inch overhang. 4. Cover any gaps on the outside of the circle with extra newspaper and tape down. Again, cut off excess paper, leaving about 1 inch overhang. 5. Cut a smaller square of paper, about 6" square, and draw a circle in the middle about 1/2" smaller than the diameter of the shaft. Using smaller scissors, make 3/8" slits into the circle, every inch. For example, if the circle is 2" diameter, it would have 6-7 slits. 6. Extend one slit out to the edge of the paper. Place it around the shaft and on top of your first sheet. Tape it firmly to the bottom paper. 7. Using a sharp pencil, score the fanned-out pieces of paper at the junction of the shaft and the tray. Do not trim yet. 8. Score the outside part of your circle, first gently with your fingernail, then with the pencil. 9. Make a cut between the outside circle and inside circle. Remove the paper gently and place the pattern on a flat surface. Trim the outside and inside circles using the scored line as a guide. Place this pattern on the lazy susan to check the fit and note any adjustments that need to made. Make a second pattern using your first pattern (with any adjustments) as a guide. This step is very important because your first pattern is likely to be wrinkled and in not very good shape. Put the second pattern in place and note any additional adjustments. Repeat until your pattern fits perfectly. Tape your perfected pattern to the back side of the liner, trace the inner and outer circles. Using a straight edge, draw a line between the two circles. Cut the outer circle, inner circle, and line neatly. Lay this on your lazy susan and admire your perfect job. The second shelf should be the same as the first, but verify the size with your pattern before you cut it out. I know my explanation may seem complicated, but it really is not that hard to do....See Morelazy susan shelf replacement
Comments (1)http://www.cabinetparts.com/c/kitchen-lazy-susans/ Also Rockler,com...See Morerandy427
6 years agoJ S
5 years agosdello
5 years agoMike C
5 years agoHU-863617988
last year
Related Stories
BEFORE AND AFTERSKitchen of the Week: Bungalow Kitchen’s Historic Charm Preserved
A new design adds function and modern conveniences and fits right in with the home’s period style
Full Story
KITCHEN DESIGNTry a Copper Sink for a Warm Glow in the Kitchen
Bring polish and patina to your kitchen with a sink done in endlessly interesting copper
Full Story
MOST POPULARKitchen Evolution: Work Zones Replace the Triangle
Want maximum efficiency in your kitchen? Consider forgoing the old-fashioned triangle in favor of task-specific zones
Full Story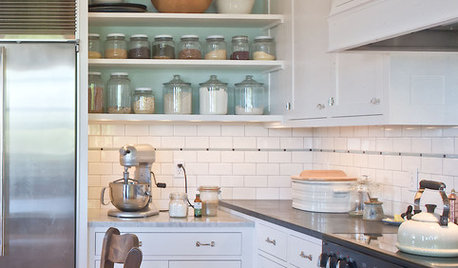
KITCHEN DESIGNLove to Bake? Try These 13 Ideas for a Better Baker's Kitchen
Whether you dabble in devil's food cake or are bidding for a bake-off title, these kitchen ideas will boost your baking experience
Full Story
KITCHEN DESIGNTry a Shorter Kitchen Backsplash for Budget-Friendly Style
Shave costs on a kitchen remodel with a pared-down backsplash in one of these great materials
Full Story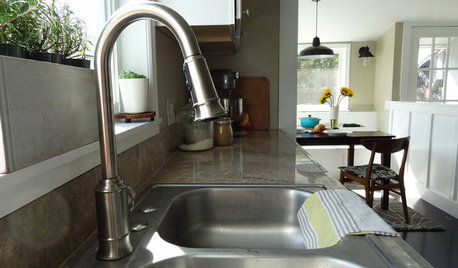
DIY PROJECTSHow to Replace Your Kitchen Faucet
Swap out an old faucet to give your kitchen a new look — it's a DIY project even a beginner can do
Full Story
KITCHEN DESIGNKitchen Counters: Try an Integrated Cutting Board for Easy Food Prep
Keep knife marks in their place and make dicing and slicing more convenient with an integrated butcher block or cutting board
Full Story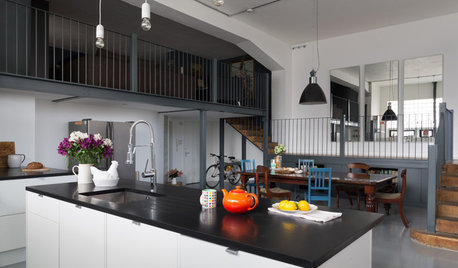
KITCHEN DESIGNKitchen Takes Off in a Former Aircraft Parts Factory
Generous storage and clever carpentry transform a cluttered kitchen into a sleek, minimalist living space with an eclectic heart
Full Story
KITCHEN DESIGNKitchen of the Week: Grandma's Kitchen Gets a Modern Twist
Colorful, modern styling replaces old linoleum and an inefficient layout in this architect's inherited house in Washington, D.C.
Full Story
KITCHEN DESIGNKitchen Remodel Costs: 3 Budgets, 3 Kitchens
What you can expect from a kitchen remodel with a budget from $20,000 to $100,000
Full Story
randy427