


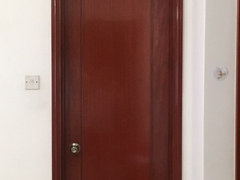
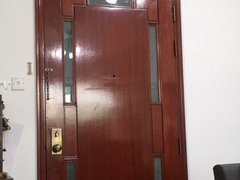
Paint brown doors to white/off white colour
ag_sg
6 years ago
Featured Answer
Sort by:Oldest
Comments (14)
Related Discussions
Oyster White vs Lennon vs Fantasy Brown granite for Off-White Kitchen
Comments (14)Thank you very much for the advice. I like Fantasy Brown a lot. I am not sure if it would work in my counter with the seam at the corner. It seems like pieces of Oyster White or Lennon are easier to join together discretely. Also, with the small appliances on the counter - microwave, toaster, coffee maker and kettle - I am not sure how much granite flow I will be able to see at a time. Is Oyster White look too simple in your opinion? What backsplash do you suggest to make it more visually interesting? What color of the floor tile is the best? My kitchen opens to the hallway/living room with red oak floor. I prefer not to have hardwood in the kitchen....See MoreWhat color trim for off white siding and bright white windows?
Comments (4)What a charming house?? I like the gold very much but understand if you want a change. I would keep the white trim, paint the body of the house the current door/shutter color, and have fun with the door color. The first thing that comes to mind would be fuchsia!...See MoreHelp with using Elmira White and off white paint colors
Comments (1)Any comments or ideas?...See MoreKitchen Cabinet White / Off white Paint Color Recommendations!
Comments (6)If this were my space i'd spend to fix the microwave situation. the walls are the problem as they have a yellow undertone. I dont see the problem w cabs and counter at all. Paint the walls the aesthetic white shown above. or a neutral bone or ivory or a white w more green undertone. stay away from yellow anything due to the true tan/brown of counter/floor.....Then I'd probably swap the glass in the vertical cabs for a smokey/frosted glass. I dont find the clear glass in that situation a plus at all. I dont see any yellow issue w cabinets from these pics........lighting assessment and a neutral wall color will address what you think is a yellow cast to cabs.....but probably is not. Money saved. Fix the corner w microwave....See More
ag_sg
6 years agoag_sg
6 years agoag_sg
6 years ago PRO
PROVerona Home Design
6 years ago
Related Stories
MOST POPULARMust-Try Color Combo: White With Warm Off-White
Avoid going too traditional and too clean by introducing an off-white palette that brings a touch of warmth and elegance
Full Story
COLORColor of the Year: Off-White Is On Trend for 2016
See why four paint brands have chosen a shade of white as their hot hue for the new year
Full Story
COLORWhite vs. Cream: Which Neutral Paint Color Is Right for You?
Do bright white rooms give you the chills? Are off-whites too drab and boring? Let’s see which is a better fit for you
Full Story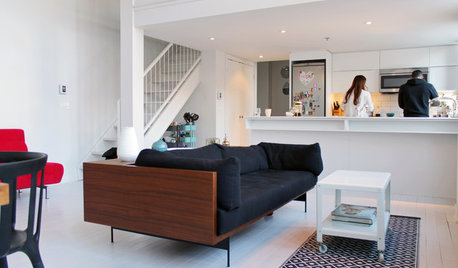
HOUZZ TOURSMy Houzz: Color Hits the Spot in a White-on-White Scheme
Bright red furniture strikes a dramatic pose against snowy walls and floors in a Montreal loft
Full Story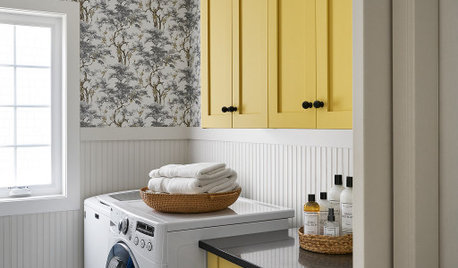
COLOR PALETTES9 White-and-Yellow Paint Color Pairings to Consider
Get design tips for working with these two versatile hues and learn about specific paint colors to try in your own home
Full Story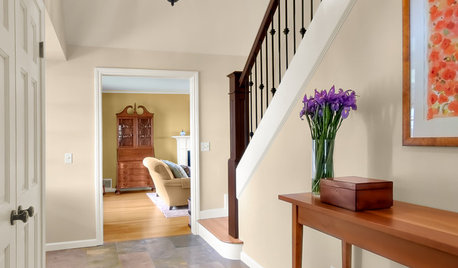
MORE ROOMSWarm Up Your Rooms With a Beautiful Off-White Paint
White paints warmed with a hint of color create radiant backdrops for countless interior design options
Full Story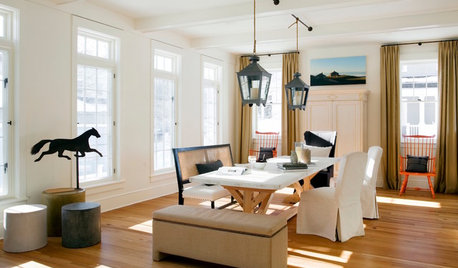
WHITEDesigner Secrets: 10 Pros Share Favorite Off-White Paints
From creamy white to barely beige, these hues will warm up your room
Full Story
TRIMTrim Color Tips: Get Your White Trim Right
Set off wood tones, highlight architectural features, go minimalist ... white trim is anything but standard when you know how to use it
Full Story
COLORThe Best White and Pastel Colors for Every Kind of Natural Light
Understand how sunlight affects your rooms and get tips on choosing paint colors for each type of exposure
Full Story
ECLECTIC HOMESMy Houzz: Bright White and Color in Austin
White paint, treasured vintage finds and a fresh boho interior refresh this couple’s 1990s Texas brick house
Full Story

lynartist