


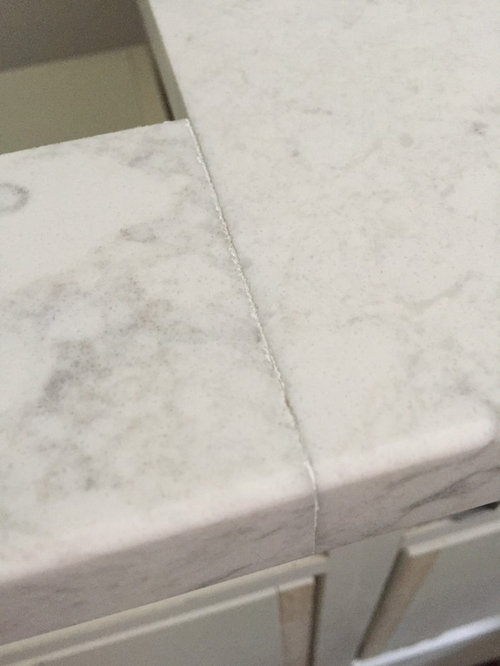
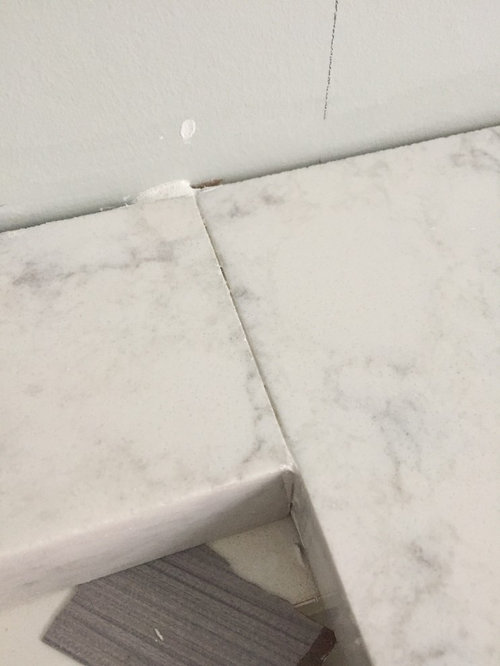
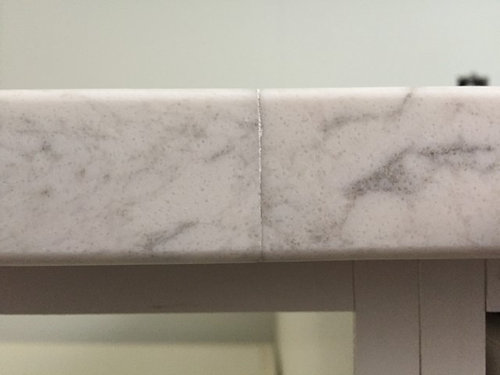
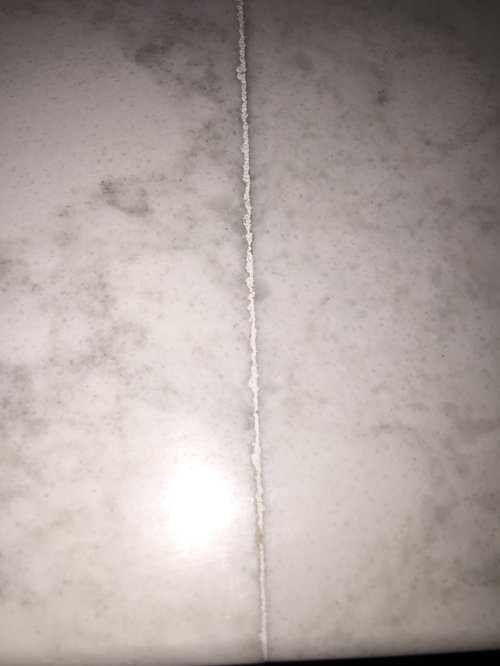
Quartz Countertop Seam Quality
Kent
7 years ago


Featured Answer
Comments (20)

User
7 years ago
nicole___
7 years agoRelated Discussions
Bad Quartz Countertop Seam
Comments (19)That seam is unacceptable. Have them remove the island and if they don't have access to a CNC machine to dress those edges, they need to dress them by hand with a Seam Phantom. Major methacrylate adhesive manufacturers (Glue Warehouse, Integra) have color matched adhesive recommendations that have been tested, unlike color-blind Bubba with his polyester mix. Everything I'm stating is industry standard. Tell your builder I said so....See MoreSeam or no seam quartz countertop
Comments (8)Sorry, Melissa, I can't make any sense out of what you're describing. Perhaps you could draw something, take a picture of the drawing and post it? The more rounded the edge, the less likely the chipping....See MoreQuartz countertops - seam and corner joint/is it fixable?
Comments (46)HU: HD contracts with different fabricators all across the country. They like to award all the work in a particular state to a single fabricator....See MoreAnother seam placement question for Compac Quartz counter top
Comments (2)i wouldn't be too worried about seam strength, frankly. if it's in the corner, the cabinet edges will help support it, and similar would be true for the sink. i would think about what you would find noticable/irritating. myself, i'd want the seam in the corner. i'd find it less noticable there....See Morepractigal
7 years agoUser
7 years ago
mama goose_gw zn6OH
7 years agolast modified: 7 years agomalabacat
7 years ago PRO
PROJoseph Corlett, LLC
7 years ago- PRO
Joseph Corlett, LLC
7 years ago homechef59
7 years ago
Kent
7 years ago- PRO
Joseph Corlett, LLC
7 years agolast modified: 7 years ago Vertise
7 years agoKent
7 years agolast modified: 7 years ago- PRO
Joseph Corlett, LLC
7 years agolast modified: 7 years ago Kent
7 years agochispa
7 years ago- PRO
Joseph Corlett, LLC
7 years agolast modified: 7 years ago Kent
7 years agoKent
7 years ago


Related Stories
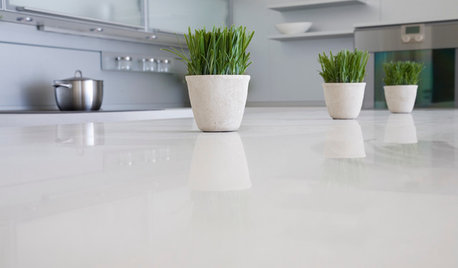
KITCHEN DESIGNKitchen Counters: Stunning, Easy-Care Engineered Quartz
There's a lot to like about this durable blend of quartz and resin for kitchen countertops, and the downsides are minimal
Full Story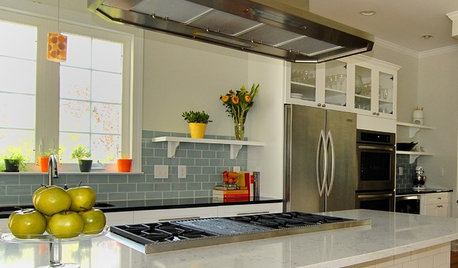
KITCHEN DESIGNGet Quartz and Porcelain Surfaces Super Clean
These cleaning tips for quartz, travertine, porcelain and engineered stone will help keep your countertops and sinks looking spotless
Full Story
DECORATING GUIDESAdd Gorgeous Sparkle With Rock Quartz Crystal
Natural, abundant and full of character, rock crystal offers a solid statement for your home
Full Story
KITCHEN COUNTERTOPS10 Countertop Mashups for the Kitchen
Contrast or complement textures, tones and more by using a mix of materials for countertops and island tops
Full Story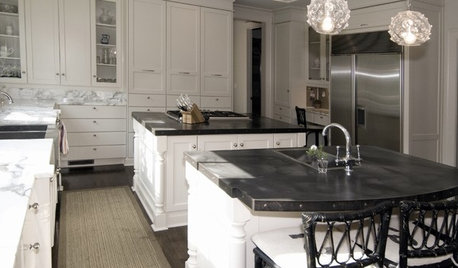
KITCHEN COUNTERTOPSKitchen Countertop Materials: 5 More Great Alternatives to Granite
Get a delightfully different look for your kitchen counters with lesser-known materials for a wide range of budgets
Full Story
KITCHEN DESIGNEco-Friendly Materials: Kitchen Countertops
Going green in the kitchen opens the door to unusual countertop materials that are beautiful, durable and kind to the planet
Full Story
KITCHEN DESIGNKitchen Countertops 101: Choosing a Surface Material
Explore the pros and cons of 11 kitchen countertop materials. The options may surprise you
Full Story
KITCHEN COUNTERTOPS7 Low-Maintenance Countertops for Your Dream Kitchen
Fingerprints, stains, resealing requirements ... who needs ’em? These countertop materials look great with little effort
Full Story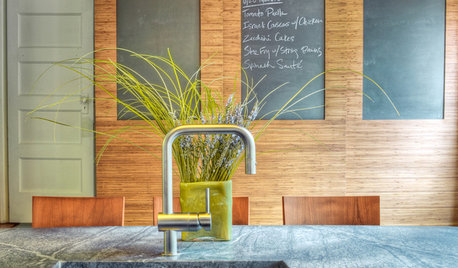
MOST POPULARYour Guide to 15 Popular Kitchen Countertop Materials
Get details and costs on top counter materials to help you narrow down the choices for your kitchen
Full Story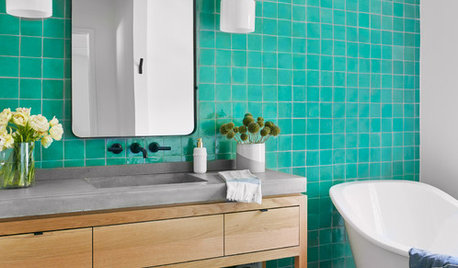
BATHROOM DESIGNBathroom Countertops 101: The Top Surface Materials
Explore the pros and cons of 7 popular bathroom countertop materials
Full Story

mayflowers