


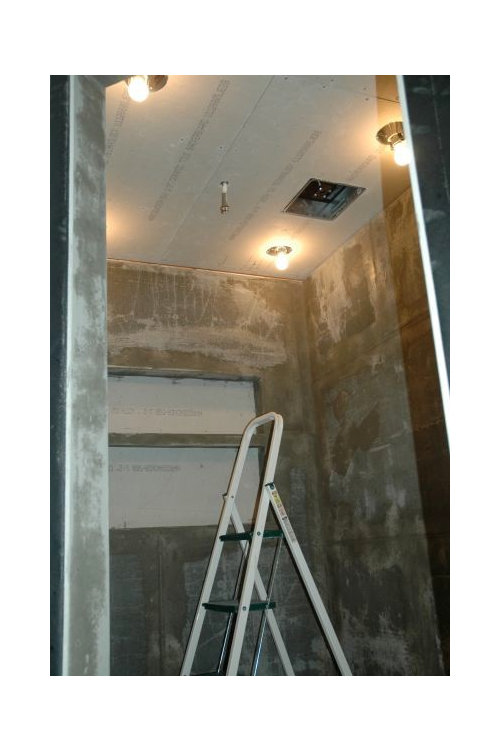
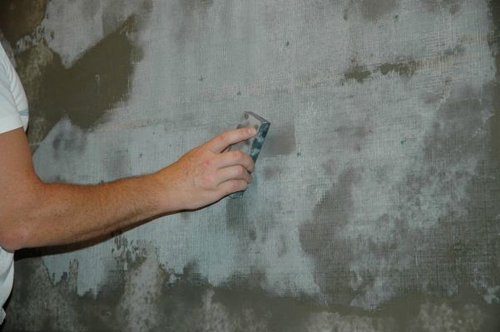
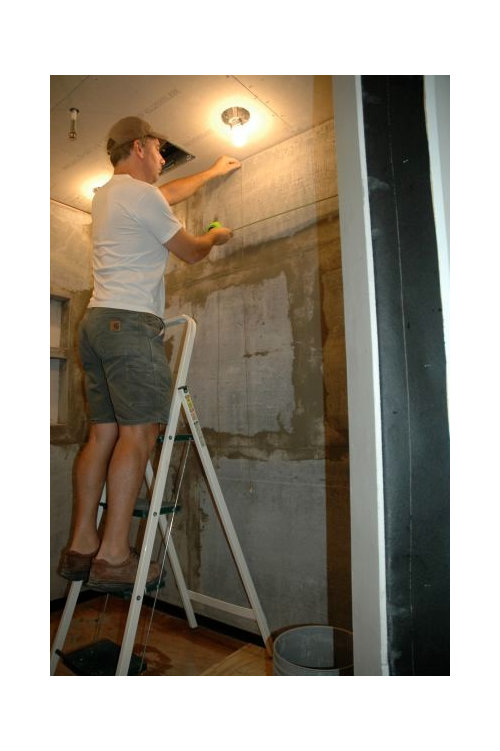
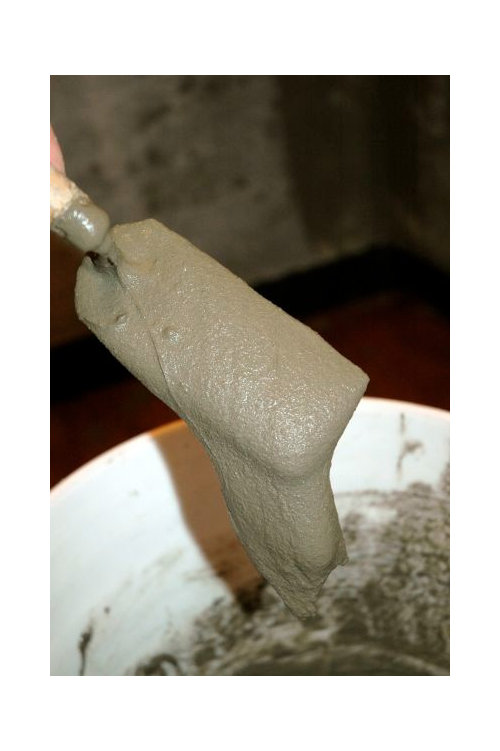
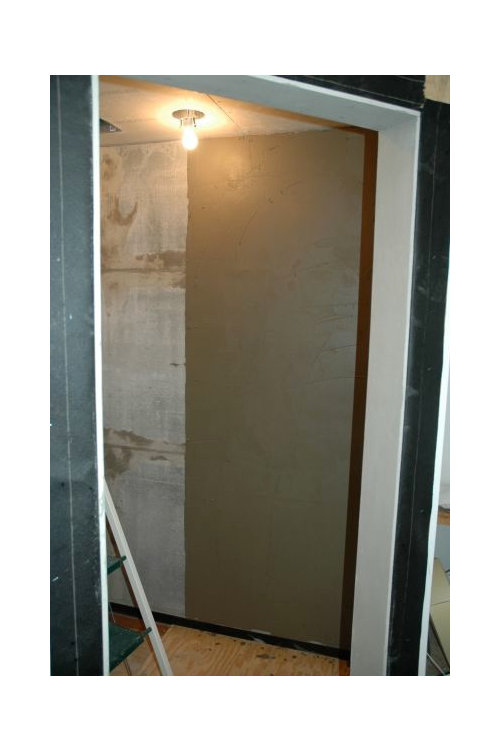
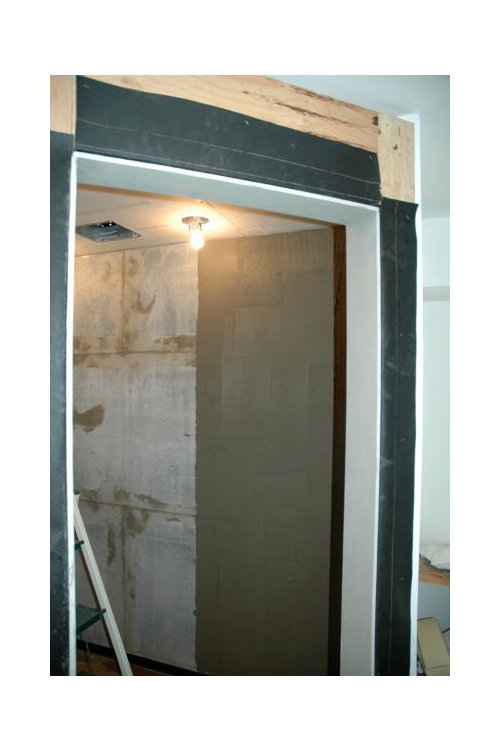
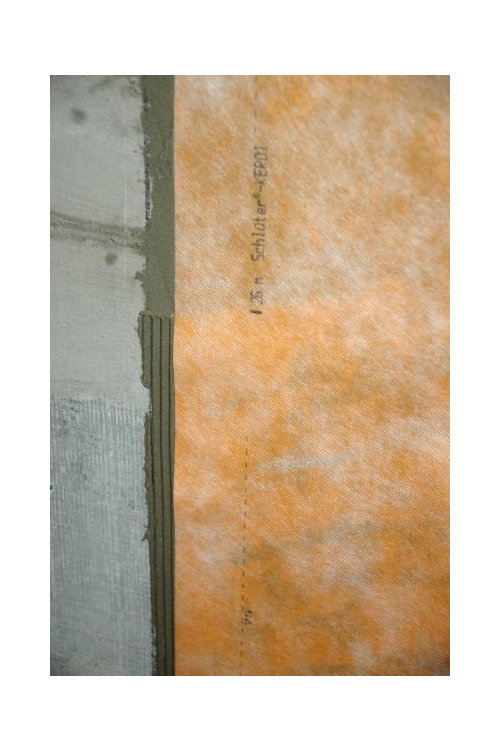
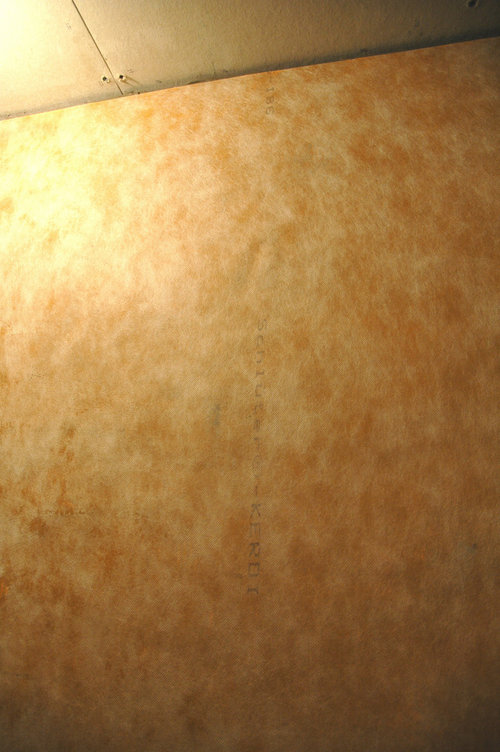
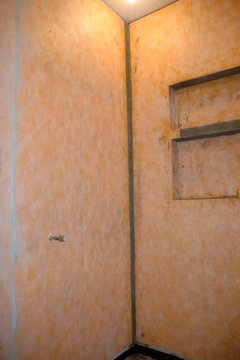
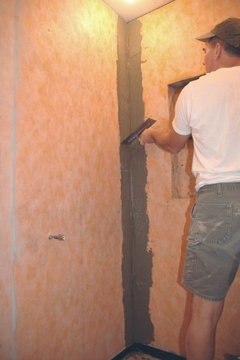
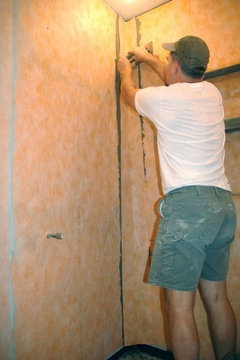
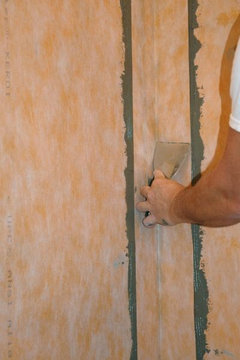
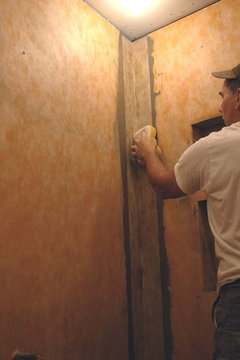
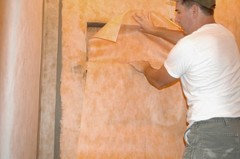
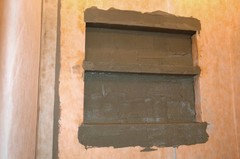
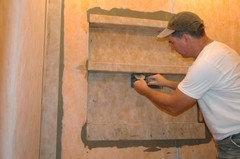
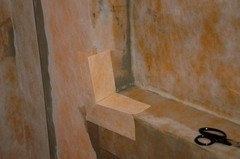
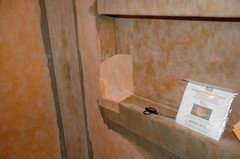
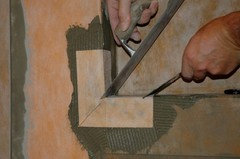
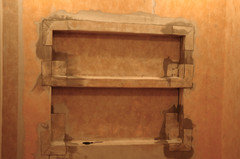
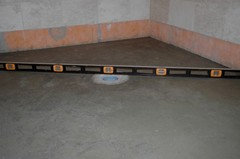
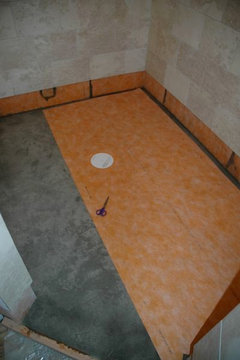
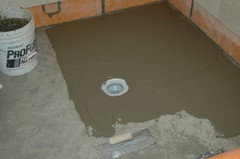
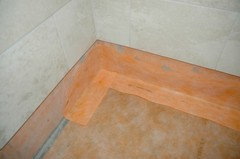
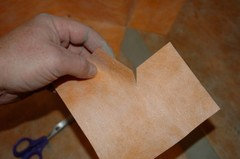
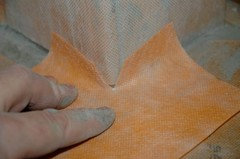
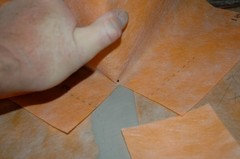
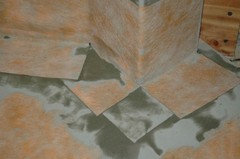
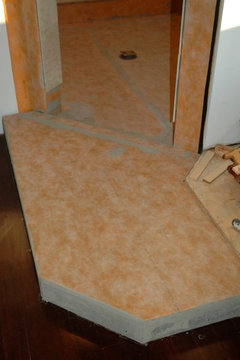
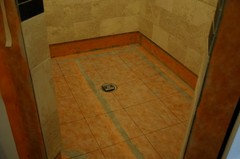
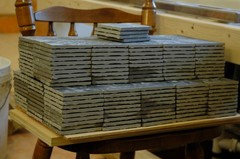
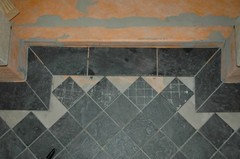
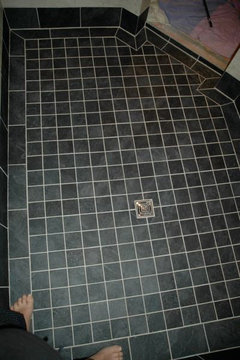
Kerdi Shower Part Three
MongoCT
7 years ago


Featured Answer
Sort by:Oldest
Comments (44)

MongoCT
7 years agokudzu9
7 years agoRelated Discussions
Window in shower how to Kerdi
Comments (22)Hey Cabinlife, thanks for starting this thread. Bill, I've was reading your advice -- and Mongo's -- back when we were wrapping up the kitchen and contemplating the bath. Unfortunately it's taken us so long to recover from the kitchen that my sieve-like mind now has to dig up all your old threads and re-learn! And as I don't know if we're up for DIYing and per Flyleft Kerdi installers are rare in these parts, I'm gonna need to get to that learning. Can I hijack this thread for a sec and ask about your "low- to-ground window in shower" remark? Because we've got an existing l-to-g wood window that we're looking to swap for a glass block install when we rip out the tub -- among everything else! -- for a shower-only thang, and Mr Vix wants to take it even lower -- about where your neo-angle one is. [Beautiful work, BTW.] Can you set me/us straight on practicalities? For you pic lovers/a laugh: PLS NOTE THIS IS NOT MY HANDIWORK THX [ha!]...See MoreBond Kerdi to Tub for Tub/Shower combo???
Comments (4)once you install the cement board (so that it sits above the tub flange), fill in that channel with thinset, and let it harden. once hard, go ahead and install your Kerdi, so that it's sitting no more than 1/8" off the tub. Then you can seal it with Kerdi-fix. That's the "book" explanation. If it were me, I'd use the same color siliconized latex caulking as my grout and seal it with that. Reason being that then you wouldn't have to worry about the color of the Kerdi-fix sticking out from under the tile....See MoreKerdi Shower
Comments (152)Posted by Yumpin Jim1mckenna@yahoo.com Thnk you for all theinfo great stuff. I am doing Keri for the first time I am confused about the thin set . The tile place I bought from sold me Maipei Karabond Premium Grade Dryset Mortar for the kerdi, North American adhesive Premium ahesive prmix for the tile on the walls. (all of it Not to cheap) they also wanted to sell me another thinset for setting the floor that is 1x1 mosaic tile. not sure if I have the right stuff or not. Can you tel me what I should use. For the job? to set shower Pan,Kerdi,wall tiles witch are 10x13, and floor tiles witch are 1x1 Mosaic. agin thank you muuuch...See MoreKerdi Shower Part Deux
Comments (52)Kerdi Update: I've gotten a couple of emails regarding the newer "Kerdi-DS". First, emails. I often get emails sent to me through the G'web email system, and because of the sender's setting on his/her G'web account, those emails can not be replied to. So don;t think I'm rude for not replying to your question. More often than not, it's literally impossible for me to reply to your email due to your account settings. Kerdi-DS. What is it? It's simply a thicker version of plain ole Kerdi. Kerdi is 8-mil, Kerdi-DS comes in at 20-mils thickness. Why is -DS now getting attention here in North America? Because TCNA has changed their recommendations for membranes used in commercial or heavy use steam showers. Recommendations for residential use steam showers have not changed at all. What or who is TCNA? TCNA is the Tile Council of North America. You might see references to TCNA when it comes to installing tile. TCNA publishes "best practice" guidelines for tile installation. You have an organization like TCNA which is fairly nimble when it comes to changing recommendations for installing tile. Then you have "building code", which only gets updated every few years, and updates are subject to influence from various interest groups; be they trade groups (plumbers, electricians, etc) or large corporations that make building materials. TCNA will often make tile/shower/bath recommendations that improve building practices several years ahead of those changes being implemented into state or national building codes. Blah blah blah. So what is this about? We have water barriers, which limit the penetration of liquid water. Then we have vapor barriers, which limit moisture vapor penetration. At a minimum, a water barrier is needed in a shower or tub surround. A more robust barrier, or a vapor barrier, is needed in a steam shower. Protection from vapor penetration has been typically defined by a product's "perm rating". Previously, if a product had a perm rating of less than 1.0, it was considered a vapor barrier. Example, a topical membrane that I use often is Hydroban. Hydroban has a perm rating greater than 1.0, so it can be used as a waterproof membrane in a shower, but it won't suffice as a vapor barrier in a steam shower. A product like RedGard has a perm rating of less than 1.0, so it can be used as a waterproof barrier in a regular shower, or as a vapor barrier in a steam shower. Kerdi? "Regular" Kerdi, the "standard" 8-mil thick Kerdi, has a perm rating of around .90, so it can be used as a water barrier in a regular shower, or as a vapor barrier in a residential steam shower. TCNA has revised their recommendations for vapor barriers used in heavy use or commercial use steam showers. Health clubs, spas, etc. Whereas the old recommendation was to use a material that simply had a perm rating of less than 1.0, for commercial installations like listed above the recommendation has been......See MoreMongoCT
7 years ago
rococogurl
7 years agoMongoCT
7 years agoMongoCT
7 years agoleela4
7 years ago PRO
PROCreative Tile Eastern CT
7 years agolast modified: 7 years ago
enduring
7 years agoMizLizzie
7 years agoMongoCT
7 years agorococogurl
7 years agoMongoCT
7 years ago PRO
PROJoseph Corlett, LLC
7 years agoenduring
7 years agoMongoCT
7 years agolast modified: 7 years agoenduring
7 years agolast modified: 7 years agoenduring
6 years ago
J Corn
6 years agolast modified: 6 years ago- PRO
Joseph Corlett, LLC
6 years ago J Corn
6 years agolast modified: 6 years ago
millworkman
6 years agoJ Corn
6 years agolast modified: 6 years agomillworkman
6 years agoJ Corn
6 years agolast modified: 6 years agonumbersjunkie
6 years ago- PRO
Joseph Corlett, LLC
6 years ago User
6 years agolast modified: 6 years agoMongoCT
6 years agolast modified: 6 years agonumbersjunkie
6 years agonumbersjunkie
6 years agoJ Corn
6 years agolast modified: 6 years ago PRO
PROMint tile Minneapolis
6 years agolast modified: 6 years agonumbersjunkie
6 years agokudzu9
6 years agolast modified: 6 years agonumbersjunkie
6 years agokudzu9
6 years agoJ Corn
6 years agolast modified: 6 years agoUser
6 years ago- PRO
Creative Tile Eastern CT
6 years agolast modified: 6 years ago User
6 years agolast modified: 6 years ago- PRO
Creative Tile Eastern CT
6 years ago J Corn
6 years agolast modified: 6 years ago


Related Stories

TRANSITIONAL HOMESHouzz Tour: Part Traditional, Part Modern and All Family Friendly
With clean lines, vintage touches and durable surfaces everywhere, this Los Angeles home balances tastes and needs beautifully
Full Story
MODERN STYLEHouzz Tour: Three Apartments Now a Three-Story Home
A grand new staircase unifies a sophisticated, industrial-tinged London townhouse
Full Story
HOUSEKEEPINGThree More Magic Words to Help the Housekeeping Get Done
As a follow-up to "How about now?" these three words can help you check more chores off your list
Full Story
DOORSKnow Your House: Interior Door Parts and Styles
Learn all the possibilities for your doors, and you may never default to the standard six-panel again
Full Story
HOUZZ TOURSHouzz Tour: Three Men and a Lady's DIY Paradise
One Handy Mom Takes Her Home from Blah and Beige to Bold and Beautiful
Full Story
HOUSEKEEPINGWhy Cleaning Window Screens Should Be Part of Your Winter Strategy
Dirty mesh blocks light, heat and views. Learn how to keep screens looking good and if they should be put away until spring
Full Story
LIFETime Travel to Houzzers' Childhood Homes, Part 2
Catch a glimpse of kit houses, bungalows, Tudors and more just as they were way back when — and listen in on the intriguing personal stories
Full Story
HOUZZ TOURSMy Houzz: Three Stories of Serenity in a Toronto Townhouse
Former school playing fields become a homesite for a Canadian couple with a flair for modern design
Full Story
BATHROOM DESIGNConvert Your Tub Space to a Shower — the Fixtures-Shopping Phase
Step 2 in swapping your tub for a sleek new shower: Determine your mechanical needs and buy quality fixtures
Full Story
BATHROOM DESIGNHow to Choose the Best Drain for Your Shower
Don't settle for a cheap fix when you can pick a shower drain that suits your style preferences and renovation codes alike
Full Story


MongoCTOriginal Author