


Old cabs: how to safely remove old paint?
theresse
13 years ago
Related Stories
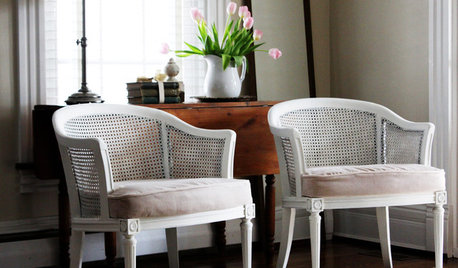
BUDGET DECORATINGBudget Decorator: 8 Ways to Make Old Furniture Look Brand New
Learn stripping, staining, painting and reupholstering basics to make bargain-basement furniture worthy of center stage at home
Full Story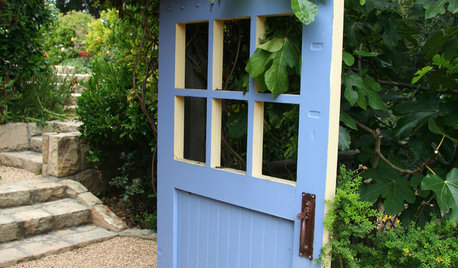
LANDSCAPE DESIGNArtful Salvage: Old Doors Decorate the Garden
In a fence or leading only to imagination, salvaged doors can create lots of intrigue for little cash
Full Story
MOST POPULARHow to Reface Your Old Kitchen Cabinets
Find out what’s involved in updating your cabinets by refinishing or replacing doors and drawers
Full Story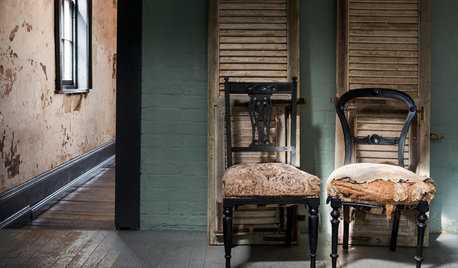
REMODELING GUIDESThe Hidden Problems in Old Houses
Before snatching up an old home, get to know what you’re in for by understanding the potential horrors that lurk below the surface
Full Story
MODERN HOMESHouzz Tour: 800-Year-Old Walls, Modern Interiors in Provence
Old architecture and new additions mix beautifully in a luxurious renovated vacation home
Full Story
UPHOLSTERYThe Perks and Perils of Reupholstering Old Furniture
Secondhand upholstered pieces can add character to a room, but beware of bugs, snakes and hidden costs
Full Story
FURNITUREOld Furniture: Clean, Reupholster or Replace It?
A veteran upholstery cleaner weighs in on the options for found, inherited and thrift store furniture
Full Story
KIDS’ SPACESSee an Arizona Nursery That’ll Never Get Old
Age appropriate but not childish, this baby boy’s room will grow with him without a redesign
Full Story
DECORATING PROJECTSWhat to Do With Old Family Photos
Find out how to research, share and preserve images that offer a connection to the past
Full Story
BEFORE AND AFTERSOld Hollywood Style for a Newly Redone Los Angeles Bath
An ‘NCIS’ actor gives her 1920s classic bungalow’s bathroom a glam retro makeover
Full Story


artemis78
theresseOriginal Author
Related Discussions
need help! what to do with old paint stripper/varnish remover
Q
How to remove old style vent diffuser
Q
How can you remove / blend the hard edge of an old paint line
Q
How to safely move an old old hydrangea bush?
Q
ideagirl2
artemis78
theresseOriginal Author
John Liu
theresseOriginal Author
John Liu
theresseOriginal Author
John Liu
oldhousegal
ideagirl2
artemis78