


painting my cabinets dark... the process!
girlwithaspirin
15 years ago
Sort by:Oldest
Comments (19)
Related Stories
KITCHEN DESIGNStylish New Kitchen, Shoestring Budget: See the Process Start to Finish
For less than $13,000 total — and in 34 days — a hardworking family builds a kitchen to be proud of
Full Story
BEFORE AND AFTERSReader Project: California Kitchen Joins the Dark Side
Dark cabinets and countertops replace peeling and cracking all-white versions in this sleek update
Full Story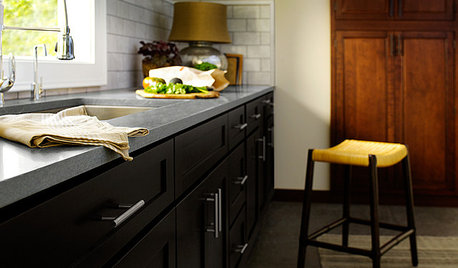
KITCHEN DESIGNAre You Ready for a Dark and Sophisticated Kitchen?
Black kitchen cabinets have a rich, timeless look. Get ideas for your next cabs — and how to paint the ones you have
Full Story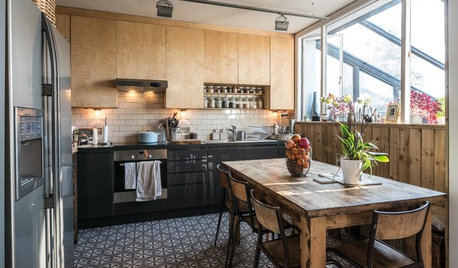
KITCHEN DESIGNA Two-Tone Cabinet Scheme Gives Your Kitchen the Best of Both Worlds
Waffling between paint and stain or dark and light? Here’s how to mix and match colors and materials
Full Story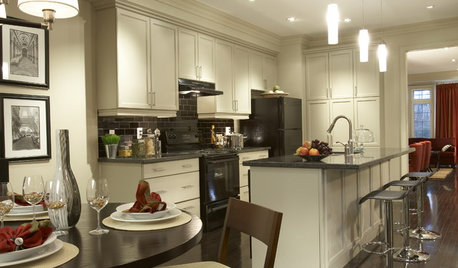
KITCHEN DESIGNCabinet Colors for Dark Appliances
See how to make your black kitchen appliances blend in and look great
Full Story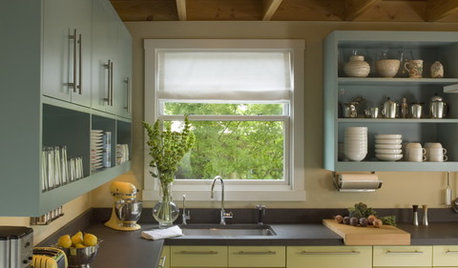
MOST POPULAR8 Great Kitchen Cabinet Color Palettes
Make your kitchen uniquely yours with painted cabinetry. Here's how (and what) to paint them
Full Story
DECORATING GUIDES9 Ways to Use Rich, Dark Paint
See how deep colors — navy blue, charcoal, dark chocolate — can bring out your home's best details
Full Story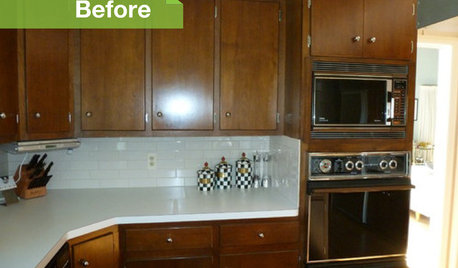
KITCHEN DESIGN3 Dark Kitchens, 6 Affordable Updates
Color advice: Three Houzzers get budget-friendly ideas to spruce up their kitchens with new paint, backsplashes and countertops
Full Story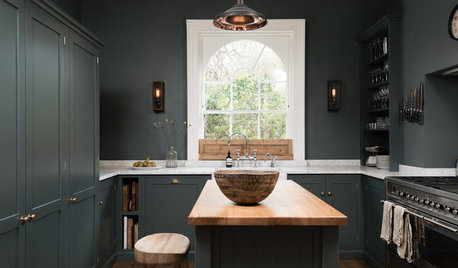
KITCHEN OF THE WEEKDark Gray Sophistication in a Shaker-Style Kitchen
Rich paint used throughout this compact London space helps create a kitchen that’s contemporary and inviting
Full Story
LIGHTINGDark Hardware Anchors a Light Space
If your rooms are floating away from too much airiness, bring them back to earth with dark curtain rods, cabinet hardware and more
Full Story

beachbum
mitchdesj
Related Discussions
Painted oak - grain showing?
Q
help with dark wood color for painting cabinets
Q
My Cabinet Touchup Process for Minor Nicks and Flaws
Q
Painting dark knotty pine cabinets and paneled walls
Q
abbycat9990
simoneb
jessie21
ccoombs1
amysrq
skippy_2008
Jodi_SoCal
rhome410
moremoremore
kitchenkelly
leahcate
pfmastin
bdaykitchen
bbstx
madeyna
redroze
clwguy