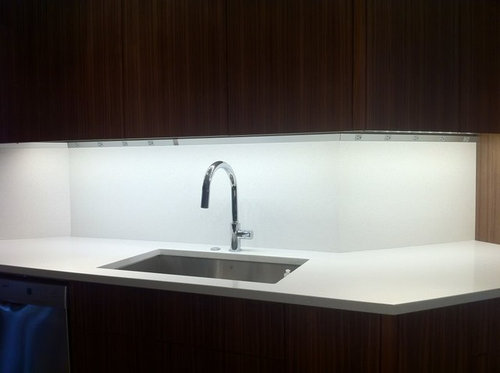
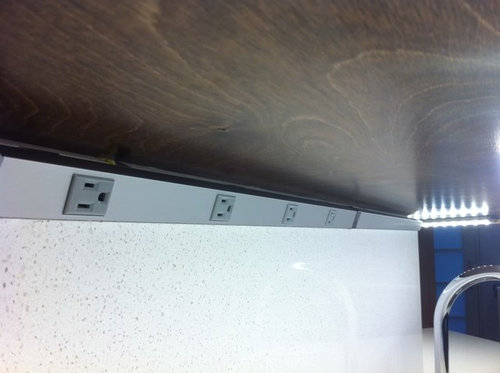
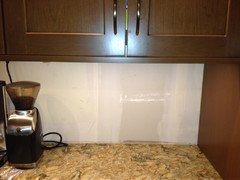
Most complicated under counter plugmold in the world? (pics!)
charliehorse99
11 years ago
Featured Answer
Sort by:Oldest
Comments (21)
carolml
11 years agolast modified: 9 years agoa2gemini
11 years agolast modified: 9 years agoRelated Discussions
Anyone here doing concrete counter tops?
Comments (35)A good friend of ours has done many concrete countertops and they look amazing. We seriously considered it for our remodel. The staining/etching is what turned us off. To be perfectly frank I'm a slob in the kitchen. A countertop that would be damaged by red wine or lemon left on it overnight is just not feasible. Instead we went with soapstone. If it can hold up to legions of teenage chemistry students I feel it can hold up to me. :D If you do decide to go with concrete have you seen the books by Fu-Tung Cheng? They're excellent. Soapstone can be a lot more affordable as a DIY project. The quarry we bought from has DIY kits for about $25/sq ft or you could make it even cheaper by using tiles. Soapstone seams incredibly well....See MoreCopper counter or SS counter owners...question!
Comments (15)I'm sure you are all aware of the danger of copper residue ingestion, but just in case... As a historic reenactor specializing in Gt. Lakes fur trade, I encounter a lot of copper, esp. nested kettles. Our club makes a point of using copper and brass containers for cooking only if they are tinned inside. We can use them for water holding, even drinking water, but if any acid food or similar substance gets to eating at the copper, it can create something that can poison us. Having once drunk cider from a container of silverplate on copper that must have had some verdegris along a scratch in the silver, all I can tell you is plan to be sick to your stomach, very sick. And that's if you are lucky. If this had gone on a lot longer before I drank, am not sure what I would have done. Water in copper pipes is safe to drink and candy or popcorn made in a brass or copper kettle is standard practice. I know a lot of people cook eggs and sauces in copper containers. Just be cautioned about chemical reeactions. On another note, am very curious as to whether anyone knows much about zinc sinks and countertops. These were common a century ago, I believe....See MoreIt's Friday...includes backsplash pic and countertop...
Comments (79)YEAH you did it. I wish i had pics of my first loaves from 35 yrs ago !! You rock. It does take practice kneading and shaping. I have made two tutorials and will post them tomorrow. I have taken LOTS of pics and will make slideshows and then you will see. I made both the Challah which just this minute came out of the oven and I made the Sunflower Whole Wheat bread...there are errors in the recipe I posted so I will also correct those....I just hope that jterri doesn't KILL me :) I had to add water and leave out flour. I can only say that when I thought back it has been 25 years since I made it so who knows how things have changed ! Anyway ...tomorrow is Friday #2....looking forward. c...See MoreUnder-counter fluorescents
Comments (37)We had UC fluorescent lights installed and never regretted it. Cool, quiet, low profile, nice warm light. It never entered our mind to consider dimming these and going with LED's at the extra expense. Our recessed lights, the mini pendants over the sink, the pendants over the peninsula and a small cafe table are all dimmable.There is no reason why every light in your kitchen has to be dimmable. These are dirt cheap compared to the alternatives and wiring is a cinch. No transformers or wondering if the wall switch dimmer is compatible. Ours work off a wall switch but you can also switch off individual units if you want but we have never found a reason to....See Moreangie_diy
11 years agolast modified: 9 years agocharliehorse99
11 years agolast modified: 9 years agomaggieq
11 years agolast modified: 9 years agocharliehorse99
11 years agolast modified: 9 years agocharliehorse99
11 years agolast modified: 9 years agooldbat2be
11 years agolast modified: 9 years agocharliehorse99
11 years agolast modified: 9 years agoandreak100
11 years agolast modified: 9 years agooldbat2be
11 years agolast modified: 9 years agoiroll_gw
11 years agolast modified: 9 years agofriedajune
11 years agolast modified: 9 years agoandreak100
11 years agolast modified: 9 years agocharliehorse99
11 years agolast modified: 9 years agocharliehorse99
11 years agolast modified: 9 years agoa2gemini
11 years agolast modified: 9 years agoa2gemini
11 years agolast modified: 9 years agocharliehorse99
9 years agolast modified: 9 years agoa2gemini
9 years agolast modified: 9 years ago
Related Stories
STORAGEWorld of Design: 11 of the Globe's Most Creative Storage Solutions
See the ingenious side of storage in France, Sweden, Russia and beyond
Full Story
BATHROOM DESIGNDoorless Showers Open a World of Possibilities
Universal design and an open bathroom feel are just two benefits. Here’s how to make the most of these design darlings
Full Story
PETSWorld of Design: Pampered Pets and Their 10 One-of-a-Kind Homes
Fall in love with these critters and their clever living spaces, from a cat playground in France to a chicken house in the U.S.
Full Story
MOST POPULARRethinking Beige in a World Gone Gray
Gray, the ‘it’ neutral of recent years, has left beige in the shade. But is it time to revisit this easy-on-the-eyes wall color?
Full Story
MOST POPULARKitchens Down Under: 20 Design Ideas to Inspire You
These popular Australian kitchens have exciting ideas to borrow no matter where you live
Full Story
KITCHEN DESIGNThe Most Popular Kitchen Storage Ideas of 2015
Maximizing every inch, keeping necessities close at hand and finding room for technology top Houzzer favorites
Full Story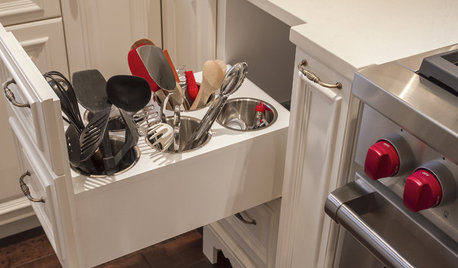
MOST POPULARThe 15 Most Popular Kitchen Storage Ideas on Houzz
Solve common kitchen dilemmas in style with custom and ready-made organizers, drawers, shelves and more
Full Story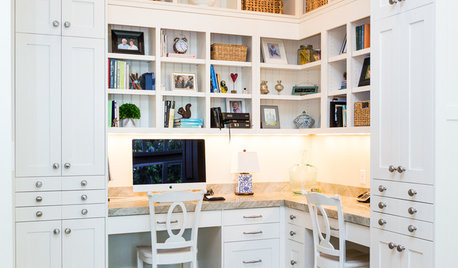
HOME OFFICESThe 20 Most Popular Home Office Photos of 2015
Technology paves the way for space-saving work areas, while designers make up for small sizes with style
Full Story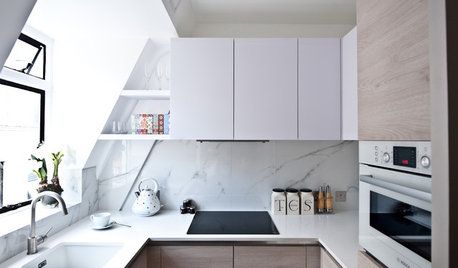
THE HARDWORKING HOMESmart Ways to Make the Most of a Compact Kitchen
Minimal square footage is no barrier to fulfilling your culinary dreams. These tips will help you squeeze the most out of your space
Full Story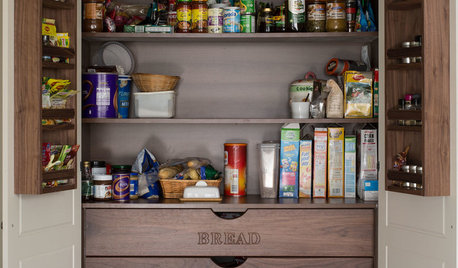
MOST POPULARThe Most Popular Kitchen Storage Ideas of 2014
Of all the kitchen storage photos uploaded to Houzz this year, these 14 were tops. Which will you save to your kitchen ideabook?
Full Story



chicagoans