

Heavy cardboard tubes
21 years ago
Featured Answer
Sort by:Oldest
Comments (22)
 21 years ago
- 21 years ago
Related Discussions
Buckeye seedlings turned brown and died, why?
Comments (5)the cardboard wicked away enough moisture to kill them. ==>> some variation of that is my vote .. had you simply stuck them in the ground... and i hope you did with some... i presume you would have had no problem ... as an experiment ... you created a non-normal growing culture and failed ... two thumbs up for the experiment ... just guessing.. you completely interfered with water management ... exactly how.. who knows ... and part of the problem is the whole tap root mythology .... IMHO ... its simply not requisite ... its just another root ... thx for the experiment ... BTW .. we get newsprint end rolls for the kids ... and the tubes are the same ... with the laminate glue in it.. i could beat a yugo to a pulp with the roll ... i cant see how any moisture permeated it ... in one season ... they are probably as hard as a 2 x 4 .... unless yours are different ... where the leaves sticking out the top??? ken...See MoreCardboard for composting: Shred it or crumple it?
Comments (12)Sorry if this is off-topic, but it is regarding cardboard. Are pizza boxes, cereal boxes, and toilet paper rolls OK for composting and for use on vegetables? Seems there is glue in the toilet paper rolls and beyond the seam of cereal boxes (that I always rip off as it's obvious there is glue to hold the box together), it seems the glossy paper is glued to any cardboard material. Is that glue broken down during composting enough to use on vegetables or should I only compost cardboard that is solid brown?...See MoreGrowing Wisteria in Zone 4
Comments (14)I just saw this thread. I'm also in zone 4. I brought two young wisteria vines (in pots) with me when I moved here from the north SF Bay area of CA five winters ago. One is still in its pot, the other is planted in my front yard. When I checked with the local nurseries here, the best we could come up with is "iffy" on the wisteria surviving the winters. They're actually both doing fine. So far. The potted one comes inside as soon as it goes dormant, and spends the winter in my enclosed, but unheated, front porch. I give it 'some' water about once a month, depending on how cold it is and how damp the soil is. In the spring, when the weather warms up, it goes back outside on my patio, which has a roof, but is otherwise open. The one planted in the yard, I will admit, gives me a strong case of "nerves" every spring, waiting for it to...do something. It's always the last plant to show any movement in the buds. The first couple years it was very hesitant and the growth wasn't as luxious as I know it can be. This past summer though, it took off like crazy, sending out new growth every which way. For the first time since planting, I actually had to prune a little. I'm wanting this to grow the same way you mention, as a standard. Winter protection, when it was small enough, was provided by removing the bottom from a cheap plastic garbage can, putting that over the vine, and then filling it with cedar mulch. The second year, the top was higher than the upside down garbage can, so I put a five gallon bucket, upside down, over the top. There was no mulch inside the bucket. I did have some top burnback from the winter temps (which can get -30° here), but the rest of the vine was fine. Last winter, and now, the vine has gotten too tall for the garbage can method, so I went to Home Depot and got a couple 4 ft high, 12 inch diameter, Quick Tubes. These are very heavy cardboard tubes used for pouring concrete pillars. I covered the bottom of one tube, inside and out, with plastic to keep it from getting wet. Then I "bundled up" the branches of the vine to keep them from breaking, and slid the tube over the vine, filling it completely with cedar mulch. Because it tends to be top-heavy, the tube has to be staked so it won't fall over. Then I covered the top with plastic (garbage bag) and duct-taped everything down. Worked last winter, and I expect it'll work again this winter, especially as mild as it's been. The only other problem I've encountered is that the Japanese beetles LOVE to munch on it. I put a trap out each year, and employ the "two-block" method - smash the beetles between two blocks of wood. Doesn't seem to harm the wisteria at all. This summer, I'm hoping to get some Milky Spore and spread it around the yard to combat the beetle problem. Hope this helps....See MoreCardboard tubes from coat hangers
Comments (5)Have you considered buying the cheap packages of chopsticks that they sell at the grocery in the Asian food section, or at a restaurant supply store? I think those things are about a penny a piece or so. More fun because they won't bend or break the first time the kids tap something with them. You can easily spray paint them if need be....See More 21 years ago
 21 years ago
- 21 years ago
- 21 years ago
- 21 years ago
 21 years ago
- 21 years ago
- 21 years ago
- 21 years ago
- 21 years ago
- 21 years ago
 21 years ago
- 21 years ago
- 20 years ago
- 20 years ago
- 20 years ago
- 20 years ago
- 20 years ago
- 15 years ago
Related Stories
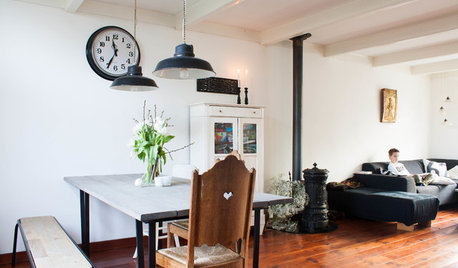
HOUZZ TOURSMy Houzz: Going Heavy on the Metal for Industrial-Style Beauty
Steel and iron pieces mix with antiques and heirlooms in an eclectic Netherlands home
Full Story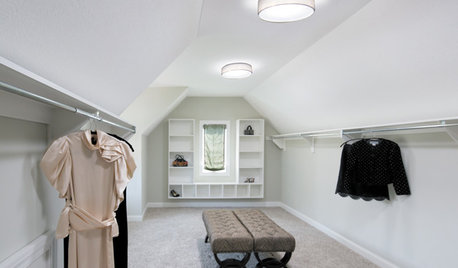
GREAT HOME PROJECTSHow to Add a Skylight or Light Tube
New project for a new year: Increase daylight and maybe even your home’s energy efficiency by opening a room to the sky
Full Story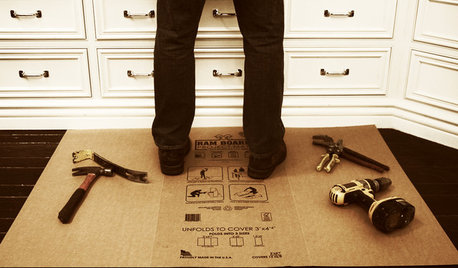
BATHROOM DESIGNOut With the Old Tile: 8 Steps to Prep for Demolition
This isn't a light DIY project: You'll need heavy-duty tools and plenty of protection for your home and yourself
Full Story
FUN HOUZZ9 Places for the TV We Haven't Seen — Yet
Tube watching ventures into uncharted territory. How far would you go in your own home?
Full Story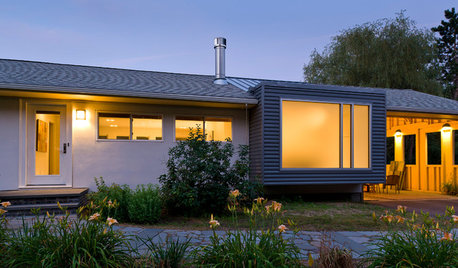
ARCHITECTUREThe Bay Window Goes Modern
Square tubes, cantilevered cubes, mixed glass ... new plays on bay windows are boldly branching out in modern architecture
Full Story
FURNITURETotally Tubular Chairs
Lightweight Metal Freed Us from Heavy Wooden Cherubs and Claw Feet
Full Story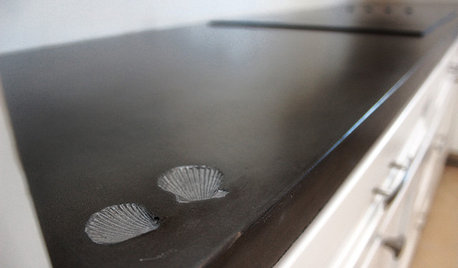
KITCHEN COUNTERTOPSElephants of the Kitchen? What to Know About Concrete Counters
Concrete countertops are beautiful, heavy and cool — and have their own peculiarities. And a lot in common with certain gray pachyderms
Full Story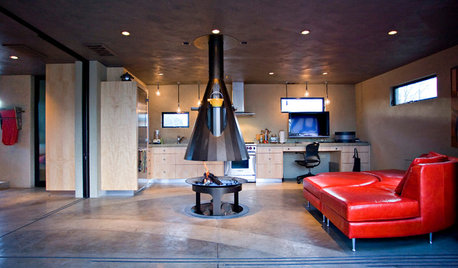
HOUZZ TOURSHouzz Tour: Steel Fuses Industrial and Modern in a California Pavilion
Heavy on metal, this two-story addition entertains with a stargazing hot tub, a fire pole and an unusual fire feature
Full Story
PETSWays to Keep Pets Comfy-Cozy at Home
Chilly days call for snug pet nooks, plush bedding and other creature comforts
Full Story
Sponsored
More Discussions
weedwhacker