


best way to fill in old strike plate holes in jambs?
jperiod
17 years ago
Featured Answer
Sort by:Oldest
Comments (6)

jsaint47
17 years agoRelated Discussions
Best way to plant bulbs?
Comments (6)Don't plant in lines or rows or individually - plant in clusters, the larger the number the better (15 is better than 5). It's just a matter of personal preference but I dislike mixing different bulbs together. I think you get better aesthetics and a more striking effect if you plant groupings of the same bulbs - tulips together, irises together, squills together, etc. I also tend to keep colors distinct as well but again, that's a personal choice. The attached link will explain the planting procedure, which is standard for virtually any type of bulb - well-draining soil, depth of 2-3 times the diameter of the bulb, pointy end up and water well after planting :-) I disagree about the need for fertilizing when planting - bulbs are self-contained units - everything need for healthy growth and flower production is already contained in that bulb. If necessary, you can fertilize lightly when you see the new growth emerging in spring but I see no need to fertilize new bulbs at all. Once established in the landscape, an annual fertilization may be appreciated but not necessarily required, depending on soil conditions and the bulbs' care, especially after flowering. FWIW, I've planted and grown spring flowering bulbs in both mine and clients' gardens for dozens of years and have never encountered a need for additional fertilization other than annual mulching with a good quality organic mulch. If you do want to fertilize, I'd opt for a formulation specified for bulbs rather than just bone meal, etc. Apply in moderation and work it into the soil well. Avoid direct contact with the bulbs, especially where the roots form (basal plate). Here is a link that might be useful: how to plant bulbs...See MoreTips on patching some holes
Comments (13)I use the Sheetrock brand Easy Sand 20 or 45. I am pretty sure that most tradesmen are calling that stuff Durabond these days generically even though Durabond is really a different product. The Easy Sand is better because at least you can sand it a little.....Durabond dries rock hard and is hard to sand. What I usually do is mix up some Easy Sand 20 for the first two coats and put it on light and then top it off with Sheetrock Plus 3 because the Plus 3 is really easy to sand and is really lightweight so if you put heaping mounds of mud on you won't need a belt sander to get it off when it dries. That is usually what most novice patchers do and as painters we see it a lot....homeowners think they are saving their painters time by patching the holes before they arrive to start but really they just create more work for us. Just remember that any ridge of mud has to be sanded smooth and several light coats are better than a few heavy ones. Also, make sure that you push the holes into the wall before you patch...you want the holes to be indented. I usually use the back side of a screwdriver for this to create my crater before patching. Anything that is sticking out higher than the surface of the wall before you patch is going to show. Also, don't think that you can go to a paint store and get a perfect match. That's probably impossible....they can probably get it close, but without knowing the exact color, brand and sheen that was used, expect your touch ups to show a little. The only real solution is painting entire walls or finding out the paint that was used. I'm surprised that they didn't leave some behind....most people do....See MoreRepairing latch plate mortises
Comments (4)Minwax high performance wood filler (bondo with a nicer filler). There should not be a lot of sanding if you work the material before it completely harden with ordinary wood chisels and tools. I would not even fill the entire mortise, but just put enough material to fill the area you need and a little more. Carefully watch the leftover material, and when it stiffens up but is not fully hard (usually about 10-15 minutes depending on the temperature) use some wood chisels to remove the excess from the mortise....See MoreHow do you 'fill' the hole at the bottom of french doors?
Comments (46)All of the answers are wrong. I recently went through this and hired a pro to fix it. For $1400 he shoved some weather stripping in my 4 sets of french doors. This is a garbage fix. Finally I fixed all 4 doors myself. What you need is a bump threshold. M-D Building Products 69709 1-Inch by 3-1/4-Inch by 73-1/8-Inch TH153 Bumper Threshold, Bronze https://www.amazon.com/dp/B003YUGSCC/ref=cm_sw_r_cp_apip_6VAqMTR5lSupb The bump threshold provides a solid aluminum bottom edge for the doors to seal against, with a silicon gasket. I used an oscillating saw to cut the bottom of the astragal so the astragal won’t hit the bump threshold. In my last house I had Anderson Architectural French doors. What I loved is that it was a single unit that included a gasketted seal on the bottom. Essentially a jam, just like on the top and sides. You could turn a hose on for an hour and you would not get a drop of water inside. They key is that the bottom has a jam too. So when I searched for a fix for my shitty-installed french doors on my new house, I wanted to reproduce this solid edge seal on the bottom. And after much searching I found the MD bump threshold. In addition I replaced the door shoes with M-D Building Products 43337 M-D... https://www.amazon.com/dp/B00PKSFEAI?ref=ppx_pop_mob_ap_share And I replaced the drip caps: M-D Building Products 68734 1-7/8-Inch Vinyl - 36-Inch DB037 Door Sweep with Drip Cap, Bronze https://www.amazon.com/dp/B001M58S8I/ref=cm_sw_r_cp_apip_pKixN4pHg3L89 I also recommend this adjustable stripe plate which helps make sure your door latch engages at the right place so you get that satisfying “thunk” when you close the door and feel it latch into place at exactly the right place for the door bottom to seal tightly against the bump seal. Defender Security U 9488... https://www.amazon.com/dp/B00D2K39BM?ref=ppx_pop_mob_ap_share Overall, fixing a shitty French door installation isn’t easy. But if you are weekend warrior, then installing a bump seal might be for you!...See Morebrickeyee
17 years agojsaint47
17 years agojason1083
17 years agosombreuil_mongrel
17 years ago
Related Stories
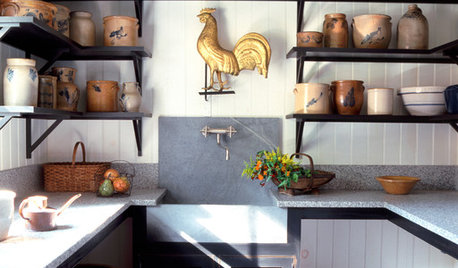
ACCESSORIESStoneware Crocks Strike a Chord
Once just humble pantry items, stoneware containers have become showpieces around the home
Full Story
HOUZZ TOURSMy Houzz: A Musical Couple's Home Strikes a Personal Chord
Light, glass and many musical instruments animate this 1905 bucolic Washington farmhouse
Full Story
SALVAGE12 Ways to Get in the Spirit of Old Stuff Day
Vintage heads into the limelight on March 2. What pieces could you cast in a different role?
Full Story
HOUZZ TOURSMy Houzz: Art and Lucky Finds Fill an Airy New House
Bicycle wheels, wire hangers, IV drips ... anything can become furniture in this artistic family's home
Full Story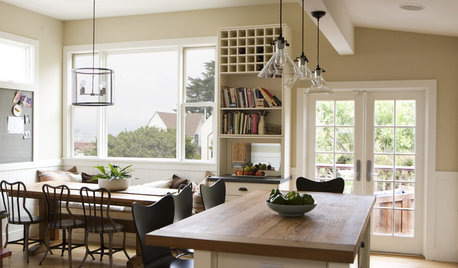
BUDGET DECORATINGBudget Decorator: 15 Ways to Update Your Kitchen on a Dime
Give your kitchen a dashing revamp without putting a big hole in your wallet
Full Story
DECORATING PROJECTSWhat to Do With Old Family Photos
Find out how to research, share and preserve images that offer a connection to the past
Full Story
MOST POPULARHouzz Tour: A Playful Home Drawn Up by 8-Year-Old Twins
Plans for this innovative tower home in Melbourne were going nowhere — until the homeowners’ twins came to the rescue
Full Story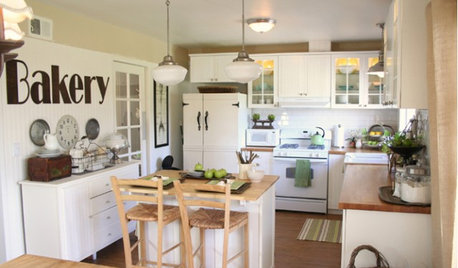
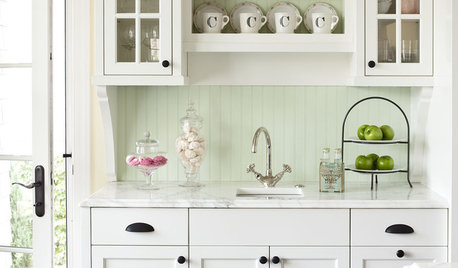
KITCHEN DESIGNModernize Your Old Kitchen Without Remodeling
Keep the charm but lose the outdated feel, and gain functionality, with these tricks for helping your older kitchen fit modern times
Full Story
MODERN HOMESHouzz Tour: 800-Year-Old Walls, Modern Interiors in Provence
Old architecture and new additions mix beautifully in a luxurious renovated vacation home
Full Story


brickeyee