


Outstanding IPE Questions
17 years ago
Featured Answer
Sort by:Oldest
Comments (34)
 17 years agolast modified: 9 years ago
- 17 years agolast modified: 9 years ago
Related Discussions
Ipe decking questions
Comments (5)"2. I was hoping to use the Deckmaster hidden fastening system that screws into the deck boards angled from below? Does anyone have any experience with this? Would prefer not to face screw the boards in place. Do I have to worry about increased cupping using this method?" Do not even think of using these on any project, especially Ipe. Deckmaster is about the worst hidden fastener system on the market. The design is all wrong. (think placement of fasteners) the holes are where they are. Worry about cupping. You can't place 2 screws 3/4" in from the edge of the boards. Then, when you drive the fastener (from below) how is the board held tight to the joist? This is a major PIA. Standard top screwing has many advantages, no disadvantages when you're talking Ipe. If you MUST have the look of invisible fasteners, choose another system. A couple of other little tips: 1. NEVER drill a pilot hole into the joist. No matter how you attach the decking, hidden fasteners or top screws, the joist should not ever be pilot drilled. Pressure treated lumber is very green (wet) and it shrinks significantly. Therefore, a drilled pilot hole becomes larger. As the seasonal wet and dry cycles occur, the decking pulls against the screws. Some will come loose from the pilot holes. The only chance a screw has of staying put, is to go directly into the undisturbed wood fiber. And longer screws are not better, The longer the screw, the more it sticks up when the joist dries out. 1.5" embedment is ideal. 2. Finish is not necessary on Ipe. It will go gray naturally, no matter what finish you put on. The only way to keep the wood it's original color is to finish it 3 times the first year, refinish it twice a year for the next 3 years, and then annually after that....See MoreIPE decking fastener question
Comments (7)Lots of questions here so I'll try to give my answers based on my experience in playing with both biscuit types and CAMO, as well as my customer feedback. I'm now leaning towards preferring CAMO as a hidden fastener because I think it gives you the best stability possible out of all types of hidden fasteners. With CAMO, you are putting two screws into each joist at a 55-degree angle. With a biscuit system, only one screw. I also like the fact that if you do have problems with a board, you can remove the CAMO fastener and remove the board and replace. It's much harder to do with a clip system and even then you have to plug the replacement board on one end according their own instructions. The gap is a little wider but I don't think you will be able to tell much of a difference with a 6" board. They have a 4" jig out now. How much airflow do you have under the deck? How high is it off the ground? These factors are important if you ware worried about cupping. Most cupping I've seen is due to no airflow underneath and the deck is low to the ground with a moisture imbalance. A thicker and narrower board helps prevent this, so 5/4 thickness would offer more stability than 4/4 if it works for your budget, but I've seen CAMO used numerous times on 1x6. The screw hole will ride a little higher on the eased edge of a 5/4 board but still very minimal aesthetic. You can see the screw holes if you re looking at them from an angle, but over the top they are barely noticable. Since Ipe is darker, especially if put a finish on it, I don't even think you'd notice them. CAMO's stainless steel screws are 316 stainless (vs. 305) which is what you would want for a salt environment. They are more expensive, but if you do the math with CAMO vs. clip system, CAMO comes out less expensive and I think it's more secure. Finally, PRE-DRILL your holes. Stainless Steel is soft and you will strip out more scews than you care to if you don't pre-drill...and let the screw do the work, don't push down on it. CAMO says you don't have to pre-drill but they do recommend that you do for hardwoods. I concur on this with my testing, especially when you are close to the end of the board. I was able to set the stainless screws without pre-drilling, but I stripped out or broke the head off of 1/3 of them and the boards cracked where I tried to fasten them at the ends. On my pre-drilling tests, they set perfectly. Also, if you decide to go with the CAMO, get the PRO jigs since they have screw guides on both sides, making it easier to install without moving the jig. And get two jigs so you can properly space your boards, as well as a BoWrench to make sure they are snug when you are fastening. Start with the outside part of the board (pushing back inwards to your boards already laid), then fasten the inside edge to keep them snug. I built a little 2x2 sample deck out of Garapa using the CAMO sytem that I can send you some pictures of if you want to see them. If CAMO was available when I built my dad's Ipe deck, I would have used it (we face-screwed and plugged it). Every person I have talked to who has used CAMO has loved it, even an installer I know that hates clip style hidden fasteners but now uses CAMO on every job. I've only had one installer say that he didn't like it, I think becuase he was pretty set in his ways and did't want to take the time to get used to it. So I recommend that you practice on some scrap pieces before you use it on your main boards. I think CAMO just cut a deal with Lowe's so you may see them in the store soon. There are plenty of online retailers to buy from, so maybe buy one jig and a small 100pc package to play with them to see if you like it. If not, keep the jig packaging, clean it off and send it back. Minimal investment to test it out. Sorry this is long but it's my .02. Hope this helps....See MoreMy partially completed Ipe deck, I got some questions...
Comments (16)First I'd like to thank everyone for the info on this site. Second this is an update to my Ipe deck project. I finished the back deck, except for the step, and am working on the front deck now (pics of that someday). Check the link below to see my photos. Weedy, how exactly do you post the photos directly in this message? I don't see any obvious way to do it. I guess you have to write some (fairly simple) html? This project is taking me forever, being a weekend warrior, having 3 young kids, and 2 unfinished bathrooms inside the house. So the staining will have to wait until next year. Should be ok, right? So right now I am having some concerns with the quality of the Ipe I got. Seems ok, but who knows, this is the one-and-only Ipe deck I have ever built. Some pieces are real dark, some are real light. Some are really really hard (dark boards), some are softer (light boards). Some are clear, some have a tiger-like grain to them. Some seem a bit rough when you run your hand up one way, then smooth if you rub the other way. 3 or 4 boards have lots and lots of checks, almost the whole 15 foot length of board. Most of the boards have no checks. I have one board that looks like it will destroy your foot if you walk on it. I think I'll have to replace that board, I don't know how I did not notice it, when I put that board down. It looks like the grain is sort of lifted, and could cause nasty splinters in your foot (See pictures 10 and 11). 3 or 4 few boards seem fine, but have knots in them (pics 13 and 15). Will these spots worsen over time? I bought 1725 linear feet of boards. There are probably six 15-footers that I probably should toss in the dumpster. Maybe six others that are usable but not the greatest. Not really sure about the rest, if it is so-so, good, great, top quality or not. Of course I was assured that the Ipe was top quality, all heart wood clear Ipe, blah blah blah. Would anyone expert here want me to mail them some scrap cuts to examine? Or even better, stop by and look at my deck? Just kidding… The railings. I chickened out on the Ipe railings. No way I get the project done this year. So I did the shiny PVC rail, and put an Ipe rail on top of it. I like it, I think the front deck I will do the same. The pics in that gallery are hi-res, so you can view full screen, or better yet download them and zoom in real close to see the detail. Any info appreciated, Jim. Here is a link that might be useful: Ipe deck gallery...See MoreNew Ipe deck questions
Comments (3)Deck looks amazing! -Using Stainless Steal Screws is common practice and highly recommended! -Plugs are typically used to "hide" the screw.. Your fine, no need because it looks great from what I can see. -Treating the deck after installation is also recommended and will help prevent surface cracks on the face of the wood. Come spring you will most likely have to clean the deck using the deck cleaner to get off any dirt / pollen / sun fading then re-apply Messmers UV....See More- 17 years agolast modified: 9 years ago
- 17 years agolast modified: 9 years ago
- 17 years agolast modified: 9 years ago
- 17 years agolast modified: 9 years ago
- 17 years agolast modified: 9 years ago
- 17 years agolast modified: 9 years ago
- 17 years agolast modified: 9 years ago
- 17 years agolast modified: 9 years ago
- 17 years agolast modified: 9 years ago
- 17 years agolast modified: 9 years ago
- 17 years agolast modified: 9 years ago
- 17 years agolast modified: 9 years ago
- 17 years agolast modified: 9 years ago
- 17 years agolast modified: 9 years ago
- 17 years agolast modified: 9 years ago
- 17 years agolast modified: 9 years ago
- 17 years agolast modified: 9 years ago
- 17 years agolast modified: 9 years ago
- 17 years agolast modified: 9 years ago
- 17 years agolast modified: 9 years ago
- 17 years agolast modified: 9 years ago
- 17 years agolast modified: 9 years ago
- 17 years agolast modified: 9 years ago
- 17 years agolast modified: 9 years ago
- 17 years agolast modified: 9 years ago
- 17 years agolast modified: 9 years ago
- 16 years agolast modified: 9 years ago
- 16 years agolast modified: 9 years ago
- 16 years agolast modified: 9 years ago
- 16 years agolast modified: 9 years ago
- 14 years agolast modified: 9 years ago
Related Stories
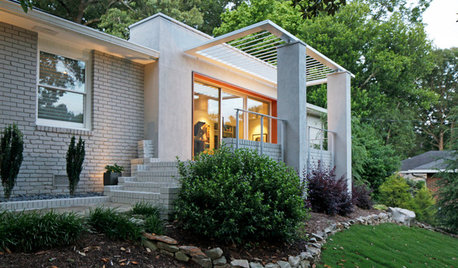
CONTEMPORARY HOMESHouzz Tour: From Anonymous to Outstanding in Georgia
With a striking front porch and a dynamic wood ribbon inside, this Decatur home moves ahead of the curve
Full Story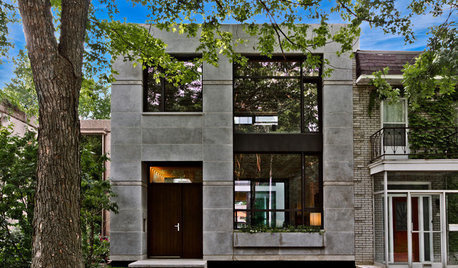
HOUZZ TOURSHouzz Tour: Outstanding Ecofriendliness With a Contemporary Bent
An abandoned home in Quebec sees a major turnaround, thanks to its owners' green principles and fresh design style
Full Story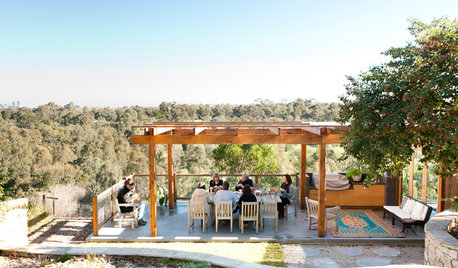
GARDENING AND LANDSCAPING17 Outstanding Outdoor Rooms
Consider these creative possibilities for extending your living area outdoors
Full Story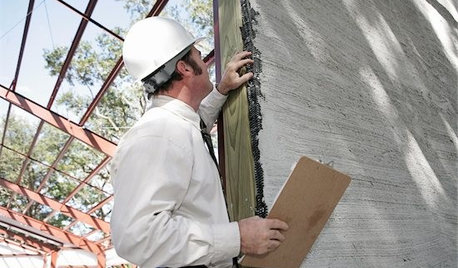
MOVINGHiring a Home Inspector? Ask These 10 Questions
How to make sure the pro who performs your home inspection is properly qualified and insured, so you can protect your big investment
Full Story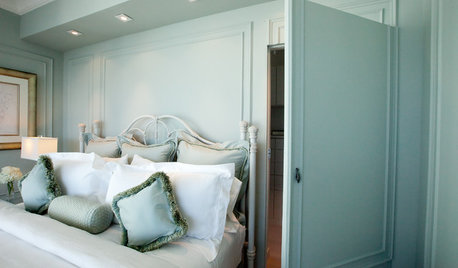
MORE ROOMSBlended Doors for Standout Style
For outstanding seamlessness in your interiors, don't overlook almost-hidden doors
Full Story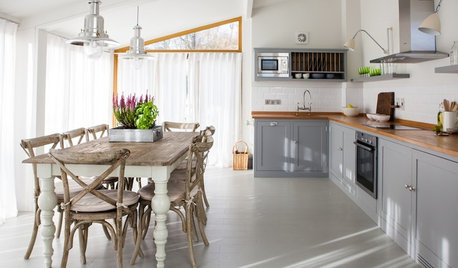
DECLUTTERINGFoolproof Ways to Declutter Your Kitchen
If you find yourself fumbling through cupboards to find what you’re looking for, it’s time to take action with these simple steps
Full Story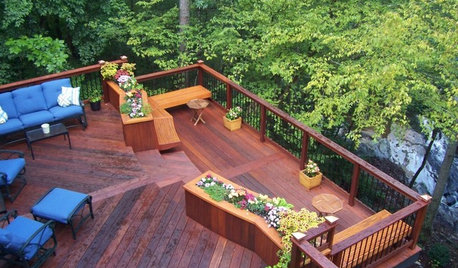
GARDENING AND LANDSCAPINGChoosing a Deck: Plastic or Wood?
Get the pros and cons of wood, plastic, composite and more decking materials, plus a basic price comparison
Full Story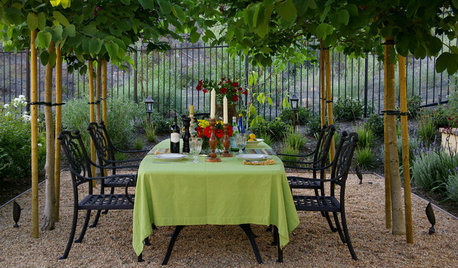
LANDSCAPE DESIGNEnjoy the Romance of Dining in a Classic Gravel Garden
Here’s what to consider when it comes to installing, styling and maintaining a DIY-friendly gravel patio
Full Story

REMODELING GUIDESHouzz Tour: A Former Stable Becomes a Live-Work Showcase
Two floors in a Washington, D.C., building get an extensive rehab to house a family and an architectural practice
Full Story
john_hyatt