


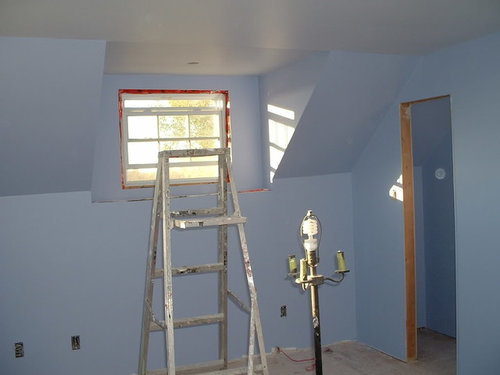
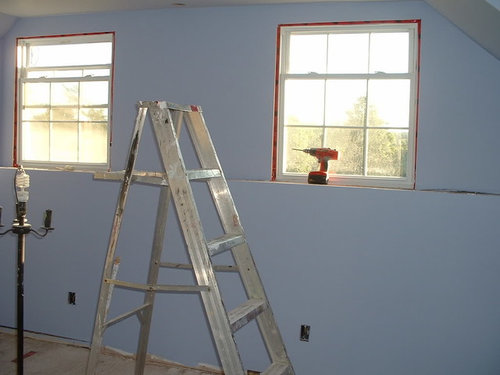
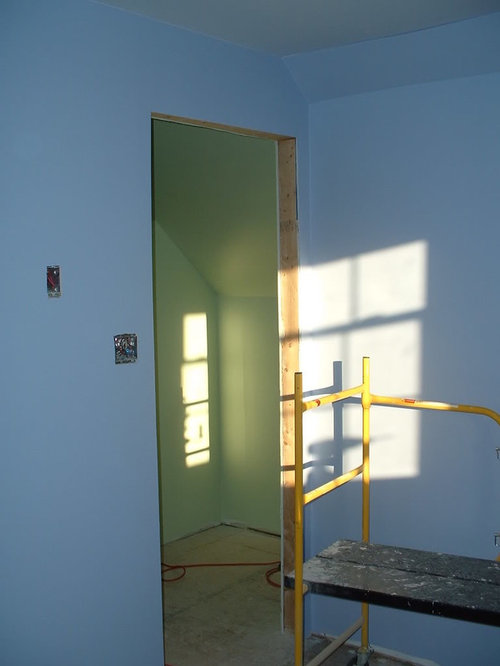
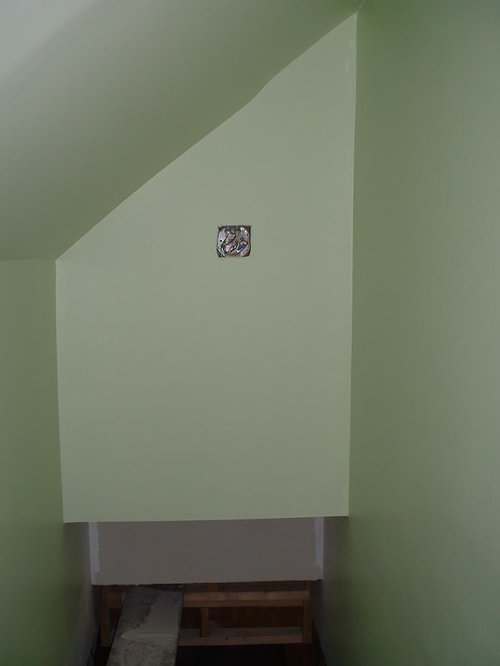
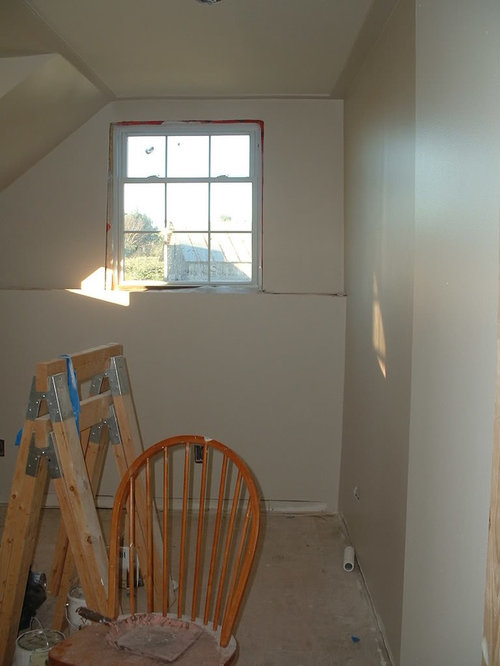
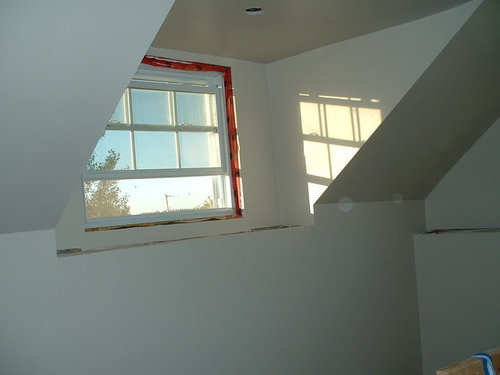
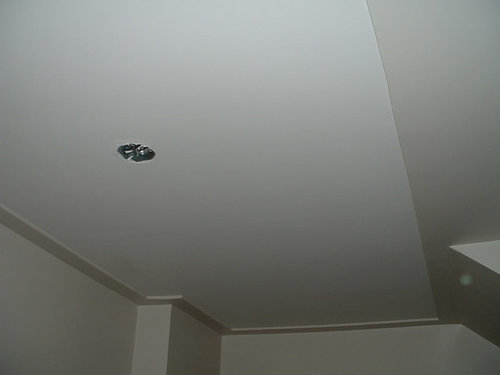
Painting is done! (For now) A tour with pictures
gail_ish
16 years ago


Sort by:Oldest
Comments (5)
Related Stories
HOUZZ TOURSHouzz Tour: From Burned Down to Done Up in Las Vegas
A fire gutted this midcentury home — and laid the groundwork for a beautiful new floor plan
Full Story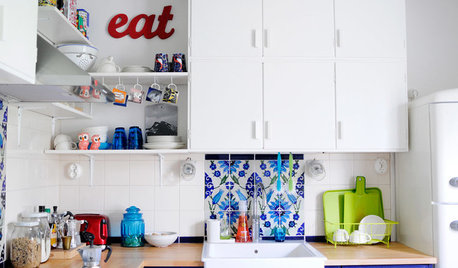
VINTAGE STYLEHouzz Tour: Flea Market Decor Done Right in Finland
Forget fusty and dusty. Secondhand finds in this home are as bright and cheery as if they just stepped off the showroom floor
Full Story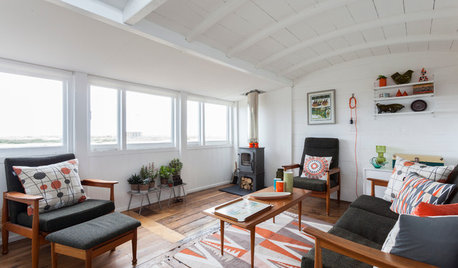
HOMES AROUND THE WORLDHouzz Tour: Former Train Car Now a Cozy Beach Home
On a wild beach in southern England, a restored railroad car is a relaxing coastal getaway for its creative owners
Full Story
VACATION HOMESHouzz Tour: Moss-Covered Lakeside Cottage Now a Modern Marvel
A 1949 Michigan weekend cottage with a sunken roof gets a makeover that stays true to the house's humble roots
Full Story
GREEN BUILDINGHouzz Tour: Pickle Factory Now an Energy-Wise Live-Work Space
A charming but poorly insulated 1880s Philadelphia commercial building becomes a spacious energy-efficient home and studio
Full Story
TRADITIONAL HOMESHouzz Tour: Basement Now a Light-Filled Family Living Space
Merging a house and a basement flat into one townhouse creates a spacious family home in London
Full Story
HOUZZ TOURSHouzz Tour: A Single Painting Births a Home's Whole Palette
The colors in this Netherlands home are picture perfect, with paint, furnishings and accessories to match a beloved piece of art
Full Story
HOUZZ TOURSHouzz Tour: Picture-Perfect Simplicity
It’s like camping out in a catalog sometimes at this classic farmhouse — Pottery Barn and other retailers love it for photo shoots
Full Story
HOMES AROUND THE WORLDHouzz Tour: Former Squatters’ Unit Now a Handsome London Home
A blend of original and reclaimed features gives this two-story apartment a modern rustic look with timeless appeal
Full Story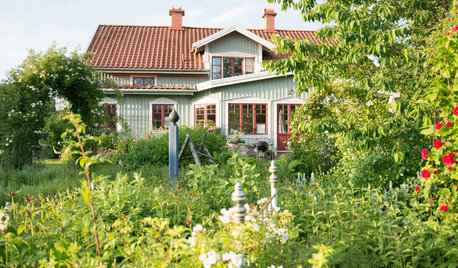
INSPIRING GARDENSHouzz Tour: A Swedish Home and Garden Fit for a Dream
Work done on weekends and vacations turns a nondescript lot into an outdoor sanctuary filled with beautiful plantings and places to unwind
Full Story


angier_2007
bestyears
Related Discussions
A picture tour of my new gardens. :-)
Q
Pictures from the garden tour
Q
Painting is done (for now). A tour with pictures
Q
Victorian home picture tour (Pic heavy)
Q
gail_ishOriginal Author
bestyears
catbird