


Lip Balm for Floors...hmmmm
vampiressrn
14 years ago
Related Stories
MOST POPULAR15 Remodeling ‘Uh-Oh’ Moments to Learn From
The road to successful design is paved with disaster stories. What’s yours?
Full Story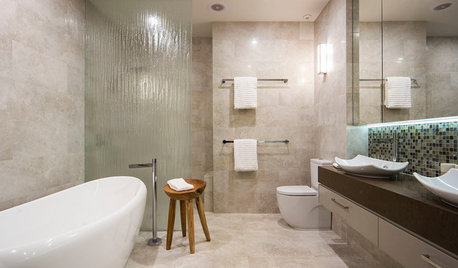
SELLING YOUR HOUSE10 Tricks to Help Your Bathroom Sell Your House
As with the kitchen, the bathroom is always a high priority for home buyers. Here’s how to showcase your bathroom so it looks its best
Full Story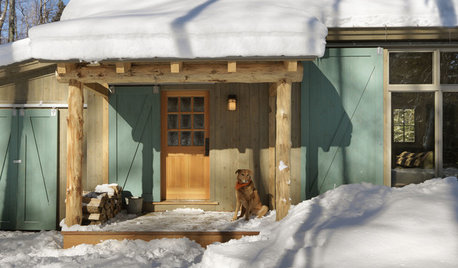
RUSTIC STYLE10 Cabin Rental Basics for City Slickers
Stay warm, dry and safe while you’re enjoying winter cabin life with this valuable advice
Full Story
BEDROOMSDesigner Tips for Creating a Better Bedroom
In the dark about bedside lamps? Waffling over pillows at the store? Try these ideas for a more comfortable bedroom
Full Story
HOUSEKEEPINGHousekeeping 101: How to Clean Silver
Learn from a pro how to properly clean and care for your precious silverware
Full Story
BEDROOMS15 Nightstands That Are Not Your Average Bedside Tables
Take another look at that unusual antique or flea market find. It could have a new life next to the bed
Full Story
MOST POPULAR10 Strategies for Keeping Surfaces Clutter-Free
The universe wants your coffee table to become a clutter magnet — but you can fight back
Full Story
DECLUTTERING10 Types of Clutter to Toss Today
Clear the decks and give the heave-ho to these unneeded items
Full Story
HOUSEKEEPINGHow to Tackle Your Home To-Dos
Make quick work of minor repairs and replacements with this thorough, step-by-step approach
Full Story

Kathleen McGuire
2ajsmama
Related Discussions
Lip Balm
Q
Simple and Easy - Lip balms, gloss, etc.........
Q
lip balm at farmers market
Q
It's that time of the year...I need a good lip balm
Q