


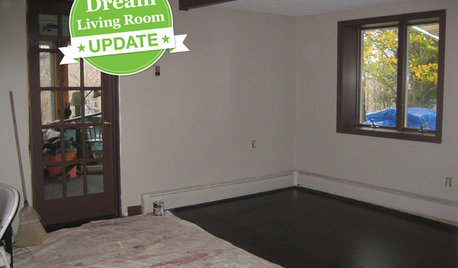
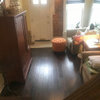
Living Room Remodeling Progress (w/Pics)
mpedrummer
16 years ago
Sort by:Oldest
Comments (8)
Related Stories
DECORATING GUIDESDream Living Room Makeover Progress Report
See how our sweepstakes winner is handling life in a construction zone — and get a peek at the remodel's progress
Full Story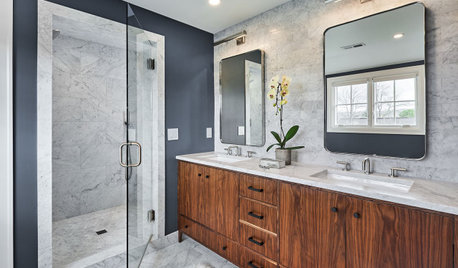
REMODELING GUIDESThe 4 Stages of a Remodel: The Midproject Crisis
Prepare for the mechanical rough-in stage, and don't worry if things don’t look like they’re progressing on the surface
Full Story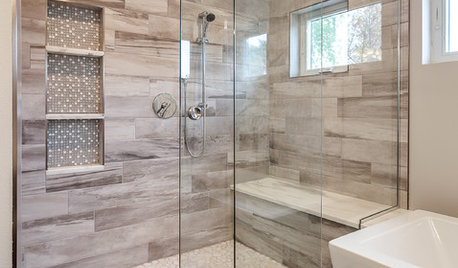
BATHROOM DESIGN10 Things to Consider Before Remodeling Your Bathroom
A designer shares her tips for your bathroom renovation
Full Story
MOST POPULAR8 Little Remodeling Touches That Make a Big Difference
Make your life easier while making your home nicer, with these design details you'll really appreciate
Full Story
DISASTER PREP & RECOVERYRemodeling After Water Damage: Tips From a Homeowner Who Did It
Learn the crucial steps and coping mechanisms that can help when flooding strikes your home
Full Story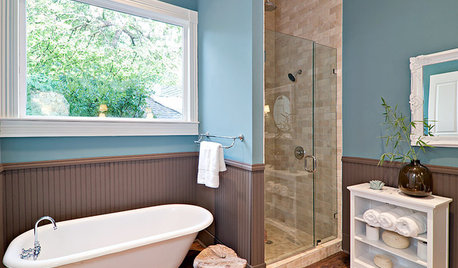
4 Easy Ways to Renew Your Bathroom Without Remodeling
Take your bathroom from drab to fab without getting out the sledgehammer or racking up lots of charges
Full Story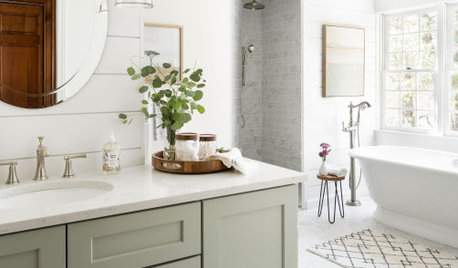
BATHROOM DESIGN14 Design Tips to Know Before Remodeling Your Bathroom
Learn a few tried and true design tricks to prevent headaches during your next bathroom project
Full Story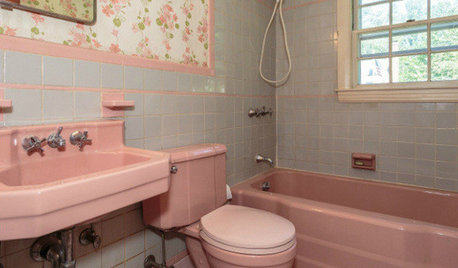
BATHROOM COLOR8 Ways to Spruce Up an Older Bathroom (Without Remodeling)
Mint tiles got you feeling blue? Don’t demolish — distract the eye by updating small details
Full Story
REMODELING GUIDESHow to Remodel Your Relationship While Remodeling Your Home
A new Houzz survey shows how couples cope with stress and make tough choices during building and decorating projects
Full Story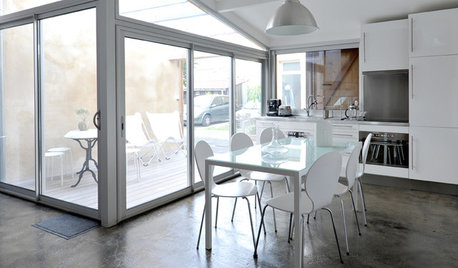
MORE ROOMSMore Living Space: Converting a Garage
5 things to consider when creating new living space in the garage
Full Story

ctlane
mom2lilenj
Related Discussions
Bermuda Lawn Sanding Progress w/ pics
Q
Kitchen Remodel Pics Work In Progress
Q
Week 2 Progress w/ pics
Q
Kitchen Remodel Progress Pics - Suggestions on Wall Color Needed
Q
bananafana
downeastwaves
mpedrummerOriginal Author
mpedrummerOriginal Author
IdaClaire
mpedrummerOriginal Author