


Okay, so how about deep brown/black espresso cabinet color?
finz2left
16 years ago
Featured Answer
Sort by:Oldest
Comments (77)

jcla
16 years agolast modified: 9 years agomoonshadow
16 years agolast modified: 9 years agoRelated Discussions
How to finish like Ikea's Black-Brown funiture?
Comments (13)Why would someone want to copy an IKEA stain/dye? Well, not to split hairs, but not EVERYTHING from IKEA is pressboard and "foil" finish. They havea line called Hemnes that is "solid" wood (lots of finger joints take SOLID to "solid"). Yes, the backer is 3/16 pressboard, but you can replace that with 1/4" or 3/16 ply and for under $200 have a dimensonally stable and not bad looking bookcase. I am building a combo theater/library in my basement and since 125sf of custom book cases is a bit out of my price range, i reached out to IKEA. Voila - $1,200. That wouldn't be a cabinet maker's deposit for the job. Now why to match? Well, i have a fridge that needs to be sunk into a wall and clad to match the bookcases. So, i need to match the finish. Also need to bild a frame around the screen - again need to match finish. It's not Stickley, and we're not varnishing a Barrel-back ChrisCraft, so give this person a break. Oh, and to answer the question directly - don't use oak, use a sandable and relitively un-figured ply (Sandeply at one retailer) and you can get Black-Brown stain directly from IKEA - ar at least you used to be able to. Oak will look wierd next to factory whitewood peices and won't absorb as well....See MoreWall color for a bathroom that is so very brown (not a neutral!)
Comments (84)I also know what you mean, and totally agree, emmarene...all the other flat wall colors merely provide contrast to the brown, not take away any of the " brownness"..but I just hate wallpaper because it is to tightly repetitive. TOTALLY biased opinion here, because I'm a decorative painter, but if I were the OP I would consider consulting a decorative painter to come up with something unique that works with the brown, OR look for a paper with less...repetition. ETA or go with the pale neutral wall w/ colorful artwork option but I believe the OP has ruled that out. This post was edited by coll_123 on Wed, Dec 17, 14 at 21:13...See MoreOkay, how about tea on Monday this week? :)
Comments (34)Schoolhouse, put the new bag unopened in the freezer and it will remain fresher. Our sewer line was rooted out between 11pm-1am and we have a 30 day guarantee it won't mess up during that time. However, the estimate due to some manual digging required to REPLACE the clay pipes is $2400, includes replacing to the city sewer line, don't know if the city charges to reconnect us or not. I cannot deal with backing up sewer lines! So our contractor is getting his plumber to give us an estimate, presumably less than Rotorooter, then we can get a cheaper homeowner's insurance rate. All gas, electrical, sewer, water lines renewed, plus the new roof. We essentially had a "whole house body transplant." It is chilly here today as well. Not cold, but chilly. Later this week, we will have a 40* and a 34* low. My HOSTAS are starting to poke noses up, some with beautiful unfurled leaves already. I received a new order from Naylor Creek Nursery in WA state today, so time to get out the pots and MiracleGro and my gloves. Let the gardening season begin! I'm behind on taking pictures of everything, including house and garden. Been throwing things out of the Teahouse right and left. At least the trash trailer and the GottaGo portable potty are out of the yard, so I can begin leveling that before grass (weeds actually) begin growing to cover it....See MoreSo sad about my cabinet color-- so yellow
Comments (35)Ironically, none of these opinions of your cabinets' color are worth the time it took to type them. Monitors resolve colors differently, no matter how "true" they claim to be. Even "true" is different in peoples' eyes, because EYEs make colors different. So to you it's too yellow. I agree with taking a door back to wherever you got it and comparing it to the sample. If it's different, you might have a leg to stand on about changing them. I don't get the designer "letting" you have a color, as someone mentioned. The thing is, and we warn against this in every. single. discussion about paint color: you cannot choose a color without living with a large sample in your own lighting. White is a color. Just because it's painted on a door, doesn't mean you shouldn't live with it for a while. Some know this because it's my own oft repeated color story: attempting a gorgeous, gray/green color. Found it perfectly several different times. I painted at night. LOVED IT. With each color choice. However, in direct sunlight, it appeared teal or turquoise. Seemed my windows had a protective coating on them, which created a blue light. Those cabs not in direct sunlight remained the beautiful color(s) I'd chosen. I eventually settled on a cream with yellow it in, because combined with the light from the windows, it became sagey/green/gray. Go figure. Anyway, you don't have to live with it. 1) Change your lighting 2) Change your paint 4) Change your back splash Paint them Have them replaced. 6) Don't look at them. Reface them...See More
Kathleen McGuire
16 years agolast modified: 9 years ago
denali2007
16 years agolast modified: 9 years agoteesyl2
16 years agolast modified: 9 years agojohnmari
16 years agolast modified: 9 years agoleahcate
16 years agolast modified: 9 years agoteesyl2
16 years agolast modified: 9 years agodenali2007
16 years agolast modified: 9 years agoteesyl2
16 years agolast modified: 9 years agodenali2007
16 years agolast modified: 9 years agoteesyl2
16 years agolast modified: 9 years agooceanna
16 years agolast modified: 9 years agomoonshadow
16 years agolast modified: 9 years agon2cookin
16 years agolast modified: 9 years agoprairiegirlz5
16 years agolast modified: 9 years agosquirrelheaven
16 years agolast modified: 9 years agoteesyl2
16 years agolast modified: 9 years agojohnmari
16 years agolast modified: 9 years agomoonshadow
16 years agolast modified: 9 years agoprairiegirlz5
16 years agolast modified: 9 years agoteesyl2
16 years agolast modified: 9 years agodenali2007
16 years agolast modified: 9 years agojohnmari
16 years agolast modified: 9 years agoteesyl2
16 years agolast modified: 9 years agoKathleen McGuire
16 years agolast modified: 9 years agoteesyl2
16 years agolast modified: 9 years agonami
16 years agolast modified: 9 years agoteesyl2
16 years agolast modified: 9 years agolily_bell
16 years agolast modified: 9 years agojcla
15 years agolast modified: 9 years ago
CaroleOH
15 years agolast modified: 9 years agotravisandjill
15 years agolast modified: 9 years agorookiediyer
15 years agolast modified: 9 years agotomdbaker
15 years agolast modified: 9 years agostaceybeth
15 years agolast modified: 9 years agotaradoherty
15 years agolast modified: 9 years agogeorgiasusan
14 years agolast modified: 9 years agotomdbaker
14 years agolast modified: 9 years agotomdbaker
14 years agolast modified: 9 years agonever_ending
14 years agolast modified: 9 years agobecca19
13 years agolast modified: 9 years agorosevillian
13 years agolast modified: 9 years agotomdbaker
13 years agolast modified: 9 years agosclarke1968_hotmail_com
13 years agolast modified: 9 years agolizzie_nh
12 years agolast modified: 9 years agolizzie_nh
12 years agolast modified: 9 years agolizzie_nh
12 years agolast modified: 9 years agotomdbaker
12 years agolast modified: 9 years ago
Debbie Craddock Estephan
8 years agolast modified: 8 years ago


Related Stories
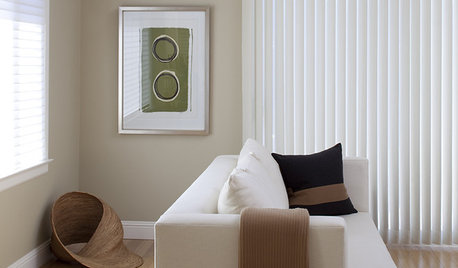
BROWNBeige to Almost Black: How to Pick the Right Brown
Warm your home with paint the color of lattes, espresso and chocolate
Full Story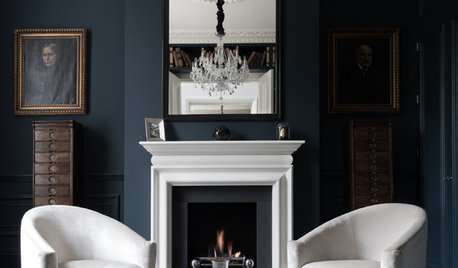
DECORATING GUIDESSo Your Style Is: Darkly Romantic
Envelop yourself in mysterious luxury with deep colors, rich textures and unexpected details
Full Story
HOUSEKEEPING20 Things You Might Be Forgetting to Spring-Clean
Clean these often-neglected areas and your house will look and feel better
Full Story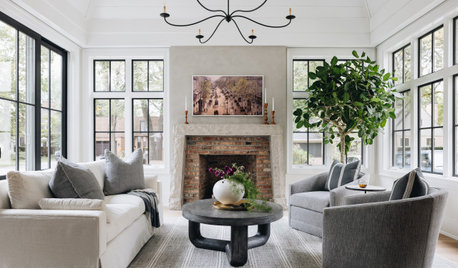
FURNITUREHow to Buy a Quality Sofa That Will Last
Learn about foam versus feathers, seat depth, springs, fabric and more for a couch that will work for years to come
Full Story
KITCHEN DESIGNHouzz Call: Tell Us About Your First Kitchen
Great or godforsaken? Ragtag or refined? We want to hear about your younger self’s cooking space
Full Story
COLORHave You Heard the Hues? 15 Colors You May Not Know About
Name-drop these shades at holiday parties — or better, try one on your walls — and expand your palette possibilities
Full Story
DECORATING GUIDESRooster Decorating Worth Crowing About
Put the kibosh on kitsch with these ideas for strutting your rooster-motif stuff in moderation
Full Story
MODERN STYLESo Your Style Is: Minimalist
Leaving chaos and clutter to the world outside, minimalist interiors convey absolute calm. Find out if the look of less is right for you
Full Story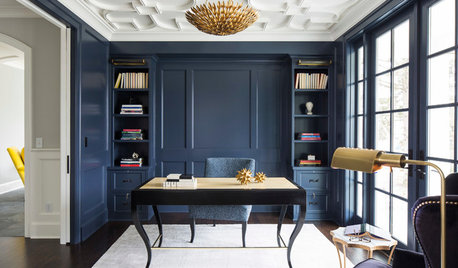
COLOR7 Inky Colors to Use Instead of Black
Is black too stark and dramatic for your taste? Try navy, charcoal, chocolate or another alternative for a deep, moody space with character
Full Story


daisyadair