


Santa Barbara Soapstone installed!! Pictures Galore!!!
bayareafrancy
16 years ago


Sort by:Oldest
Comments (37)
Related Stories
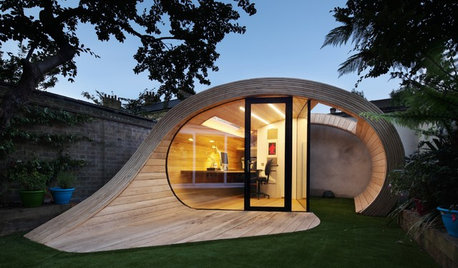
OUTBUILDINGSWorld of Design: 11 Inspiring Sheds From Santa Barbara to Stockholm
Outbuildings from around the world show how sheds and cottages set the scene for everything from baking in a sauna to beekeeping
Full Story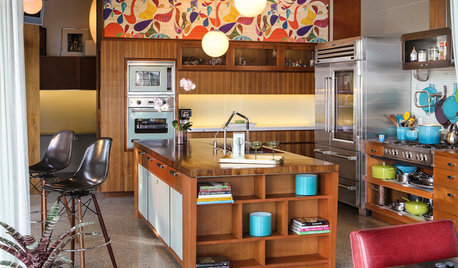
COLORFUL KITCHENSKitchen of the Week: A Midcentury Marvel in Santa Barbara
Globe lights, pegboard and walnut evoke 1950s flair — and you'll love the indoor-outdoor breakfast bar
Full Story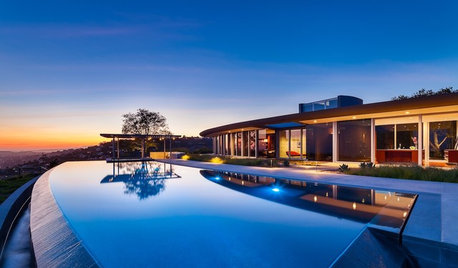
CONTEMPORARY HOMESHouzz Tour: Throwing Curves in Santa Barbara
Simple crescents and arcs in the architecture make the most of spectacular views all around this remarkable home
Full Story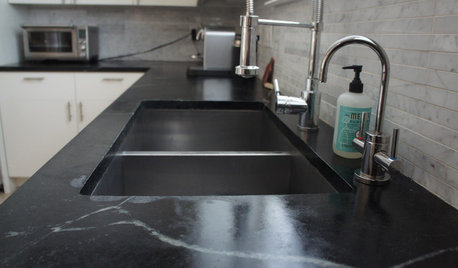
KITCHEN DESIGNSoapstone Counters: A Love Story
Love means accepting — maybe even celebrating — imperfections. See if soapstone’s assets and imperfections will work for you
Full Story
COLORFUL HOMESHouzz Tour: Color Brings Endless Summer to a Santa Monica Home
An interior designer gives her older house a casual cottage feel with vibrant hues and vintage pieces
Full Story
HOUZZ TOURSHouzz Tour: A Luxurious Home Embraces the Landscape
With a stunning new pool, it was only fair that glass walls and outdoor living rooms followed for this remodel in Santa Barbara
Full Story
KITCHEN DESIGNHow to Add a Kitchen Backsplash
Great project: Install glass, tile or another decorative material for a gorgeous and protective backsplash
Full Story
PHOTO FLIP94 Dream Bedscapes
Picture yourself in one of these settings for a stylish night’s sleep
Full Story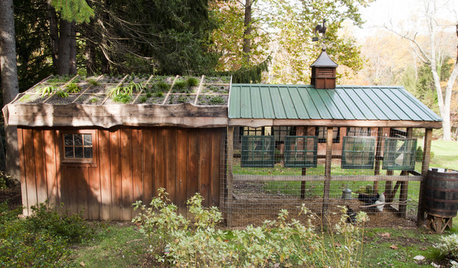
FARM YOUR YARDHouzz Call: Show Us Your One-of-a-Kind Chicken Coops
Do you have a fun or stylish backyard shelter for your feathered friends? Post your pictures and stories in the Comments!
Full Story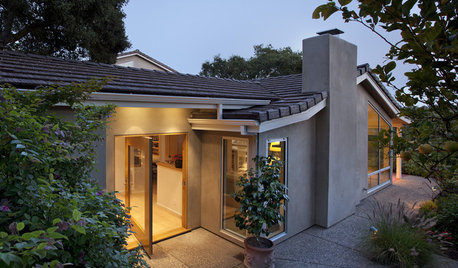
HOUZZ TOURSHouzz Tour: Happy Clients Unwrap a New Home on Christmas
The completion of this California remodel was a gift with perfect timing — and the new openness and fireproof features keep on giving
Full Story


holligator
socalthreems
Related Discussions
Pix! Pix! Pix! Maine Soapstone Install and a question
Q
Inexperienced soapstone fabricator
Q
Love your soapstone countertop? Good, I need your advice.
Q
Life with soapstone--patina pictures galore
Q
hoffman
rgillman
pcjs
bayareafrancyOriginal Author
plllog
cotehele
cat_mom
decodilly
kitchenkelly
pecanpie
marthavila
eandhl
malhgold
polly929
angelcub
raehelen
hest88
emmie9999
bayareafrancyOriginal Author
polly929
User
sjerin
debsinthepink
hoffman
divamum
User
bayareafrancyOriginal Author
ali440
luvnola
sail_away
mommycooks
azstoneconsulting
bayareafrancyOriginal Author
sjerin
sail_away