


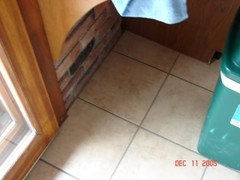
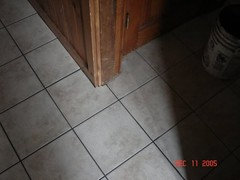
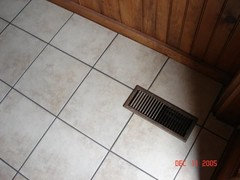
Quarter round over tile - help!
jaxflhome
17 years ago
Featured Answer
Comments (20)

bill_vincent
17 years agolast modified: 9 years agobill_vincent
17 years agolast modified: 9 years agoRelated Discussions
Ceramic Quarter Round
Comments (1)Try Home Depot....See MoreQuestion about quarter round on baseboards on tiled floor.
Comments (8)I just realized that I am always ten steps ahead. I guess that it good because when I actually get to the project I have all my ducks in a row. I am currently laying the tile on my hearth and surround. But that leads to redoing the floors because we ripped up the existing hearth which disrupted existing floor, but we never liked it anyway so out it goes! I have done laminate before so I have that down. I did not have to do tile in prior house so this is new. This is probably the only DIY that we have not done before, literally we have done everything one can do to a house except build it by from the ground up. Maybe that will be the next house??? Nooooooo! What color caulk would you suggest. The baseboards are white and so is quarterround. The tile is slate with grout that will be dark charcoalish. I am thinking the white but wonder if if dark would keep the white line of the base of the quarterround looking straight. If I do white it may give the illusion that the molding is wavy. Or am I doing the caulk under the trim farther back where it will not show?? I am assuming that I put it on the edge and it will show???...See Moredo i need quarter round for a floating engineered floor
Comments (2)If you decide to not take out your baseboards from the wall, install your floating wood floors with expansion space required by your flooring manufacturer. Then you can use quarter rounds to hold your floating wood floor down and cover the space. If you decide to remove your base boards first, install the floors, then put back the base, you may use quarter rounds or not since your existing base will hold down the floating floor. I like the baseshoes plus baseboards better than Quarter rounds. Thank you!...See MoreQuarter Rounds for Tiled Floors in Foyers
Comments (4)flyleft,LOL, no pets will be allowed in the foyer. The purpose of the foyer was for me to have at least one space that I could have furniture without scratches and hair!! Thanks Lynn, I hope it helps answer your concerns about the quarter round....See Morejaxflhome
17 years agolast modified: 9 years agodekeoboe
17 years agolast modified: 9 years agobill_vincent
17 years agolast modified: 9 years agodekeoboe
17 years agolast modified: 9 years agobrickeyee
17 years agolast modified: 9 years agodickross
17 years agolast modified: 9 years agomomfromthenorth
17 years agolast modified: 9 years agofloorman67
17 years agolast modified: 9 years agofloorman67
17 years agolast modified: 9 years agobill_vincent
17 years agolast modified: 9 years agofloorman67
17 years agolast modified: 9 years agobill_vincent
17 years agolast modified: 9 years agofloorman67
17 years agolast modified: 9 years agojerry_t
17 years agolast modified: 9 years agobill_vincent
17 years agolast modified: 9 years agocora_lea
17 years agolast modified: 9 years ago
susanlynn2012
15 years agolast modified: 9 years ago


Related Stories

HOUSEKEEPINGWhen You Need Real Housekeeping Help
Which is scarier, Lifetime's 'Devious Maids' show or that area behind the toilet? If the toilet wins, you'll need these tips
Full Story
WORKING WITH PROS3 Reasons You Might Want a Designer's Help
See how a designer can turn your decorating and remodeling visions into reality, and how to collaborate best for a positive experience
Full Story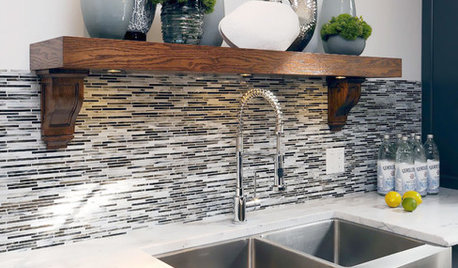
REMODELING GUIDESThe Perfect Finish for Your Tile
Bullnose? Quarter round? V-cap? Demystify trim terms and finish off your kitchen and bath tile in style
Full Story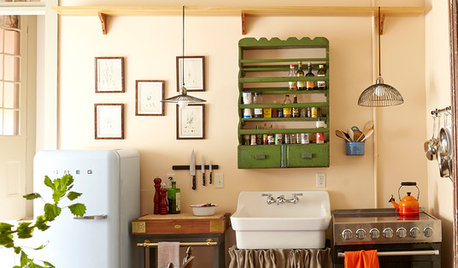
HOUZZ TOURSHouzz Tour: Undone in the French Quarter
Color and history abound in this ‘unrenovated’ pied-à-terre in the Big Easy
Full Story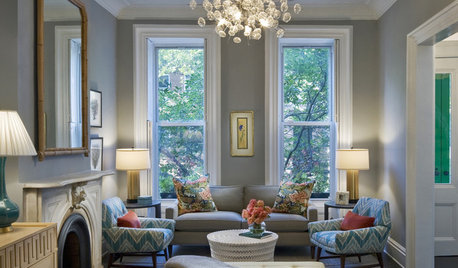
COLORPick-a-Paint Help: How to Quit Procrastinating on Color Choice
If you're up to your ears in paint chips but no further to pinning down a hue, our new 3-part series is for you
Full Story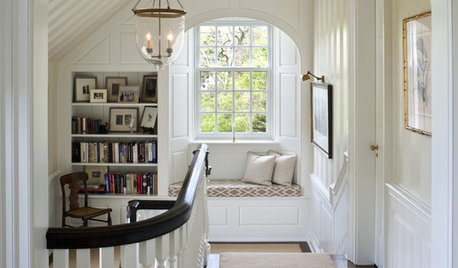
STAIRWAYSHelp Your Stair Landing Take Off
Whether for storage, art, plants or whatever else strikes your fancy, your stair landing can serve your home in a thoughtful way
Full Story
SMALL SPACESFrom Falling-Down Garage to Tidy Guest Quarters
An unneeded structure makes way for a compact, economical cottage as part of a backyard overhaul in California
Full Story
BATHROOM WORKBOOKStandard Fixture Dimensions and Measurements for a Primary Bath
Create a luxe bathroom that functions well with these key measurements and layout tips
Full Story
COLORPick-a-Paint Help: How to Create a Whole-House Color Palette
Don't be daunted. With these strategies, building a cohesive palette for your entire home is less difficult than it seems
Full Story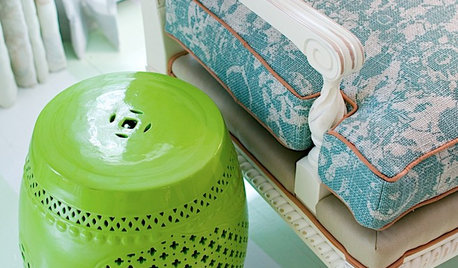
DECORATING GUIDESThe Most Helpful Furniture Piece You May Ever Own
Use it as a table, a seat, a display space, a footrest ... and indoors or out. Meet the ever-versatile Chinese garden stool
Full Story


jrice