


#-D Cards
minnie_tx
19 years ago
Sort by:Oldest
Comment (1)
Related Stories

COFFEE WITH AN ARCHITECTAn Architect's Calling Cards: Part 2
In the battle against social awkwardness, an intrepid architect calls upon ... what else? His design skills
Full Story
HOLIDAYS7 Ways to Shoot a Great Holiday Card Photo at Home
Make this year's holiday card stand out from the crowd with your home as the backdrop and these tips from the pros
Full Story
FUN HOUZZBinge on the Design of ‘House of Cards’
Pull up a seat to Netflix’s addictive political drama for sets and fashions rife with intrigue
Full Story
COFFEE WITH AN ARCHITECTAn Architect's Calling Cards
The next time you run into a tongue-tied architect hanging out solo in a corner, one of these handouts may help
Full Story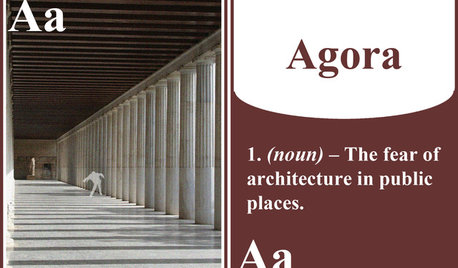
COFFEE WITH AN ARCHITECTFlash Cards for Common Architectural Terms
Architect takes a stab at the language of design
Full Story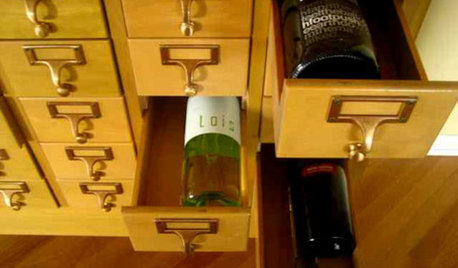
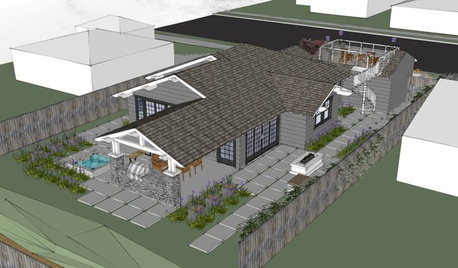
WORKING WITH AN ARCHITECTWho Needs 3D Design? 5 Reasons You Do
Whether you're remodeling or building new, 3D renderings can help you save money and get exactly what you want on your home project
Full Story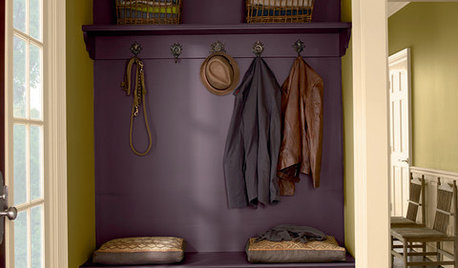
COLORWhat Goes With Purple Walls?
Make a plum wall come alive with art, warm metals, ivory, chartreuse, natural wood — and at least one wild card
Full Story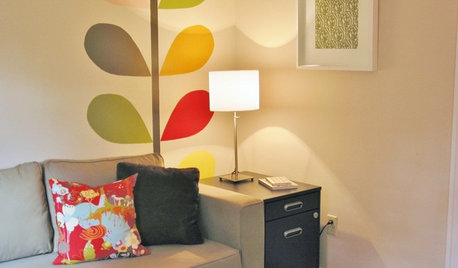
FURNITUREStyle Trick: Use Office Furniture Outside the Office
Flat files, desks, task chairs and card catalogs add form and function to living spaces, too
Full Story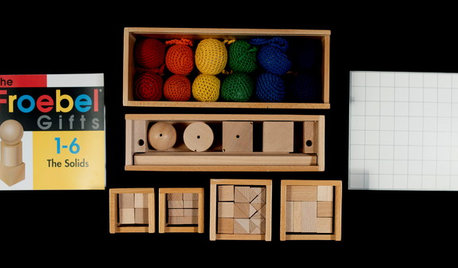
THE ART OF ARCHITECTUREToys to Inspire Budding Architects and Designers
Frank Lloyd Wright’s blocks, cards by Eames and more toys from around the globe tap into kids’ imaginations and build skills
Full StoryMore Discussions
maryanntx
Related Discussions
3-D Christmas card
Q
Husqvarna 950E
Q
2006 Christmas cards half done
Q
Embird/3D Organizer
Q