


lisa's master bath remodel
toadangel
16 years ago
Sort by:Oldest
Comments (61)
Related Stories

BATHROOM DESIGNRoom of the Day: A Bathroom Remodel to Celebrate a 50th Anniversary
A Northern California couple removes obstructions to create a soothing, spa-like master bath
Full Story
ROOM OF THE DAYRoom of the Day: A Fresh White Bathroom With a Bold Surprise Underfoot
This master bath remodel adds a graphic new floor, a free-standing tub and more storage
Full Story
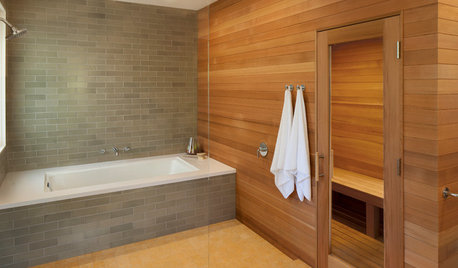
BATHROOM DESIGNSweet Retreats: The Latest Looks for the Bath
You asked for it; you got it: Here’s how designers are incorporating the latest looks into smaller master-bath designs
Full Story
BATHROOM DESIGNRoom of the Day: A Splash of Turquoise in a Vintage-Inspired Bath
An Ohio couple’s Victorian-era home and love for art deco style shape their new master bathroom
Full Story
BATHROOM DESIGNBath of the Week: Converting a 19th-Century Bedroom in Texas
Bygone details merge with modern-day amenities and materials for beautiful contrast in a master bathroom
Full Story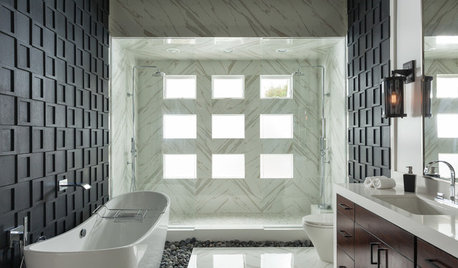
ROOM OF THE DAYRoom of the Day: Graphic Style for a Zen Master Bathroom
A master bath remodel in Southern California brings in light, river stones and bold ideas in bunches
Full Story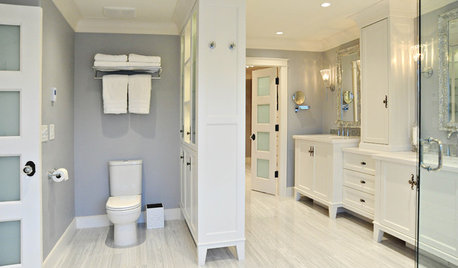
BATHROOM DESIGNBath Remodeling: So, Where to Put the Toilet?
There's a lot to consider: paneling, baseboards, shower door. Before you install the toilet, get situated with these tips
Full Story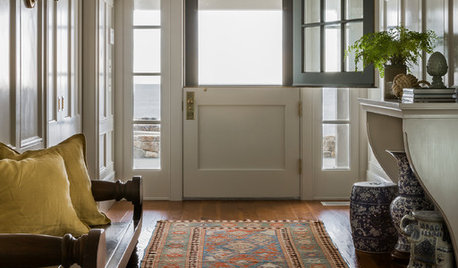
REMODELING GUIDESHouzz Survey Results: Remodeling Likely to Trump Selling in 2014
Most homeowners say they’re staying put for now, and investing in features to help them live better and love their homes more
Full Story
SHOP HOUZZShop Houzz: Up to 50% Off Stylish Mirrors
Shop mirrors in every style for your powder room or master bath
Full Story0
BATHROOM DESIGN18 Dream Items to Punch Up a Master-Bath Wish List
A designer shared features she'd love to include in her own bathroom remodel. Houzz readers responded with their top amenities. Take a look
Full Story


toadangelOriginal Author
bill_vincent
Related Discussions
Can I build my own walk in shower with your help?!?
Q
lisa'a master bath remodel part II
Q
Small Master Bath Remodel
Q
Master Bedroom/Bath remodel
Q
toadangelOriginal Author
bill_vincent
toadangelOriginal Author
toadangelOriginal Author
toadangelOriginal Author
bill_vincent
codnuggets
toadangelOriginal Author
rockrisley
toadangelOriginal Author
bill_vincent
toadangelOriginal Author
toadangelOriginal Author
bill_vincent
toadangelOriginal Author
bill_vincent
toadangelOriginal Author
toadangelOriginal Author
toadangelOriginal Author
bill_vincent
toadangelOriginal Author
bill_vincent
toadangelOriginal Author
bill_vincent
toadangelOriginal Author
piasano
brutuses
bill_vincent
toadangelOriginal Author
bill_vincent
toadangelOriginal Author
weedyacres
toadangelOriginal Author
toadangelOriginal Author
bill_vincent
toadangelOriginal Author
toadangelOriginal Author
bill_vincent
toadangelOriginal Author
bill_vincent
weedyacres
bill_vincent
toadangelOriginal Author
bill_vincent
toadangelOriginal Author
toadangelOriginal Author
bill_vincent
toadangelOriginal Author