


Update on My Post Re: Drywall, Plaster, & Ceiling Hole
enduring
11 years ago
Sort by:Oldest
Comments (8)
Related Stories
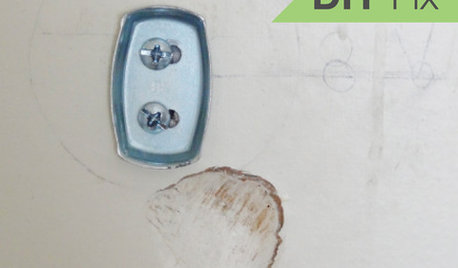
HOUSEKEEPINGQuick Fix: How to Patch a Drywall Hole
Dents and dings disappear, leaving your walls looking brand new, with this fix that even a novice can do
Full Story
MATERIALSRaw Materials Revealed: Drywall Basics
Learn about the different sizes and types of this construction material for walls, plus which kinds work best for which rooms
Full Story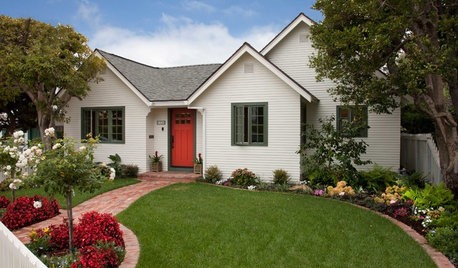
HOUZZ TOURSHouzz Tour: Updates Honor a 1930s Cottage's History
The facade stays true to the original, but inside lie a newly opened layout, higher ceilings and 600 more square feet of space
Full Story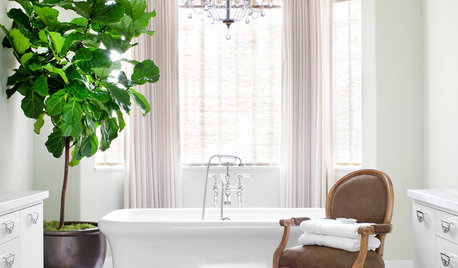
BATHROOM DESIGNThe Elegant Look of Draperies in the Bathroom
Drapes add privacy and soften a room full of hard surfaces. See how they can be styled for baths
Full Story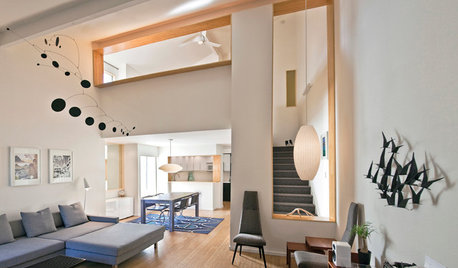
BEFORE AND AFTERSHouzz Tour: A San Diego Townhouse Gets a Bright Update
Savvy shopping and warm bamboo accents help California architects give their home a fresh, high-end feel
Full Story
REMODELING GUIDESLove the One You're With: Honoring a Home's Original Charm
Before you jump into teardown mode, consider these 3 examples of homes whose quirkiness is a draw
Full Story
KITCHEN DESIGNKitchen of the Week: Updated French Country Style Centered on a Stove
What to do when you've got a beautiful Lacanche range? Make it the star of your kitchen renovation, for starters
Full Story
KITCHEN DESIGN3 Dark Kitchens, 6 Affordable Updates
Color advice: Three Houzzers get budget-friendly ideas to spruce up their kitchens with new paint, backsplashes and countertops
Full Story
DECORATING GUIDES10 Ways to Update a Victorian Living Room
Bring your period living room sensitively into the 21st century with these simple yet effective design tricks
Full Story
HOME OFFICESRoom of the Day: Easing Into a Home Office Update
A decorator revamps her husband’s workspace with favorite objects and furnishings he grows to love
Full Story


enduringOriginal Author
barbcollins
Related Discussions
removing lathe and plaster, insulating, drywalling
Q
Bad Drywall Job Over Plaster
Q
I need help with taping plaster to drywall & prep to paint.
Q
Plaster walls in old bungalow—can large holes be patched?
Q
enduringOriginal Author
sochi
enduringOriginal Author
hosenemesis
enduringOriginal Author
barbcollins