


UN-level floor....What to use to level bathroom floor?
tulah
14 years ago
Featured Answer
Comments (20)

pepperidge_farm
14 years agolast modified: 9 years agoRelated Discussions
Bathroom Reveal, Thanks to the Bathroom and Remodel Forums! (pic
Comments (56)This old thread got revisited. @dani_m08 to answer the question about extra probe, I believe I ordered an extra one when I bought the set up. The probe wire is just setting in the junction box I think but honestly I cant remember. When I laid out the underfloor heating and the probe, I just ran another probe near the first probe, and it was then sealed into the floor self leveling compound as per instructions. then the end was just threaded into the wall like the one that would be live, and not connected, but just laying there in the box. Regarding the tile layout. I just decided to run it this way, after getting instructions on the 90Degree way, IIRC. The herringbone that I love is from my childhood and the side walks in my neighborhood that all ran at 45Degree. so that to me is herringbone. I know you posted on @sochi thread about her amazing bathroom and a wall mounted faucet. I would totally do it if I had the right sink for it. In my case I had made my sink out of soapstone and an integrated backsplash. The pictures of this bathroom reveal are no longer available because of the use of photo bucket, when it was Gardenweb. I did not keep my account with photo bucket. I'll add some of the reveal pictures so you can see the sink and floor. Regarding the sink there is no ledge for water to drip from my hands when using the faucet. The water drips right into the sink. In my other bathroom with a deck mounted faucet I am always wiping up drips and it is a nuisance. I much prefer the setup for this sink. Below: I love the flush finish from the faucet to the bottom of the sink. nothing drips on a counter or edge of a sink. Below: looking in from the doorway. Below: Here I am finishing up the sink. the backsplash was epoxied on as a separate piece. The whole soapstone install in the room took next to nothing to buy as they were all small pieces that I epoxied together with a 3 part stone epoxy. Below: this is the counter at the tub, and is in 2 long pieces but I was able to epoxy them together at there edges to make a wide slab for the top. All the soapstone was finished with a 60 grit sandpaper to be rough and this lovely soft tone of blue/green/gray/white. I did not oil it so this color tone would remain light. Below: If I recall correctly @sochi helped me decide on this Hubberton Forge Mirror. I have 3 different metals in this room, but they are all a cool silver to black color. Below: the center of this tower shares space with the kitchen on the other side of the wall. there is also some extra space that houses some electrical wiring. this is an old simple house. this bathroom was an add on when it got move to the farm in the 30s IIRC. The plumbing was all rearrange and some of the details that were orignially there I kept but updated it, such as this tower feature. The old one went and the carpenter did a wonderful job with this one. Below: This feature was another thing I kept from the old bathroom but flipped it from the other end and had the carpenter put drawers in it. Before it was a hell hole. things got lost and the build was soooo old and creapy I didn't like using it for storage. Now it is perfect for storage....See MoreBathroom floor finally leveled, BUT...I'm so depressed.
Comments (10)Well, look at it this way, elenkao, every time you step up to that floor, you can think "boy, is this nice, walking on a nice level floor for a change". I don't know how bad out of level it was, but the way you describe it, I would guess a couple of inches, which is alot in a small room like that. There is only so many ways to level a floor, and most of them are impractical or impossible from a structural and cost viewpoint. Tile HAS to have a surface that is very close to level, plus it has to be very stiff. Taking up the subfloor and ripping down the joists to level would have been a very big job, and it may have weakened the framing too much for the tile. It certainly would have been nice if he described in a little more detail just what he was doing. I also understand your anxiety from a safety viewpoint - single steps (especially very short ones) are some of the most dangerous because people don't notice them. For that reason, you probably want to make it as highlighted or well detailed as possible to give fair warning to all. I guess the question to ask yourself is would you have kept the old floor (and maybe put down vinyl flooring and tried to re-hide the shimming) if you knew about the step? Or do you enjoy the new tiles, level fixtures, etc., and level walking enough to learn to live with the step? Personally, I think I'd take the step, but then slanting floors kind of bug me....See MoreLeveling upstairs bathroom floor
Comments (3)It's not a complete answer. Many things come into play - the floor joists, the spacing of the joists, the span, the size of composition of the new tile. Normally, one would remove the current tiles, apply a layer of thinset and screw down 3/4" CDX plywood, then pour SLC (self leveling cement). This will make the floor flat (the floor may not be level)....See MoreLeveling floor in multi-level house?
Comments (15)Keep existing structure, complete gut the space, new footer(s) inside existing structure, load bearing structure above those, floor joists above that, subfloor and refinishing. Have engineered plans/permits before starting. Basically an insulated and interior crawlspace below the new floor when done. Have access to down there, you could use it for storage also. Not impossible. Plenty of work but not impossible. Sounds like it would need a big reno anyhow from description. Just more work than a standard DIY gut and redo due to structure work involved. This is something a GC and crew normally does. This does give you a chance to make it how you want it. Hopefully selling price reflects the need for a large reno. what unexpected or nasty surprises did you encounter? I have found a lot of things in my current house where I ask myself, what were they thinking? So you will probably find a fair amount of stupid behind the walls. When I redid the drain system, there was an old 1-1/2" drain line from the kitchen that had so much gunk built up there was maybe 1/2" left for actual draining. Also the electrical was mix of grounded and ungrounded wire, and tons of junction boxes in the basement, I redid all that mess. Found a lot of the wire nuts where the wires were loose or arcing was happening and it welded the wires and nuts together, at least they used junction boxes or the house probably would have burned down... In laundry area, an ungrounded range receptacle was used instead of a grounded dryer receptacle even though the wire they used did have a ground. At the panel the fuse was rated at 30A so it was safe, just annoying I had to get a different cord to plug it in when I moved in. I eventually changed out the outlet for future owners... Oh yea that old fuse box the main fuse connection started arcing! Talk about fire hazard! So that was replaced with a breaker panel. Also in the laundry room the washer standpipe was a 2 inch that went into that same 1-1/2" from the kitchen with a vent tee instead of a sanitary tee... (so much fail). It now has its own vent and drain to the soil stack. Higher radon level than wanted, had to add active mitigation. Kinked gas line multiple places... Bath vent in attic went to above a soffit grate so 'some' moisture went outside but some got in attic. Not enough attic ventilation. Lots of other stuff, but cant remember it all lol....See Moretulah
14 years agolast modified: 9 years agotuesday22
14 years agolast modified: 9 years agopepperidge_farm
14 years agolast modified: 9 years agotulah
14 years agolast modified: 9 years ago
live_wire_oak
14 years agolast modified: 9 years agotulah
14 years agolast modified: 9 years agolive_wire_oak
14 years agolast modified: 9 years agotulah
14 years agolast modified: 9 years agotuesday22
14 years agolast modified: 9 years agolive_wire_oak
14 years agolast modified: 9 years agotuesday22
14 years agolast modified: 9 years agotulah
14 years agolast modified: 9 years agokgwlisa
14 years agolast modified: 9 years agotulah
14 years agolast modified: 9 years agopepperidge_farm
14 years agolast modified: 9 years agotulah
14 years agolast modified: 9 years agopepperidge_farm
14 years agolast modified: 9 years agoHU-319247789
3 years ago
Related Stories
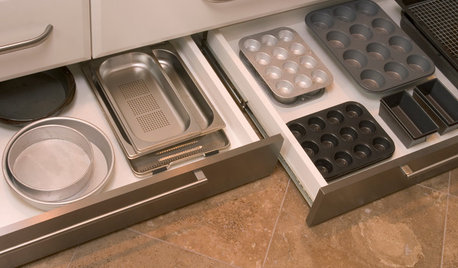
KITCHEN DESIGNThe Kitchen Storage Space That Hides at Floor Level
Cabinet toe kicks can cleverly house a bank of wide drawers — or be dressed up to add a flourish to your kitchen design
Full Story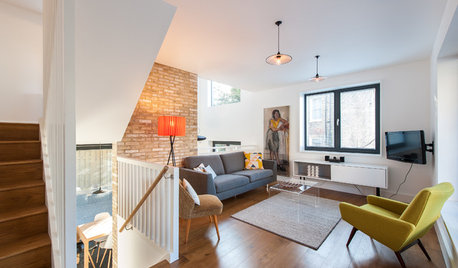
CONTEMPORARY HOMESHouzz Tour: Split-Level Home Uses Every Square Foot
A staircase connects levels that share views and light. The result is separate rooms with an open-plan feeling
Full Story
REMODELING GUIDESThese Split-Level Homes Get the Style Right
A suburban architecture style gets a welcome update with open floor plans and chic design touches
Full Story
HOUZZ TOURSHouzz Tour: 3 Levels of Marvelous Modernism in Mexico
Building up gave this home a party-ready terrace, plenty of room and a 3-story vertical garden that's a wonder to behold
Full Story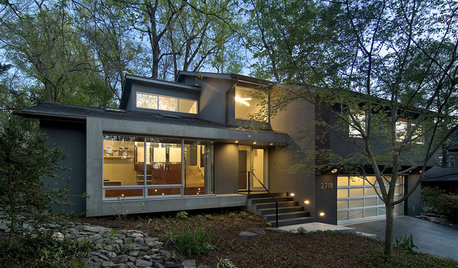
REMODELING GUIDESStep Up Your Split-Level Spec House
Three off-the-rack split-level homes, three dramatically different renovations. Let your favorite be your guide
Full Story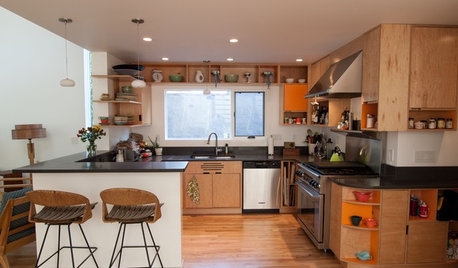
HOUZZ TOURSMy Houzz: Added Space and Style for a 1960s Split Level
With a new second story and downstairs suite, custom touches and midcentury pieces, this Portland family home suits 3 generations
Full Story
BASEMENTSBasement Becomes a Family-Friendly Lower Level
A renovation creates room for movie nights, overnight guests, crafts, Ping-Pong and more
Full Story
BASEMENTSBasement of the Week: Tall-Order Design for a Lower-Level Lounge
High ceilings and other custom-tailored features in this new-build Wisconsin basement put the tall homeowners in a good headspace
Full Story
HOUZZ TOURSMy Houzz: Contemporary Split-Level in Chicago
An art-collecting Illinois family transforms their 1950s home, starting with a complete color redesign
Full Story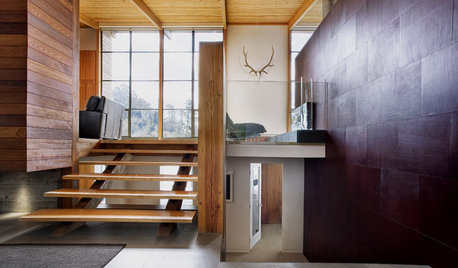
Level Changes: Defining Spaces
Change a Mood and Differentiate Living Areas With a Few Steps Up or Down
Full Story

pepperidge_farm