


EarthTainer self-supporting Tomato Cage System Quick Instruction
rnewste
16 years ago
Related Stories

EDIBLE GARDENSSummer Crops: How to Grow Tomatoes
Plant tomato seedlings in spring for one of the best tastes of summer, fresh from your backyard
Full Story
HOUSEKEEPINGTackle Big Messes Better With a Sparkling-Clean Dishwasher
You might think it’s self-cleaning, but your dishwasher needs regular upkeep to keep it working hard for you
Full Story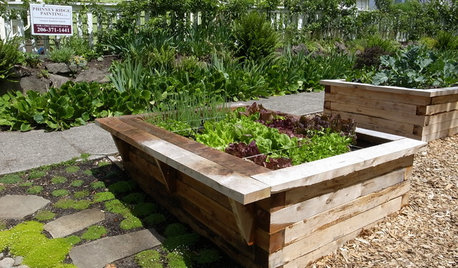
FARM YOUR YARDHow to Build a Raised Bed for Your Veggies and Plants
Whether you’re farming your parking strip or beautifying your backyard, a planting box you make yourself can come in mighty handy
Full Story
FARM YOUR YARDHow to Grow Vegetables in Containers
Get glorious vegetables and fruits on your patio with a pro’s guidance — including his personal recipe for potting mix
Full Story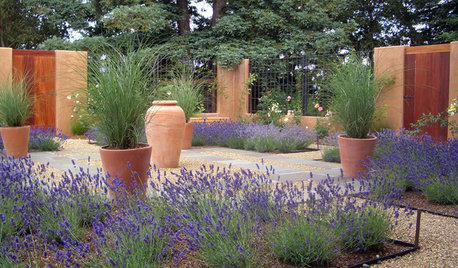
SAVING WATERXeriscape Gardens: How to Get a Beautiful Landscape With Less Water
Conserve water and make gardening much easier with the xeriscape approach’s 7 principles
Full Story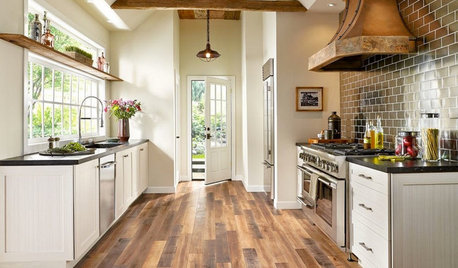
MOST POPULARPros and Cons of 5 Popular Kitchen Flooring Materials
Which kitchen flooring is right for you? An expert gives us the rundown
Full Story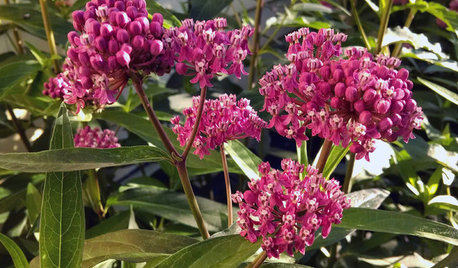
GARDENING GUIDESOh, Deer! 10 Native Flowers That Stand Up to the Herds
Keeping a garden amid hungry deer can be hard, but these plants should fare well
Full Story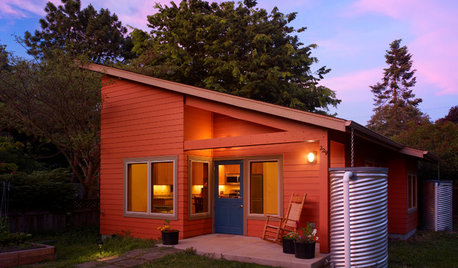
GREEN BUILDINGHow to Harvest Rainwater for Your Garden
Conserve a vital resource and save money by collecting stormwater for irrigation in a barrel or tank
Full Story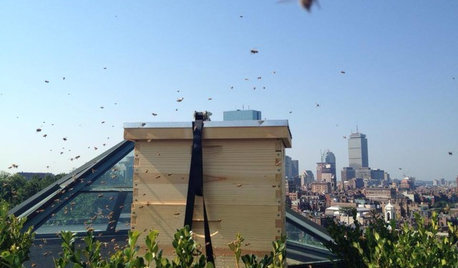
FARM YOUR YARDHello, Honey: Beekeeping Anywhere for Fun, Food and Good Deeds
We need pollinators, and they increasingly need us too. Here, why and how to be a bee friend
Full Story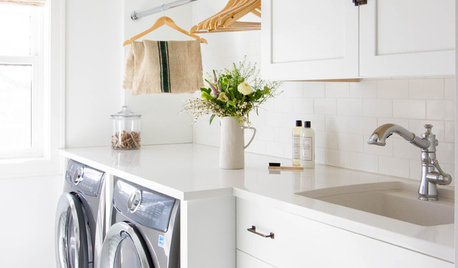
MOST POPULARHow to Remodel the Laundry Room
Use this step-by-step guide to figure out what you want and how to make it happen
Full StorySponsored
Custom Craftsmanship & Construction Solutions in Franklin County
whizzer75
rnewsteOriginal Author
Related Discussions
Rev 2.0 of the EarthTainer Construction Guide Now Posted
Q
Just Finished Installing the EarthBox AWS in My EarthTainer
Q
Pretty, easy to store tomato cages?
Q
Tomato ladders and staking systems
Q
tom_n_6bzone
rnewsteOriginal Author
tom_n_6bzone
alan_anderson
biggjoe
rnewsteOriginal Author