


My setup for growing my seedlings (pics)
alamo5000
14 years ago
Related Stories
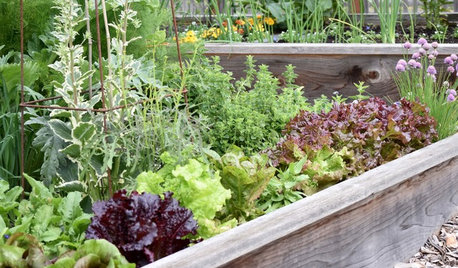
GARDENING GUIDESSeeds or Seedlings? How to Get Your Garden Started
Growing delicious herbs and vegetables starts with knowing your goals and when you want to plant
Full Story
EDIBLE GARDENSSummer Crops: How to Grow Tomatoes
Plant tomato seedlings in spring for one of the best tastes of summer, fresh from your backyard
Full Story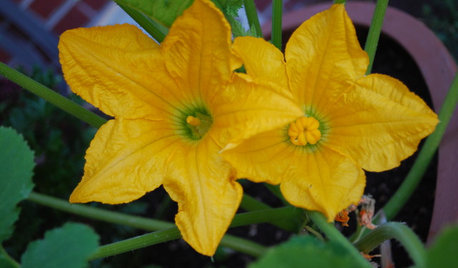
EDIBLE GARDENSSummer Crops: How to Grow Squash
Almost foolproof and with cheerful flowers, squash comes in a wide range of varieties to plant in spring
Full Story
EDIBLE GARDENSHow to Grow Your Own Sweet Summer Crops
This guide will help any gardener get started on growing the freshest warm-season veggies and berries for summer
Full Story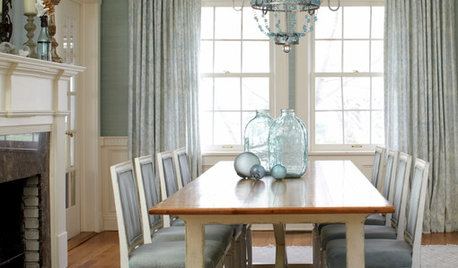
REMODELING GUIDESRoom of the Day: Antiques Help a Dining Room Grow Up
Artfully distressed pieces and elegant colors take a formerly child-focused space into sophisticated territory
Full Story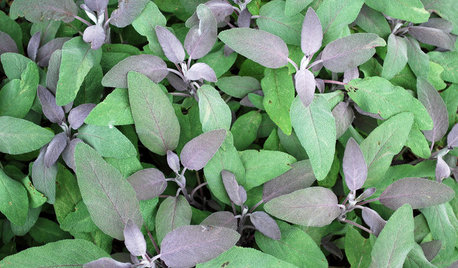
EDIBLE GARDENSHerb Garden Essentials: Grow Your Own Culinary Sage
Fill in your garden with this drought-tolerant perennial that’s flavorful and deer resistant
Full Story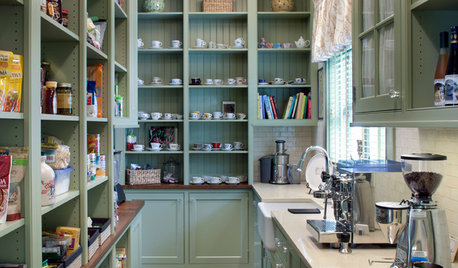
KITCHEN STORAGEShow Us Your Hardworking Pantry
Do you have a clever and convenient kitchen storage setup? Throw some light on the larder and share your pictures and strategies
Full Story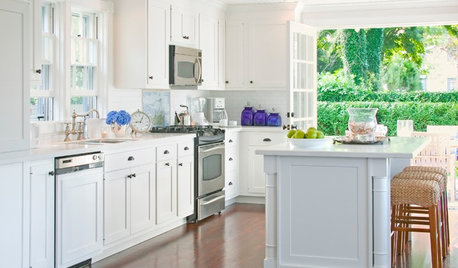
GARDENING AND LANDSCAPING10 Ways to Open a Kitchen to the Outdoors
Have your cooking and your nice weather too, with a kitchen setup that embraces indoor-outdoor flow
Full Story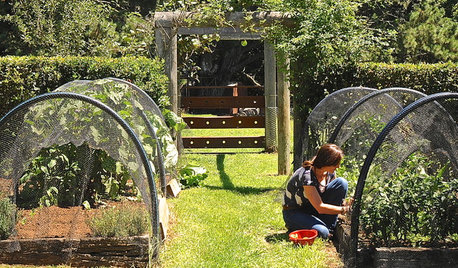
FARM YOUR YARDHouzz Call: Home Farmers, Show Us Your Edible Gardens
We want to see where your tomatoes, summer squashes and beautiful berries are growing this summer
Full Story
FRONT YARD IDEASWelcome Edibles Into the Front Yard for Fresh Food and More
Give your front yard design a boost and maybe even make new friends by growing fruits and vegetables
Full Story
alamo5000Original Author
peggyneckfarms
Related Discussions
Check out these neat seedling set-up pics
Q
my first seedling setup (with pics)
Q
Decided to build my own Grow Light Setup
Q
How much of a fan is needed for seedlings? New lamp setup (pics)
Q
digdirt2
alamo5000Original Author
chris082004
trudi_d
alamo5000Original Author
beastmaker
mitch_in_the_garden
digdirt2
miesenbacher
digdirt2
lazy_gardens
tn_veggie_gardner
alamo5000Original Author
slo_garden
alamo5000Original Author
tn_veggie_gardner
bcpl
courtcourt
hemnancy
jerrya
engineeredgarden
alamo5000Original Author
digdirt2
tn_veggie_gardner
alamo5000Original Author
daryljurassic
iluv2golf
wordwiz
hemnancy
suddensam
cyrus_gardner
n1111z
alamo5000Original Author
mtbigfigh
tn_veggie_gardner
aikimikey
moms_helper_2008
mtbigfigh