


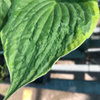
For Ken - cup photos and explanation
17 years ago
Sort by:Oldest
Comments (5)
Related Stories
ACCESSORIESTo Chop or Not to Chop?
Karate-chopped pillows pop up in design photos all the time — to the delight of some, the dismay of others. Here's why
Full Story
SELLING YOUR HOUSEYour Home-Selling Guide for a Faster and Better Sale
Learn staging and curb appeal tricks, how to get the best photos and more in this roundup focusing on high-impact house-selling strategies
Full Story
HOLIDAYSHouzz Call: Share Your Favorite Christmas Tradition
Is there one thing you do, watch or eat that heralds the arrival of Christmas? Post a photo and let us know!
Full Story
PETSRoom of the Day: Laundry Room Goes to the Dogs
Muddy paws are no problem in this new multipurpose room
Full Story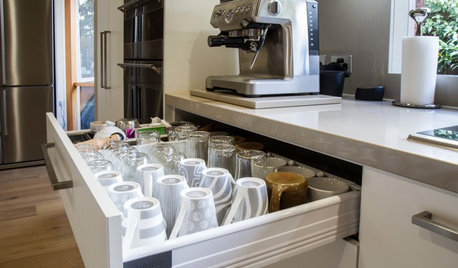
KITCHEN STORAGEPulling Power: Clever Drawer Tactics for a Kitchen
It’s not how many drawers you have in your kitchen; it’s how they work for you
Full Story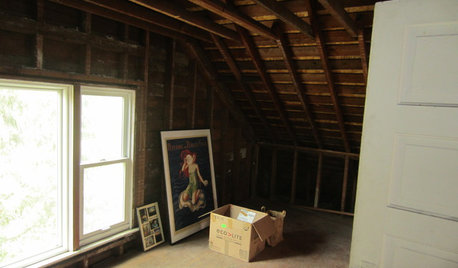
Houzz Call: What Gives You the Creeps at Home?
Halloween horror got nothing on your basement, attic or closet? Show us that scary spot you steer clear of
Full Story
HOUZZ TOURSHouzz Tour: Cultural Adventure in Newfoundland
Lovingly renovated coastal cottages enhance a trip of a lifetime
Full Story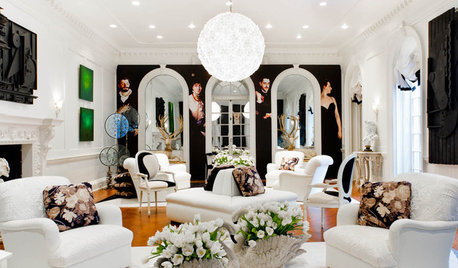
DECORATING GUIDESOver-the-Top Sophistication in a Holiday Show House
Decadently designed rooms for all seasons and purposes create showstopping displays in a Manhattan mansion
Full Story
HOMES AROUND THE WORLDThe Kitchen of Tomorrow Is Already Here
A new Houzz survey reveals global kitchen trends with staying power
Full Story
DECORATING GUIDESMy Houzz: A Tranquil Place on a Busy Street
An interior designer helps a couple transform their urban apartment in bustling San Francisco into a home
Full Story

ken_adrian Adrian MI cold Z5
maryann_____chgo
Related Discussions
where's Ken when you need him - nowhere!
Q
it's in the cups
Q
Woodzotic - John/Ken
Q
Hosta Id wide brim or brim cup?
Q
newhostaaddict
User
User