


wheaton replacement rubber gaskets
canishel
12 years ago
Featured Answer
Comments (15)

digdirt2
12 years ago
canishel
12 years agoRelated Discussions
Replacing B&s crankcase gasket
Comments (5)Here's the scoop: If the engine is in a tractor, you'll have to remove the 2 step pulley under the frame. then disconnect the fuel line, the throttle controls on the engine, then the 4 hold down bolts. Drain out the engine oil. Replace the plug. Remove any sheet metal that might get in the way of lifting out the engine. Have a place where you can set the engine upside down on it. Remove the bolts that you will see in the bottom section of the engine. Carefully pry the sump up and off the crankshaft, and lay it aside. DO NOT TURN THE CRANKSHAFT!!! After you get the sump off, carefully remove any pieces of the old gasket. Used sparingly, some heavy wheel bearing grease, spread a light film of it where the 2 pieces mate up. Then lay the new gasket in place, pushing it down into the grease. (This operation is done on the block area, not the sump. At this time, lay the sump in your lap, and using an awl, or some kind of pointed tool, punch a hole in the old crankshaft seal, and using the tool and a skinny screw-driver, pry out the old seal. Clean the area where it sits. Then make sure you install the new one just like the old one was, in there, using a large enough socket to use as an installer, and tap it into place until it bottoms. (One side will have little rectangular depressions in the rubber/plastic part, and you must get it in the right way. To tell the right way, look for the place where you made the punched hole. Compare it to the new one, and you'll see what i mean.) After all is ready, slide the sump down over the crankshaft, and on down so the cam shaft goes into its hole, and slide the sump all the way down. This part is a no-see-um, so be careful not to wiggle, turn the crank, or do anything to get it out of time. Tap the sump down sort of tight, install the bolts and tighten them up, then re-install the engine. And, if this boggles yer mind, better get somebody at a shop to do it. Its not rocket science, but it is sort of tricky. And, if ya goofed some place, all you have to do is do it again! Rustyj...See MoreGM 3.1 & 3.4 V6 intake manifold gaskets
Comments (12)Bucky, IMO, the best thing you can do is to keep the coolant at maximum full level at all times. It has been my experience that when Dexcool gets low and mixes with air for an extended period of time, it becomes really nasty and gunky. Also, although the extended coolants are suppose to go 100,000+ miles, I think you would be best served to flush and refill the system a little more frequently than that. Some of the intake manifold bolts are easier to access than others. I do not advise retorquing retorquing the easy bolts and not the others as this may actually put more uneven pressure on the gasket and potentially cause a leak. I do not see any benefits in spending the time and/or money to simply retorque the intake manifold bolts because of accessability issues. Once you get to them you might as well take the few additional steps (removing valve covers, rocker arms, pushrods, intake, etc.) and go ahead and replace the gaskets....See MoreMold around rubber gasket of FL washer...
Comments (33)Awesome! The fixya.com website has a clear set of steps for replacing (moldy) bellows on FL Kenmore / Whirlpool washers. And, the following much simpler directions were in one of the comments, by DGBG, also vetted: --------- DGBG: 8/31/2009 Ya'll are going through a lot of work. This is a 5 minute job tops. Try this. ***(Tip washer back 45 degrees or so which makes room by having drum drop back) *** 1. Open the door. 2. Locate the ring and spring that fits the front of the bellows to the front of the machine and remove it. 3. Push the old bellows inside the washer after removing the 2 ports(Left side) and top. 4. Locate hex nut (Usually 2-o-clock) and loosen the giant hose clamp that hold the back of the bellows to the machine. 5. Remove bellows and discard. 6. Put new on on reverse order 5...1 The guy at Sears repair depot gave me the (tip it back) pearl. WOW was it easy. ------- A number of folks did follow the simple steps and reported success, along with a 2nd tip to take off the bottom kick plate which covers the filter, "which you should clean out while you're in there." However, the easy instructions may unfortunately not apply to me :-(, since our washer is on one of those convenient 15" pedestals. I could pull out the washer and pedestal, and then tip the washer back, but the pedestal isn't designed for that weight to be all at the back, .... nor would I want the pedestal to start sliding forward while the washer's at an angle. Any ideas?? Perhaps to tip back the washer only just enough to drop the drum back, and support the washer on some blocks on the pedestal???...See MoreRubber shavings and loud ticking on high spin for washer
Comments (3)@ a_nyc 100 That boot doesn't look like it's on right and it shouldn't be touching the drum basket. They get very close but should not rub against each other. Maybe Dadoes or a Bosch owner will have some insight....See Moredigdirt2
12 years agowifey_po
9 years agocanishel
9 years agopeachy2
9 years agoBetsy
7 years agodigdirt2
7 years agoBetsy
7 years ago
Lauren Thomas
7 years ago
dragonflymsp_2
4 years agoHU-275452306
4 years agocanishel
4 years agolast modified: 4 years agodragonflymsp_2
17 days ago


Related Stories

GREAT HOME PROJECTSUpgrade Your Windows for Beauty, Comfort and Big Energy Savings
Bid drafts or stuffiness farewell and say hello to lower utility bills with new, energy-efficient windows
Full Story
HOUSEKEEPINGHow to Fix a Stinky Garbage Disposal
No plumber’s fee or even a trip to the hardware store is required with these easy solutions
Full Story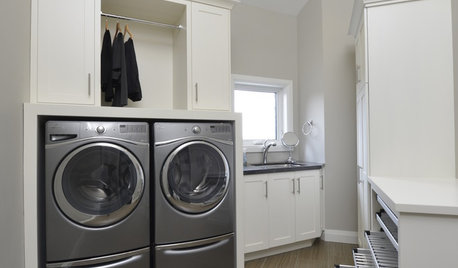
MOST POPULAR10 Smart Ideas for Your Laundry Room Remodel
Make washing and drying easier and more comfortable by considering ergonomics, storage and special features
Full Story
LIFEThe Top 5 Ways to Save Water at Home
Get on the fast track to preserving a valuable resource and saving money too with these smart, effective strategies
Full Story
MATERIALSThe Most Popular Roofing Material is Affordable and Easy to Install
Asphalt shingles, the most widely used roof material in the U.S. are reliable and efficient, and may be right for you
Full Story
REMODELING GUIDESThe Hidden Problems in Old Houses
Before snatching up an old home, get to know what you’re in for by understanding the potential horrors that lurk below the surface
Full Story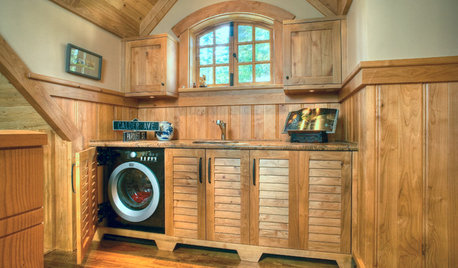
LAUNDRY ROOMSClever Ways to Hide a Laundry Station
When you don’t have a whole room to devote to the wash, use these solutions to tuck the machines out of view
Full Story
MATERIALSMaterials Workshop: Polycarbonate — a Low-Cost Alternative to Glass
Looking for something lighter, stronger and less expensive than glass? Multiwall polycarbonate may be a good option
Full Story
MOST POPULARSo You Say: 30 Design Mistakes You Should Never Make
Drop the paint can, step away from the brick and read this remodeling advice from people who’ve been there
Full Story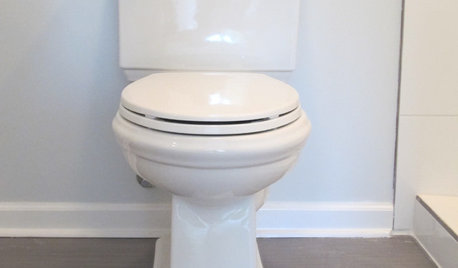
BATHROOM DESIGNHow to Install a Toilet in an Hour
Putting a new commode in a bathroom or powder room yourself saves plumber fees, and it's less scary than you might expect
Full Story
Blumenfeld5