


A Living Wall of Epiphytes?
castorp
9 years ago
Related Stories
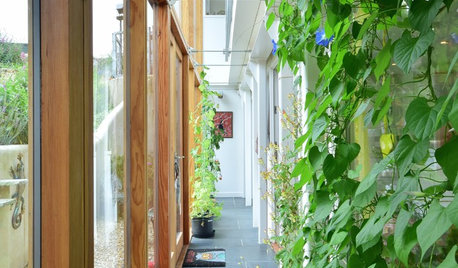
GARDENING GUIDESHealthy Home: How to Go Green With a Living Wall or Roof
See 10 ways to add this earth-friendly element to your home
Full Story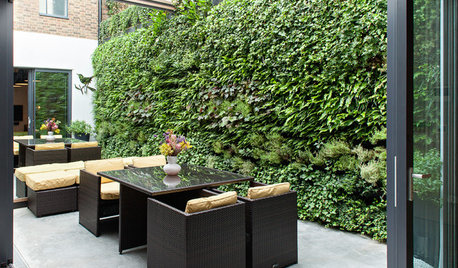
GARDENING GUIDES10 Reasons to Love Vertical Gardens
Boring patios and lackluster views, begone!
Full Story
ACCESSORIESLive Boldly: How to Fill That Blank Wall
Sometimes living boldy in your design means simply filling your walls with something unexpected
Full Story
WALL TREATMENTSHouzz Call: Show Us Your Feature Wall
Have you used bold paint, reclaimed wood, living plants or something else to jazz up a wall in your home? We want to see it
Full Story
DECORATING GUIDESTextured Walls: Inspiration Beyond Paint and Wallpaper
See what happens when you cover a wall with glass, metal, leather, upholstery, or a mass of living green
Full Story
WALL TREATMENTSDouble Take: How Did They Make That Mondrian-Inspired Wall?
Bright colors and wood grains create an artful midcentury modern feature in this Southern California living room
Full Story
WINDOWSOpen Walls Widen Home Possibilities
Doing away with the boundary between indoor and outdoor living, open walls add space, light and drama to a home
Full Story
KITCHEN LAYOUTSWays to Fall in Love With a One-Wall Kitchen
You can get more living space — without losing functionality — by grouping your appliances and cabinets on a single wall
Full Story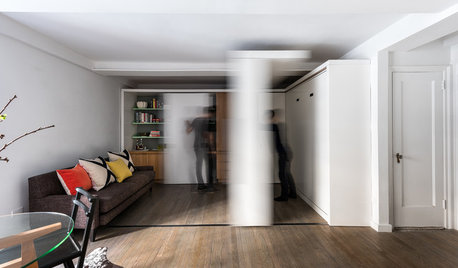
HOUZZ TOURSHouzz Tour: Watch a Sliding Wall Turn a Living Space Into 5 Rooms
A clever custom storage piece transforms this New York City microstudio into multiple living spaces
Full Story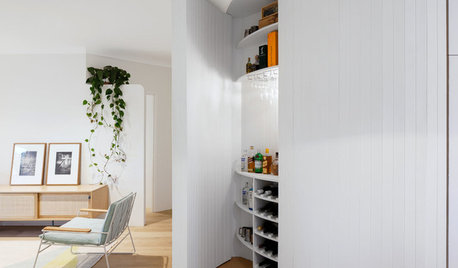
DECORATING GUIDESCurvy, Concealed Wall Storage in Sydney
Valuable storage space hides behind this stylish feature in the main living areas of this apartment
Full Story

tomncath
Carol love_the_yard (Zone 9A Jacksonville, FL)
Related Discussions
Can Lithophytic Orchids live as an Epiphyte?
Q
Watering epiphytes with pond water.
Q
Here is a message I got on my epiphyte list
Q
Anyone grow epiphytically?
Q
wanna_run_faster
castorpOriginal Author
fawnridge (Ricky)
castorpOriginal Author
whgille
fawnridge (Ricky)
garyfla_gw
castorpOriginal Author
petrushka (7b)
petrushka (7b)
petrushka (7b)
castorpOriginal Author
writersblock (9b/10a)
petrushka (7b)
whgille
castorpOriginal Author
petrushka (7b)
castorpOriginal Author
fawnridge (Ricky)
whgille
fawnridge (Ricky)
petrushka (7b)
fawnridge (Ricky)
wanna_run_faster
castorpOriginal Author
irma_stpete_10a
petrushka (7b)
petrushka (7b)
garyfla_gw
Carol love_the_yard (Zone 9A Jacksonville, FL)
fawnridge (Ricky)
castorpOriginal Author
petrushka (7b)
garyfla_gw
castorpOriginal Author
garyfla_gw
castorpOriginal Author
petrushka (7b)
garyfla_gw
castorpOriginal Author
garyfla_gw
castorpOriginal Author