


Airlayer technique using potting soil in a bag
leon_edmond
15 years ago


Featured Answer
Sort by:Oldest
Comments (39)

axier - Z10, Basque Country (Spain)
15 years agolast modified: 9 years ago
peg919
15 years agolast modified: 9 years agoRelated Discussions
8 bags of potting soil ready to go, and NOW I find Al's mix!!
Comments (3)Al's mix isn't necessary - it is just the mix he uses, and he uses it because it offers excellent aeration and longevity you won't find in a peat/compost-based soil. Al is selling aeration - not his soil. ;o) He would be the last one to guarantee better results, but he's not shy about saying that the chances of achieving better results, and growing plants that live up to their potential are greater in a durable, well-aerated soil than they would be in a heavy peaty/composty, water-retentive soil. He also warns that the price to be paid for growing in these types of soils comes in the form of more frequent watering and fertilizing, but your plants will likely appreciate your extra efforts. If you read a few posts scattered throughout the forum, you'll find plenty of people who embrace the idea of a well-aerated soil, and a few who would be just as pleased if they could come here & not have to listen to the frequent conversation about it. You'll have to decide what you think, but his hope is that you learn something from some of the things he shares, even if you decide the soils aren't suited to your style of growing or your needs. Turface is a great product & you'll see it discussed here frequently. It's interchangeable with perlite to the degree that they increase soil porosity to roughly the same degree on a size to size basis, but Turface far surpasses perlite in it's internal porosity, so it holds more water. It also has an excellent CEC, so holds nutrients better than Turface. The reasons are varied, but I generally use perlite exclusively in container soils I consider short term - 1 year probable, two years max. For soils I intend to press into two years service (or more) from the beginning, I use a combination of Turface and crushed granite to make up approximately 2/3 of the volume of the soil with the remainder usually pine or fir bark. The variations on the theme are many. Al...See Morewhen to propagate ischau in Houston TX?
Comments (3)The easiest way to root figs is to airlayer them. Take a branh near the ground and pin it to the ground with metal pins or a rock. place dirt over the portion of the branch touching the ground. In less than six months you will have a rooted branch. Cut the branch on the tree side and plant it in your yard. I live down the road in Missouri City. Contact me by e-mail if this doesn't seem clear. Yadda out....See MoreAir-layering using a different type of soil
Comments (2)Yes, but the vine essentially climbs other plants to reach the light. The damp atmosphere of the rain forest, along with the moss growing on trees, allows a better grip as well as holding more nutrients from debris. But the different conditions of the mediterranean complicates things further. The winters are wet, but the atmosphere is dryer than in the rain forest (Plants in containers may need to be watered after a few days of clear weather). The summers are hot and dry. In-spite of that, The bare roots of the potos clinging to the wall would, at first sight, wilt in the dry atmosphere, let alone the summer drought. However, they stay fully functional year-round, not needing to wet the wall, and the fact that the stem above the air-roots grow better, means that they can even function as nutrients absorbants, like in your example. It would be interesting to research when do such roots secrete fluids to dissolve the nutrients around them (If my assumption is correct) and when do they re-absorb the fluids with the dissolved nutrients. Is it done at night, when evaporation rate is lower ?...See MoreDo you re-pot soil in grow bags each year?
Comments (3)Thanks for the tips. I thought it was going to be a bigger chore, but it turned out not to be too bad. We had a warm week last week so I decided to try and tackle it early. At first it was tough to empty the bags until I realized the soil was still mostly frozen. Waited a few more days for the warm temps to do their thing and gave it another try, then it was pretty easy. Dumped 2-3 at a time into a trash can, broke it all up with a pitchfork, moistened with water, added some amendments, picked out the biggest chunks of stems/roots, and it looked like new. Still a lot of fine roots (they were tomato and pepper plants) but I assume those are OK. My mix was 4-4-1 peat-compost-perlite. Still reasonably fluffy once I got it all refreshed. The compost was good quality variety in bulk from a local landscape yard. Much cheaper that way. I don't have a truck, but I have an SUV that fits 32 gallon trash cans which is a great way to buy bulk if you don't have a truck. Fortunately no gophers around here. Rabbits though. But I do have the grow area fences off with rabbit fencing....See More
dieseler
15 years agolast modified: 9 years agoUser
15 years agolast modified: 9 years agotexan151
15 years agolast modified: 9 years agosvanessa
15 years agolast modified: 9 years agopaully22
15 years agolast modified: 9 years agojohnsvmf
15 years agolast modified: 9 years agoleon_edmond
15 years agolast modified: 9 years agopaully22
15 years agolast modified: 9 years agogorgi
15 years agolast modified: 9 years ago
bjs496
15 years agolast modified: 9 years agoleon_edmond
15 years agolast modified: 9 years agopaully22
15 years agolast modified: 9 years agoespo8
15 years agolast modified: 9 years agoAmericanFigLover
14 years agolast modified: 9 years agonoss
14 years agolast modified: 9 years agojsvand5
14 years agolast modified: 9 years agosooba
14 years agolast modified: 9 years agoleon_edmond
14 years agolast modified: 9 years agoAmericanFigLover
14 years agolast modified: 9 years agoleon_edmond
14 years agolast modified: 9 years agogiants_2007
14 years agolast modified: 9 years agolycheeluva
14 years agolast modified: 9 years agoGeoff S
13 years agolast modified: 9 years ago
Suzi AKA DesertDance So CA Zone 9b
13 years agolast modified: 9 years agoserenaa
13 years agolast modified: 9 years agobotanicalbill
13 years agolast modified: 9 years agomauirose
13 years agolast modified: 9 years agoleon_edmond
13 years agolast modified: 9 years agoben_in_sofla
13 years agolast modified: 9 years agobchbound
13 years agolast modified: 9 years agoleon_edmond
13 years agolast modified: 9 years agogorgi
13 years agolast modified: 9 years agogenecolin
13 years agolast modified: 9 years agojerryang
9 years agolast modified: 9 years ago
Brad Edwards
2 years agoBrad Edwards
2 years ago

Related Stories
GARDENING GUIDESHow to Stop Worrying and Start Loving Clay Soil
Clay has many more benefits than you might imagine
Full Story
CONTAINER GARDENSContainer Gardening Basics: The Dirt on Soil
Learn the types of potting soil available and the best mixes to help your containers thrive
Full Story
GARDENING GUIDESHow to Pick a Mulch — and Why Your Soil Wants It
There's more to topdressing than shredded wood. Learn about mulch types, costs and design considerations here
Full Story
FARM YOUR YARDHow to Get Good Soil for Your Edible Garden
The nutrients in your soil feed the plants that feed you. Here are tips on getting it right — just in time for planting season
Full Story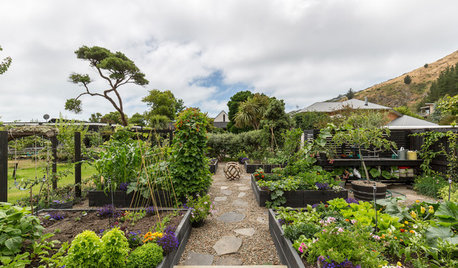
EDIBLE GARDENSNatural Ways to Get Rid of Weeds in Your Garden
Use these techniques to help prevent the spread of weeds and to learn about your soil
Full Story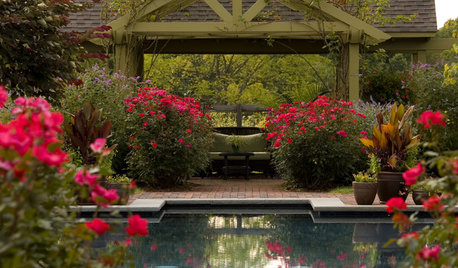
SPRING GARDENINGHow to Grow a Rose Garden in Pots
Everything can come up roses, even without a plot of soil in sight. This step-by-step guide to growing roses in containers shows you how
Full Story
PAINTINGWhat to Know About Milk Paint and Chalk Paint — and How to Use Them
Learn the pros, cons, cost and more for these two easy-to-use paints that are great for giving furniture a vintage look
Full Story
KITCHEN DESIGNUsing White Marble: Hot Debate Over a Classic Beauty
Do you love perfection or patina? Here's how to see if marble's right for you
Full Story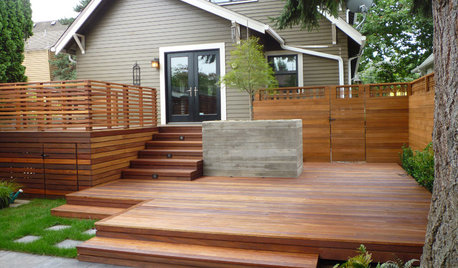
GARDENING AND LANDSCAPINGThat Gap Under the Deck: Hide It or Use It!
6 ways to transform a landscape eyesore into a landscape feature
Full Story
GARDENING GUIDESLearn the Secret to Bigger and Better Roses
Grow beautiful roses using both ordinary and unusual soil amendments
Full Story
genecolin