


Let me get this straight--PLEASE
shortyhead
16 years ago
Sort by:Oldest
Comments (33)
Related Stories
MOST POPULARHouzz TV: Let’s Go Island Hopping
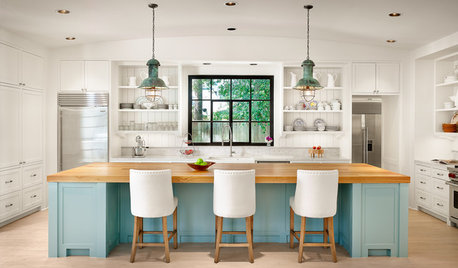
Sit back and enjoy a little design daydreaming: 89 kitchen islands, with at least one for every style
Full Story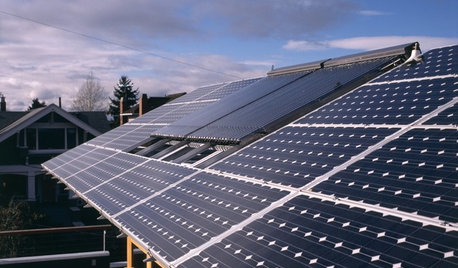
GREEN BUILDINGLet’s Clear Up Some Confusion About Solar Panels
Different panel types do different things. If you want solar energy for your home, get the basics here first
Full Story
FUN HOUZZIndoor Slides Make Getting There All the Fun
Take a straight shot between floors or twist up your ride with a spiral. An indoor slide puts the playground right at your feet
Full Story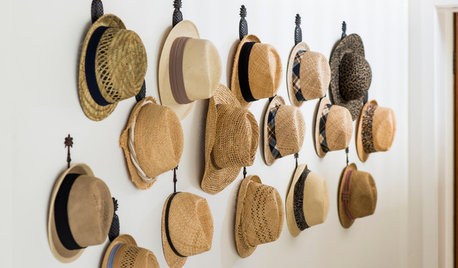
STORAGEHat Storage: Don’t Get Bent Out of Shape
From boxes to hooks, we look at ways to keep your lid on straight in time for summer hat season
Full Story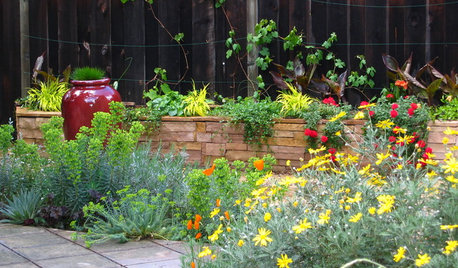
SUMMER GARDENINGHouzz Call: Please Show Us Your Summer Garden!
Share pictures of your home and yard this summer — we’d love to feature them in an upcoming story
Full Story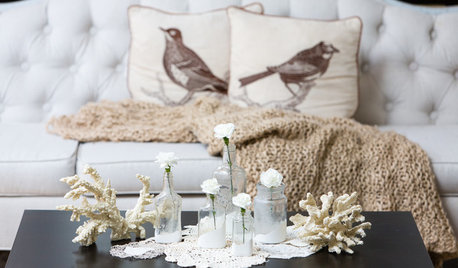
DECORATING GUIDESBudget Decorator: Let’s Go Thrifting
Dip into the treasure trove of secondhand pieces for decor that shows your resourcefulness as much as your personality
Full Story
DECORATING GUIDESStraight From the Runway: The Blues to Use at Home
Bring looks from Fashion Week home with navy and teal mixed with black, red and more
Full Story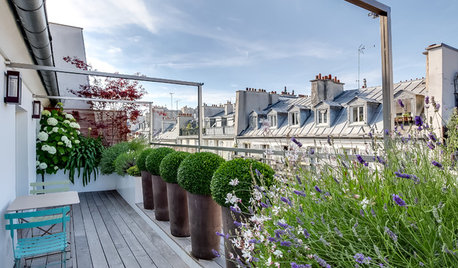
GARDENING AND LANDSCAPINGWorld of Design: 11 Balconies Straight Out of a Postcard
Pull up a chair and discover how people in Spain, Japan, Russia, Britain and elsewhere use and love their private lookouts
Full Story
Straight-Up Advice for Corner Spaces
Neglected corners in the home waste valuable space. Here's how to put those overlooked spots to good use
Full Story
DECORATING GUIDESPlease Touch: Texture Makes Rooms Spring to Life
Great design stimulates all the senses, including touch. Check out these great uses of texture, then let your fingers do the walking
Full StorySponsored
More Discussions
jumpin4joy
karyn1
Related Discussions
let me try this way sorry I will get it soon
Q
So, let me get this straight... (moss question)
Q
Will you please entertain me and let me post a fake pic?
Q
i let my anger and opinions get the best of me tonight
Q
shortyheadOriginal Author
karyn1
shortyheadOriginal Author
karyn1
tngreenthumb
greylady_gardener
daisy12
karmahappytoes
tngreenthumb
green_go (Canada, Ontario, z 5a)
maemae0312
chena
tngreenthumb
shortyheadOriginal Author
karyn1
oxmyx
tngreenthumb
technodweeb
shortyheadOriginal Author
sandysseeds007
sandysseeds007
karyn1
technodweeb
oxmyx
tngreenthumb
shortyheadOriginal Author
technodweeb
oxmyx
tngreenthumb
technodweeb
shortyheadOriginal Author