


Happy Rion Owners?
boxcar_grower
15 years ago
Sort by:Oldest
Comments (41)
Related Stories
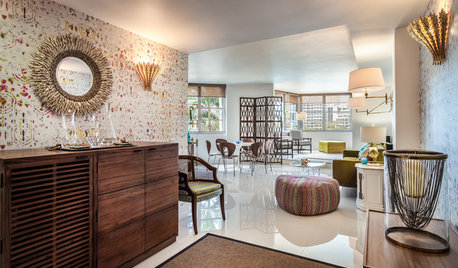
DECORATING GUIDESHouzz Tour: Happy Days Are Here Again in a Miami Apartment
The colors of Biscayne Bay, an owner’s fond memories and the groovy spirit of the 1970s inspire a bright redesign
Full Story
CONTAINER GARDENSHappy Houseplants, Happy People
Potted plants add life and beauty to a room. Learn easy ways to keep them healthy
Full Story
COLORFUL HOMESHouzz Tour: Pattern-Happy Personality in Los Angeles
Bland design defaults didn't scare this owner; she used color, prints and quirky mixes to turn them on their head
Full Story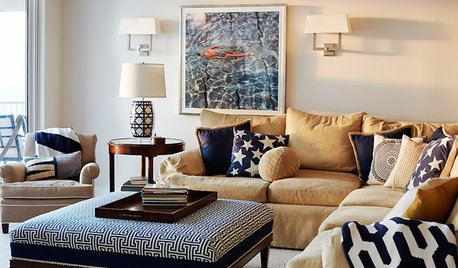
VACATION HOMESPatience Pays Off for Owners Renovating Their Beach Condo
A Jersey Shore unit gets a bright new look, a more functional layout and increased space for extended family
Full Story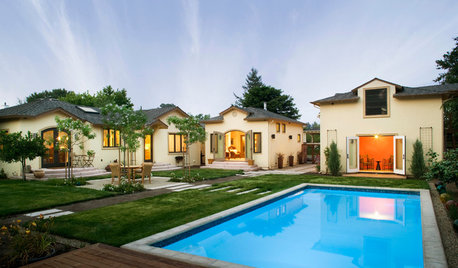
BEFORE AND AFTERSOwners Find Their Bliss in a Wine Country Ranch House
Going from cramped and dark to open and bright, a California home lands 600 extra square feet and a gorgeous new outdoor living room
Full Story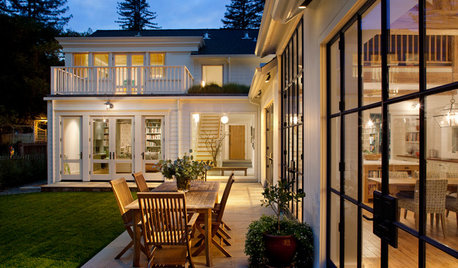
TRANSITIONAL HOMESHouzz Tour: A Happy-Trails Home on a California Field
Horse-loving homeowners look to barns and equestrian references for their light and bright new build
Full Story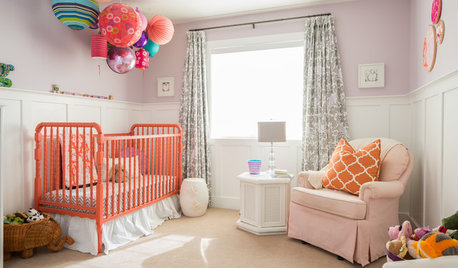
NURSERY IDEASHappy Colors Buoy a Canadian Nursery
Vibrant orbs and lanterns hung from the ceiling give a baby girl’s room an uplifted air
Full Story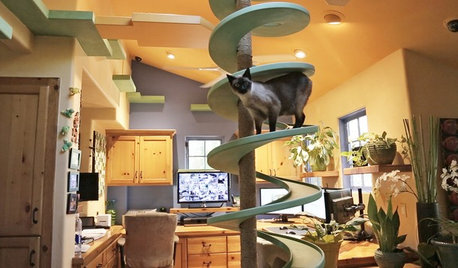
PETSIncredible Home Catwalks Make for Purr-fectly Happy Felines
Walkways and tunnels custom built to the tune of about $35,000 keep a homeowner’s 18 cats on cloud nine
Full Story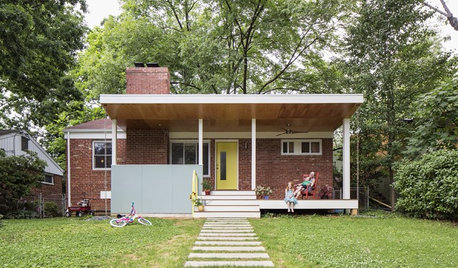
FEEL-GOOD HOMEWhat Really Makes Us Happy at Home? Find Out From a New Houzz Survey
Great design has a powerful impact on our happiness in our homes. So do good cooking smells, family conversations and, yes, big-screen TVs
Full Story
FEEL-GOOD HOME6 Design Ideas for Happy Pets
Keep your dog or cat feeling safe and in high spirits, and you'll all feel more at peace. Here's how
Full StorySponsored
Most Skilled Home Improvement Specialists in Franklin County

birdwidow
jbest123
Related Discussions
Diamond Cabinet Owners: R u happy with?
Q
Kohler Forte Faucet Owners - How Happy Are You?
Q
any Ticor sink owners not totally happy?
Q
Owners of frameless full overlay cabs - Q?I am not happy...
Q
boxcar_growerOriginal Author
birdwidow
boxcar_growerOriginal Author
rosepedal
greenhouser2
billala
greenhouser2
billala
billala
jbest123
birdwidow
Nell Jean
boxcar_growerOriginal Author
billala
boxcar_growerOriginal Author
stressbaby
boxcar_growerOriginal Author
birdwidow
billala
knotz
boxcar_growerOriginal Author
boxcar_growerOriginal Author
billala
boxcar_growerOriginal Author
greenhouzer
greenhouzer
jbest123
boxcar_growerOriginal Author
tominnh
boxcar_growerOriginal Author
jbest123
tominnh
greenhouser2
greenhouser2
greenhouser2
greenhouser2
greenhouser2
ecogrowgardener
tarabelle24