


Any Cross Country Greenhouse owners out there?
krayers
16 years ago
Sort by:Oldest
Comments (33)
Related Stories

BEFORE AND AFTERSOwners Find Their Bliss in a Wine Country Ranch House
Going from cramped and dark to open and bright, a California home lands 600 extra square feet and a gorgeous new outdoor living room
Full Story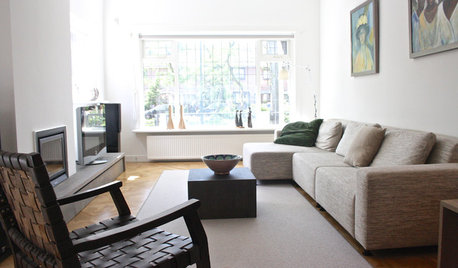
HOUZZ TOURSMy Houzz: City and Country Cross Paths in a Dutch Villa
It backs onto a lushly planted waterway and even has a pool, but this Netherlands home never loses sight of its capital skyline
Full Story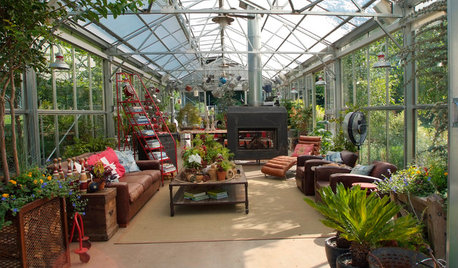
LANDSCAPE DESIGNA Luxury Greenhouse Lures Manhattanites to the Country
Industrial meets rustic in this stunning new structure for living and entertaining in rural Pennsylvania
Full Story
HOUZZ TOURSMy Houzz: Turning a Netherlands Barn Into a Country Home
Once a place for chilling milk, this Dutch home now lets the owners chill out in easygoing comfort
Full Story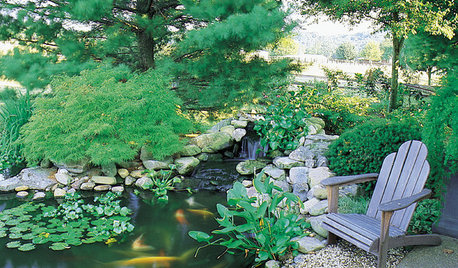
LANDSCAPE DESIGNKoi Find Friendly Shores in Any Garden Style
A pond full of colorful koi can be a delightful addition to just about any landscape or garden
Full Story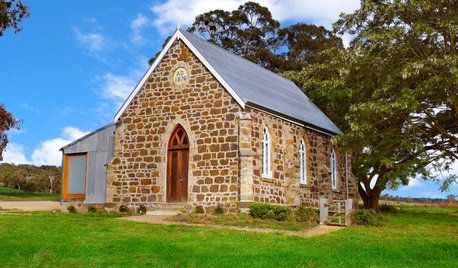
HOUZZ TOURSHouzz Tour: From 1800s Church to Country Residence
... with a stint as a sheep-shearing shed. Now the new owner is making his own mark — and having a little fun with the design
Full Story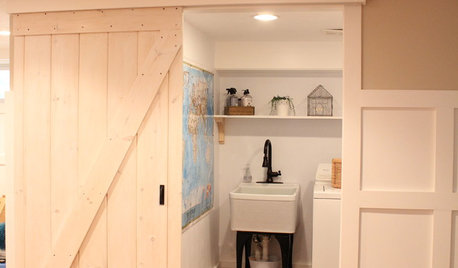
DIY PROJECTSMake Your Own Barn-Style Door — in Any Size You Need
Low ceilings or odd-size doorways are no problem when you fashion a barn door from exterior siding and a closet track
Full Story
GREEN BUILDINGInsulation Basics: Designing for Temperature Extremes in Any Season
Stay comfy during unpredictable weather — and prevent unexpected bills — by efficiently insulating and shading your home
Full Story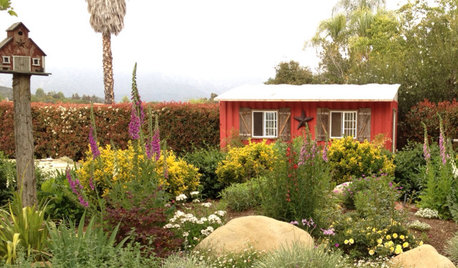
SALVAGEReinvent It: A Shipping Container Goes a Little Bit Country
See how resourceful horse owners turned low-cost storage into a country-style barn for hay
Full Story
Gnomes Carve Out Life in Houzz Users' Gardens
Guarding the landscape or just supplying smiles, gnomes have won the hearts of Houzzers across the country. Here's a roundup
Full Story
birdwidow
krayersOriginal Author
Related Discussions
Did you buy a Cross Country Greenhouse?
Q
question about moving a Viridis Japanese Maple cross country...
Q
I'm the new owner of a glass greenhouse...
Q
WANTED: Any good hearted Brugmansia owners out there?
Q
hemerocallia
krayersOriginal Author
birdwidow
hemerocallia
birdwidow
krayersOriginal Author
hemerocallia
birdwidow
krayersOriginal Author
tominnh
birdwidow
tominnh
birdwidow
krayersOriginal Author
tominnh
krayersOriginal Author
tominnh
tominnh
birdwidow
krayersOriginal Author
tominnh
tominnh
birdwidow
tominnh
krayersOriginal Author
birdwidow
tominnh
willisjw
melamalie
willisjw
melamalie