New Greenhouse - almost complete :)
wetfeet101b
17 years ago
Related Stories
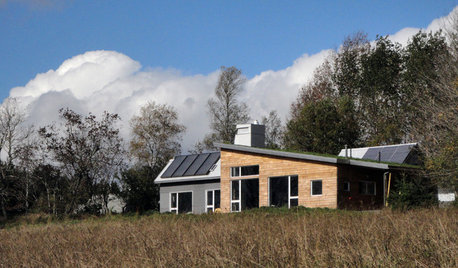
GREEN BUILDINGHouzz Tour: Going Completely Off the Grid in Nova Scotia
Powered by sunshine and built with salvaged materials, this Canadian home is an experiment for green building practices
Full Story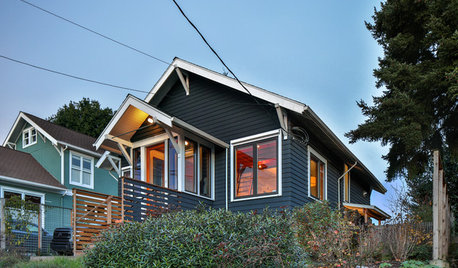
MODERN HOMESHouzz TV: Seattle Family Almost Doubles Its Space Without Adding On
See how 2 work-from-home architects design and build an adaptable space for their family and business
Full Story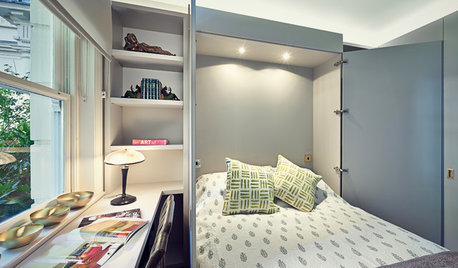
DECORATING GUIDESHow to Turn Almost Any Space Into a Guest Room
The Hardworking Home: Murphy beds, bunk compartments and more can provide sleeping quarters for visitors in rooms you use every day
Full Story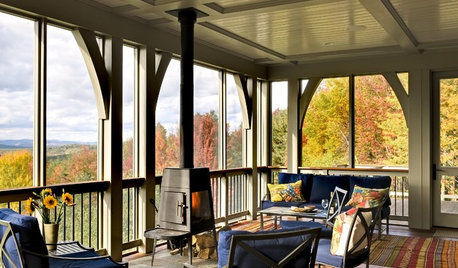
GARDENING AND LANDSCAPINGScreen the Porch for More Living Room (Almost) All Year
Make the Most of Three Seasons With a Personal, Bug-Free Outdoor Oasis
Full Story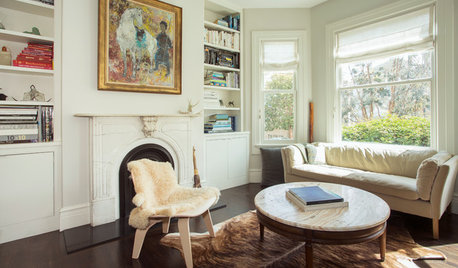
HOUZZ TOURSMy Houzz: Family of 5 Lives (Almost) Clutter Free
Smart decor decisions and multipurpose items help this San Francisco family keep things tidy
Full Story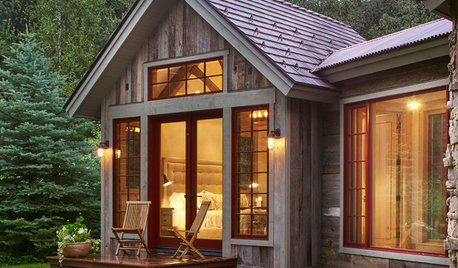
GUESTHOUSESHouzz Tour: A River (Almost) Runs Through It in Aspen
This guesthouse on a family compound has rustic charm, modern touches and dramatic river views
Full Story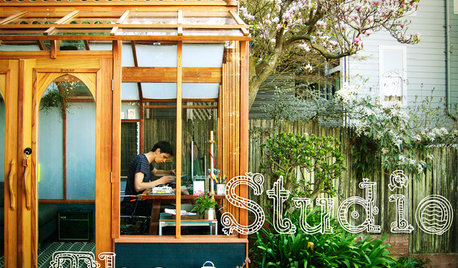
OUTBUILDINGSStudio Solution: A Kit Greenhouse Becomes a Creative Private Office
See how an inventive work-from-home designer made an office from a greenhouse, for some inspired thinking in the backyard
Full Story
CONTRACTOR TIPSYour Complete Guide to Building Permits
Learn about permit requirements, the submittal process, final inspection and more
Full Story
KITCHEN MAKEOVERSSee a Kitchen Refresh for $11,000
Budget materials, some DIY spirit and a little help from a friend turn an impractical kitchen into a waterfront workhorse
Full Story
HOUZZ TOURSMy Houzz: An 1874 Cabin Completes a Rustic Oregon Home
It took 10 years and a hand-hewn log cabin to build this labor of love. See the results of one couple's patience and vision
Full Story


troykd
earthlydelights
Related Discussions
New greenhouse completed...
Q
Greenhouse almost there More pics
Q
Kitchen budget revamp - almost complete! (jel stain!)
Q
Construction almost complete...timeline estimates?
Q
wetfeet101bOriginal Author
orchiddude
highjack
wetfeet101bOriginal Author
turquoise
alia
buyorsell888
sortagreenthumb
conifers
siegel2
siegel2
wetfeet101bOriginal Author