


Gunnera Leaf Arrived!!!
Buddyfly
19 years ago
Sort by:Oldest
Comments (93)
Related Stories
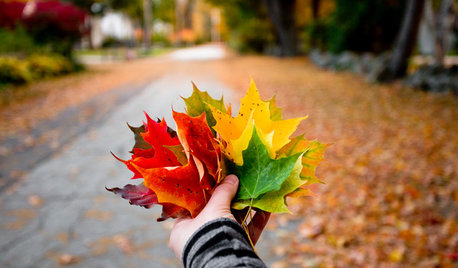
TRAVEL BY DESIGNHouzz TV: Take a Leaf-Peeping Road Trip in New England
Ride along with a Houzz contributing photographer to see gorgeous autumn eye candy from New York to New Hampshire
Full Story
GARDENING GUIDESHow to Declutter Your Garden Shed, Greenhouse or Potting Bench
Get those pots and tools sorted now, and you’ll be free to focus on your plants when spring arrives
Full Story
GARDENING GUIDES12 Edibles Perfect to Plant in Late Summer
Keep those homegrown vegetables and greens coming well into fall
Full Story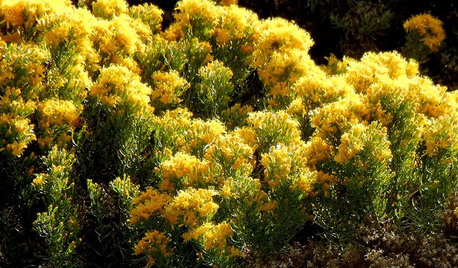
GARDENING GUIDESGreat Design Plant: Ericameria Laricifolia
Golden yellow flowers of turpentine bush herald the arrival of fall in the Southwest and transform the dark green foliage
Full Story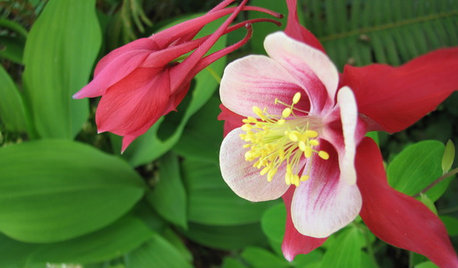
GARDENING FOR BUTTERFLIESGreat Design Plant: Columbine Grows Happily in Shade and Sun
Its ethereal beauty comes from complex forms and wide-ranging colors, but columbine’s benefits are highly attractive too
Full Story
FALL GARDENING5 Ways to Put Fall Leaves to Work in Your Garden
Improve your soil and yard the organic way with a valuable garden booster that grows on trees
Full Story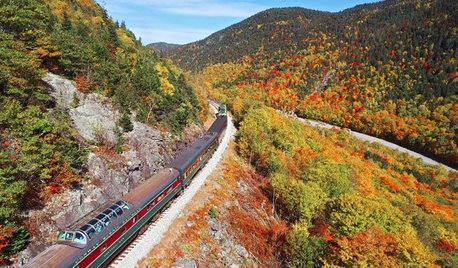
HOUZZ TV FAVORITESThese Spectacular Views of Fall Foliage Will Lift Your Soul
Soar over picturesque New England and Midwest landscapes to see glorious autumn scenes
Full Story
GARDENING GUIDESThese Hedges Can Add Interest to Your Winter Garden
Evergreen trees and shrubs provide structure and color in the winter months — and can attract wildlife too
Full Story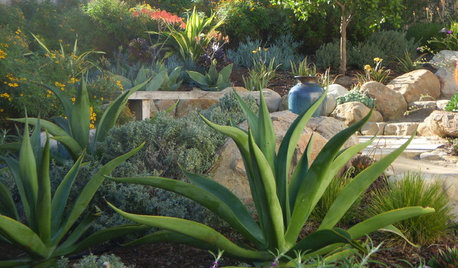
GARDENING GUIDESDecorate the Landscape With Versatile Agave
Beautiful, succulent leaves reach toward the sky, adding texture and beauty to the drought-tolerant landscape
Full Story
HOMES AROUND THE WORLD9 Houses That Show Why Wood Is the Material of the Future
Most people may associate wood with traditional homes, but in these innovative, modern structures, its uses are really branching out
Full Story
lazydaisy
BuddyflyOriginal Author
Related Discussions
Carmine Jewel cherries arrived in leaf...what to do?
Q
Looking for Gunnera Leaf
Q
Gunnera manicata....(great gunnera)
Q
Gunnera leaf cuttings?
Q
butterflybush
dian2
BuddyflyOriginal Author
butterflybush
BuddyflyOriginal Author
dian2
butterflybush
BuddyflyOriginal Author
butterflybush
leigh_wi
dian2
BuddyflyOriginal Author
BuddyflyOriginal Author
peakpoet
butterflybush
peakpoet
gottatufa
BuddyflyOriginal Author
peakpoet
BuddyflyOriginal Author
butterflybush
klinger
butterflybush
peakpoet
butterflybush
gottatufa
cactusfreak
butterflybush
butterflybush
dian2
butterflybush
cindydj
peakpoet
copperfish
butterflybush
BuddyflyOriginal Author
butterflybush
Mertie
butterflybush
groovey_junk
lazydaisy
paws4pets
HowieDoin
Fleur
gardnpondr
klinger
kintner
Emily Weaver