


Irrigation setup
thepodpiper
16 years ago
Sort by:Oldest
Comments (40)
Related Stories
GARDENING GUIDESEdible Gardening Essentials: Tips for Traditional Hand Watering
Save the expense and hassle of a complicated garden system with a simple watering can or inexpensive hose add-ons
Full Story
SAVING WATERXeriscape Gardens: How to Get a Beautiful Landscape With Less Water
Conserve water and make gardening much easier with the xeriscape approach’s 7 principles
Full Story
GREEN BUILDINGOff the Grid: Ready to Pull the Plug on City Power?
What to consider if you want to stop relying on public utilities — or just have a more energy-efficient home
Full Story
LANDSCAPE DESIGNGet Along With Less Lawn — Ideas to Save Water and Effort
Ditch the mower and lower your water bill while creating a feast for the eyes with diverse plantings and gathering places
Full Story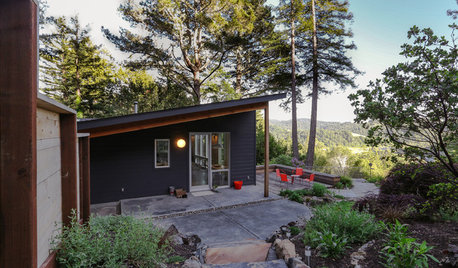
VACATION HOMESHouzz Tour: Rugged and Refined Beauty in Sonoma County
Opening up rooms and adding outdoor recreation areas makes a weekend home a real retreat
Full Story
PATIOSPatio Details: A Relaxing Front-Yard Retreat in Los Angeles
A retractable awning, a water feature and an onyx fire feature transform a formerly unused front yard on a busy street
Full Story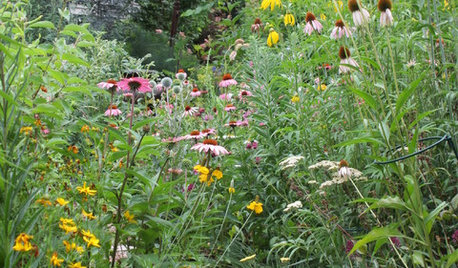
GARDENING FOR BUTTERFLIES3 Ways Native Plants Make Gardening So Much Better
You probably know about the lower maintenance. But native plants' other benefits go far beyond a little less watering and weeding
Full Story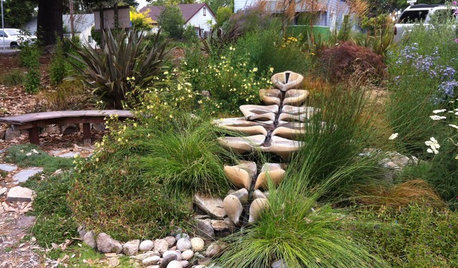
LANDSCAPE DESIGNNew Ways to Design With Water
Go beyond 3-tiered fountains and faux waterfalls to discover water's architectural possibilities
Full Story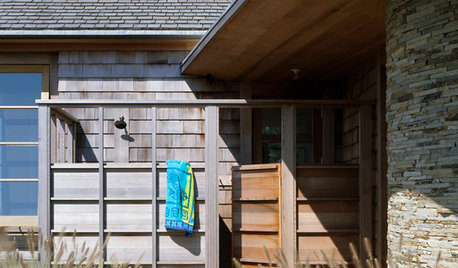
GREAT HOME PROJECTSHow to Add an Outdoor Shower
New project for a new year: Experience bathing in a whole new light with a shower in the fresh air
Full Story
URBAN GARDENSGarbage to Garden: A Vacant Philly Lot Gets Some Green-Thumb Love
Transformed by an artist, this once-derelict urban property is now a tranquil garden with living walls
Full Story
gardener_sandy
ruthieg__tx
Related Discussions
Double check my garden irrigation setup?
Q
Irrigation setup in greenhouse
Q
Irrigation setup?
Q
Pot irrigation set-up help needed
Q
billinpa
thepodpiperOriginal Author
billinpa
brent1985
thepodpiperOriginal Author
macheske
thepodpiperOriginal Author
macheske
davidandkasie
macheske
anney
macheske
glib
thepodpiperOriginal Author
macheske
thepodpiperOriginal Author
macheske
thepodpiperOriginal Author
macheske
thepodpiperOriginal Author
macheske
tdscpa
macheske
thepodpiperOriginal Author
echoes_or
macheske
thepodpiperOriginal Author
macheske
macheske
thepodpiperOriginal Author
macheske
macheske
thepodpiperOriginal Author
schaaed1
fruithack
thepodpiperOriginal Author
thepodpiperOriginal Author
mrmulcher