


What's your technique for growing leeks from seed?
12 years ago
Sort by:Oldest
Comments (11)
Related Stories
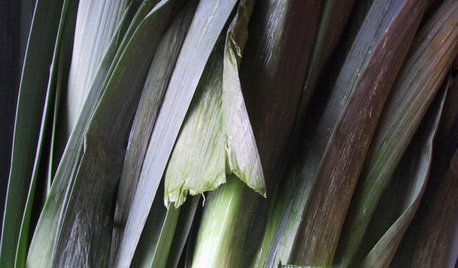
COOL-SEASON CROPSCool-Season Vegetables: How to Grow Leeks
Elegant in the garden and handy in the kitchen, onion-related leeks are worth the effort
Full Story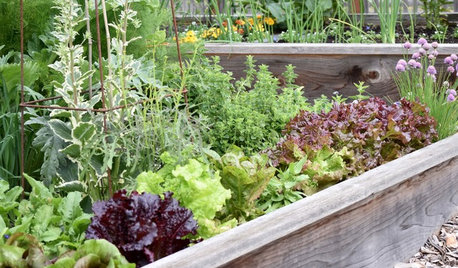
GARDENING GUIDESSeeds or Seedlings? How to Get Your Garden Started
Growing delicious herbs and vegetables starts with knowing your goals and when you want to plant
Full Story
EDIBLE GARDENSSummer Crops: How to Grow Tomatoes
Plant tomato seedlings in spring for one of the best tastes of summer, fresh from your backyard
Full Story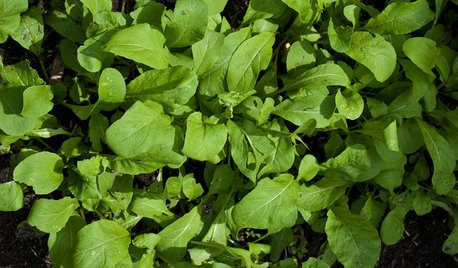
COOL-SEASON CROPSCool-Season Vegetables: How to Grow Salad Greens
From arugula to radicchio, greens have taken a top spot on the table and in fall and winter gardens. See how to start growing them now
Full Story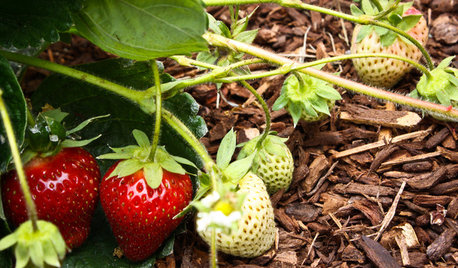
SPRING GARDENINGSummer Crops: How to Grow Strawberries
Pluck your own sweet strawberries right from the garden vine for smoothies, salads or eating then and there
Full Story
SELLING YOUR HOUSEHome Staging to Sell: The Latest Techniques That Really Work
Get up to speed on the best ways to appeal to potential buyers through accessories, furniture, colors and more
Full Story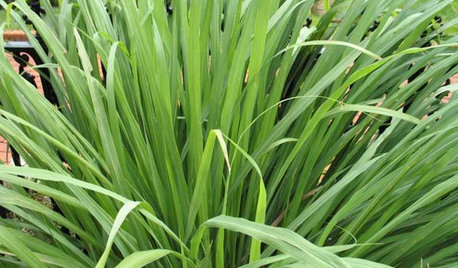
HERBSHerb Garden Essentials: Grow Your Own Zesty Lemongrass
Add lemony goodness to cooking and tropical flavor to your yard with this grass-like herb native to Southeast Asia
Full Story
EDIBLE GARDENSHow to Grow Your Own Sweet Summer Crops
This guide will help any gardener get started on growing the freshest warm-season veggies and berries for summer
Full Story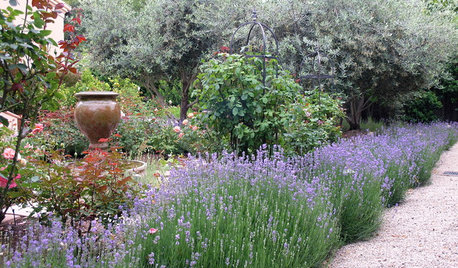
FLOWERSHerb Garden Essentials: Grow Your Own Fragrant Lavender
This do-it-all plant is ideal for almost any garden, and its uses are abundant around the home
Full Story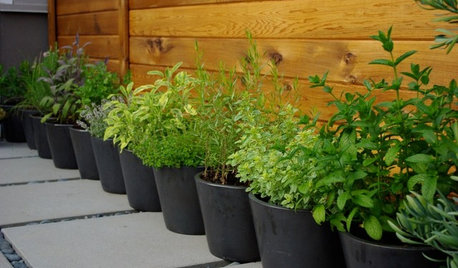
GARDENING GUIDES6 Ways to Grow Edibles in Small Places
No big backyard? Join in the grow-your-own fun with these small-space ideas for planting vegetables, fruits and herbs
Full Story

exmar zone 7, SE Ohio
ralleia
Related Discussions
(not) Growing leeks from seed
Q
Growing Leeks from seed indoors
Q
Growing Ramps (Wild Leeks)
Q
What's YOUR method of growing hellebores from seed?
Q
User
roamwhereiwant2
elisa_z5
barrie2m_(6a, central PA)
bi11me
tishtoshnm Zone 6/NM
bobb_2002
laceyvail 6A, WVOriginal Author
planatus